1883 Magazine x RVKDTR

Íslenska

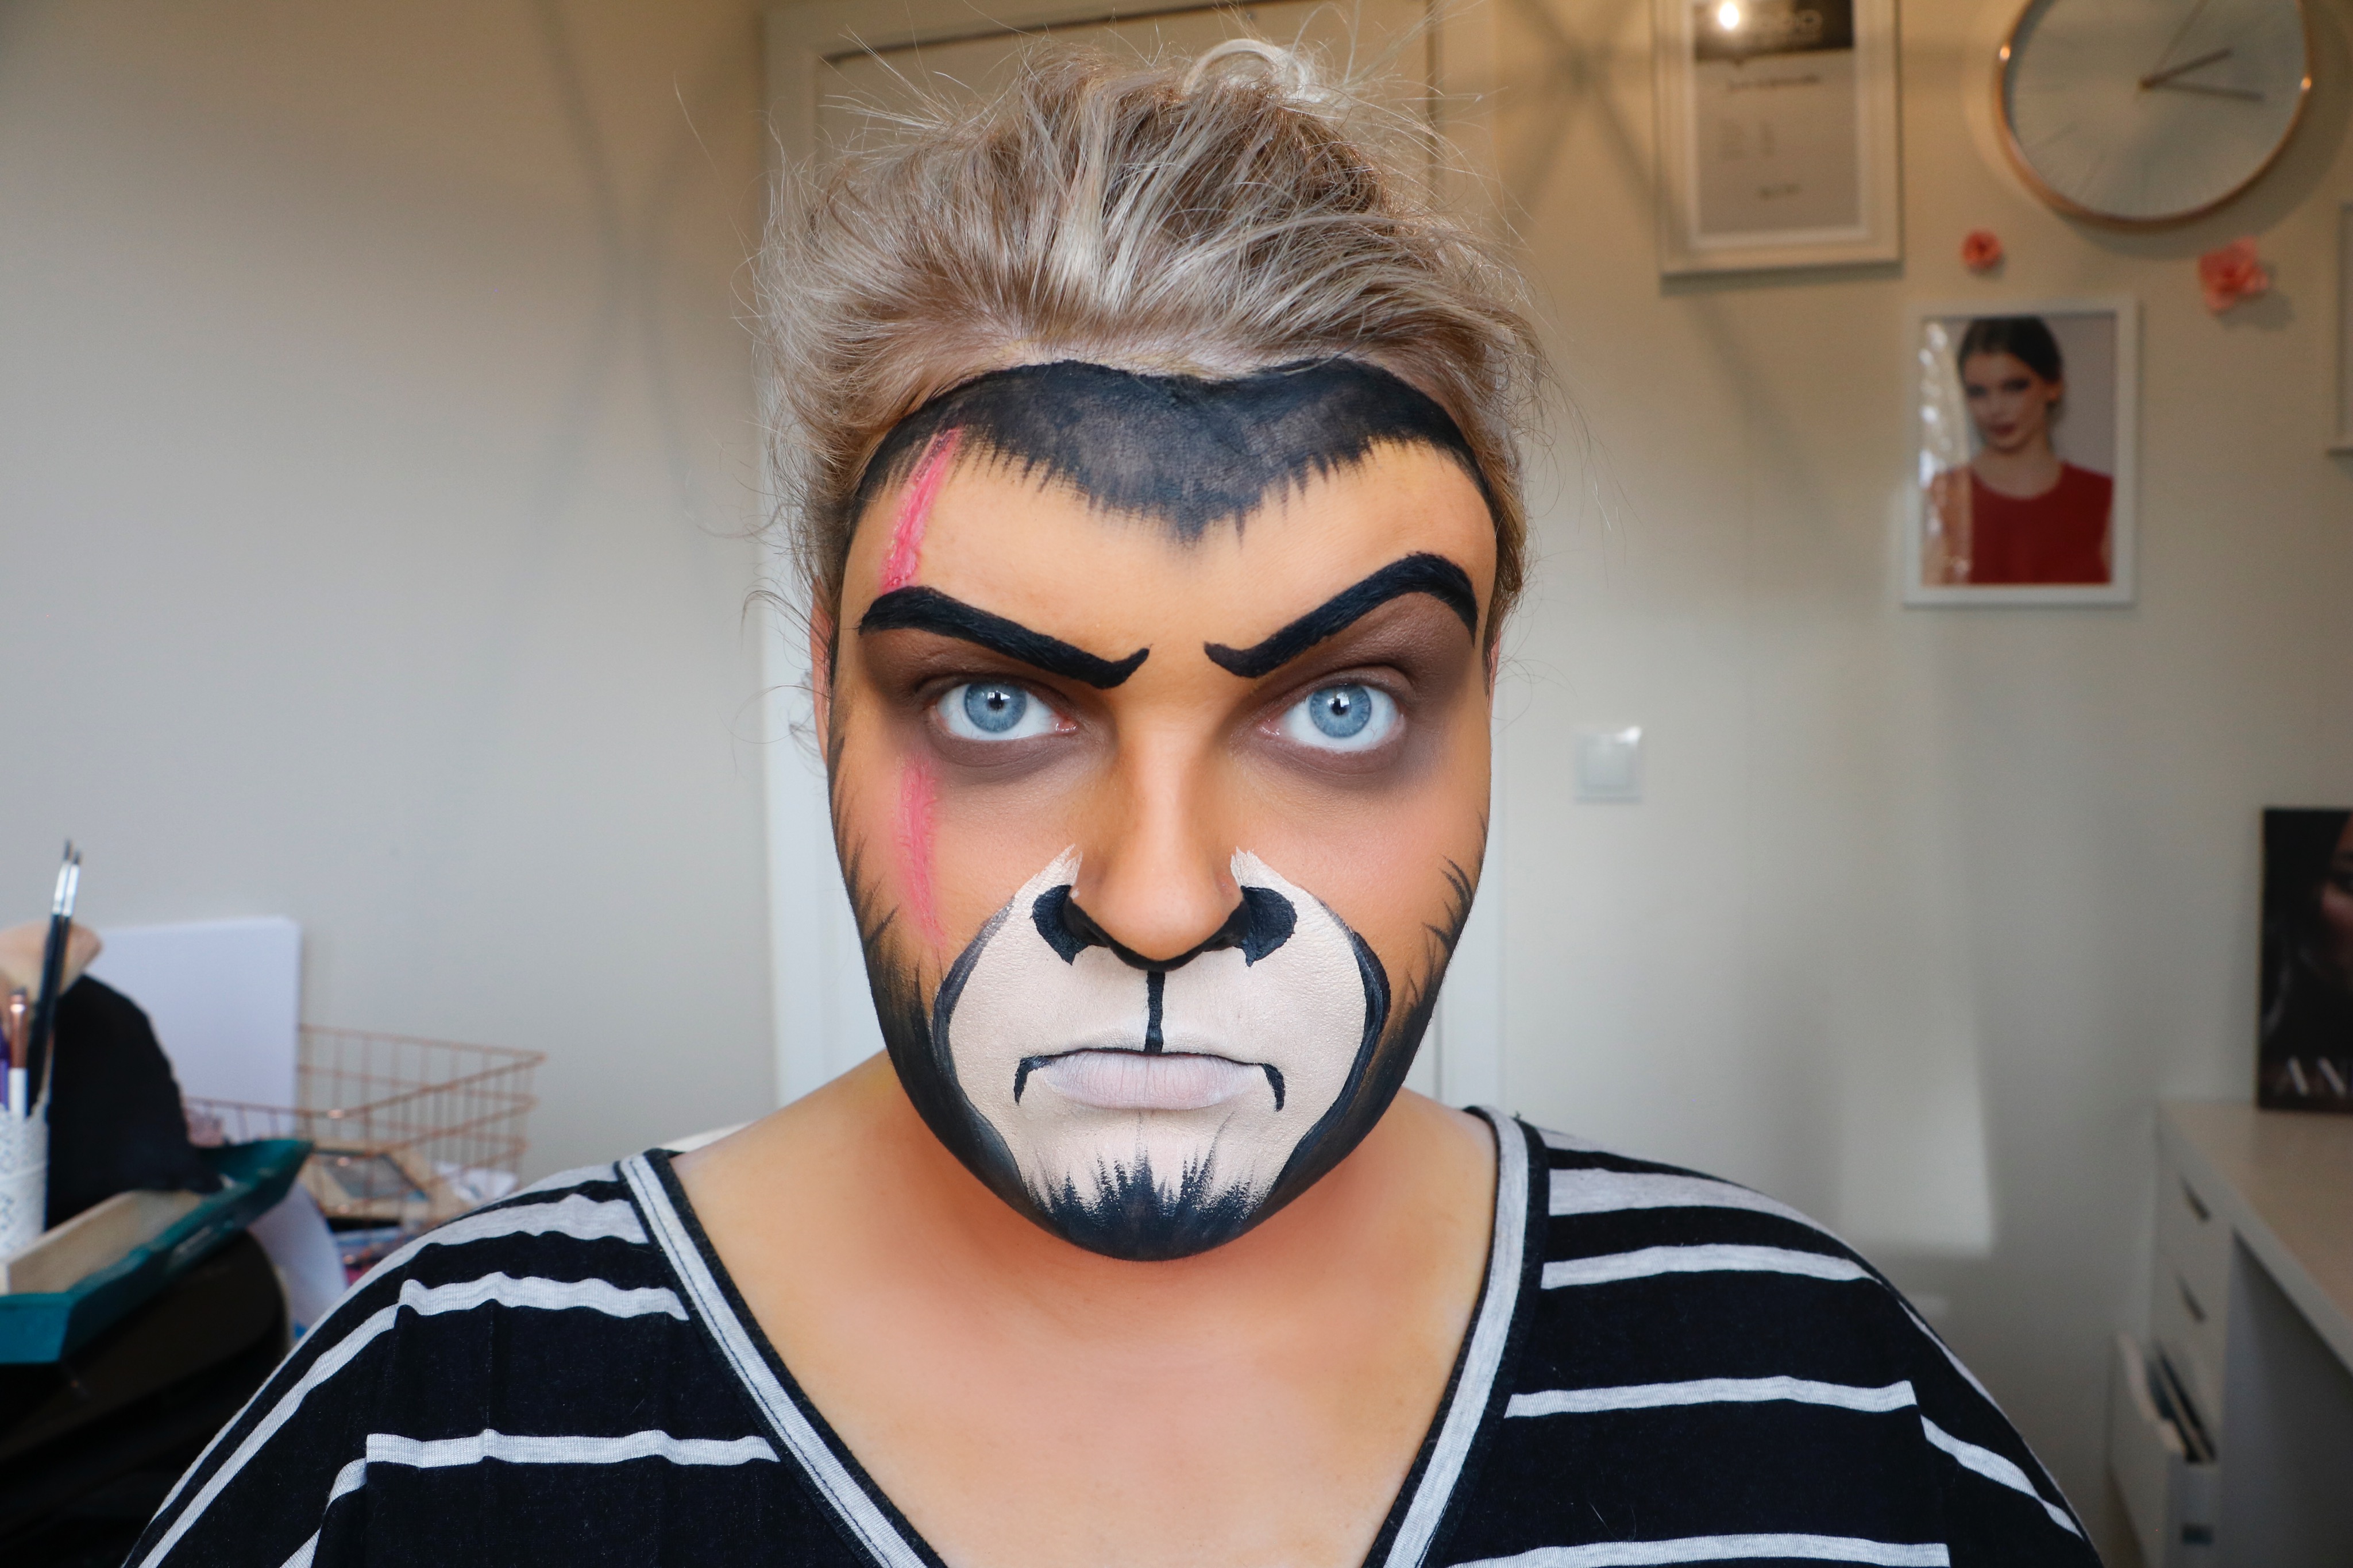
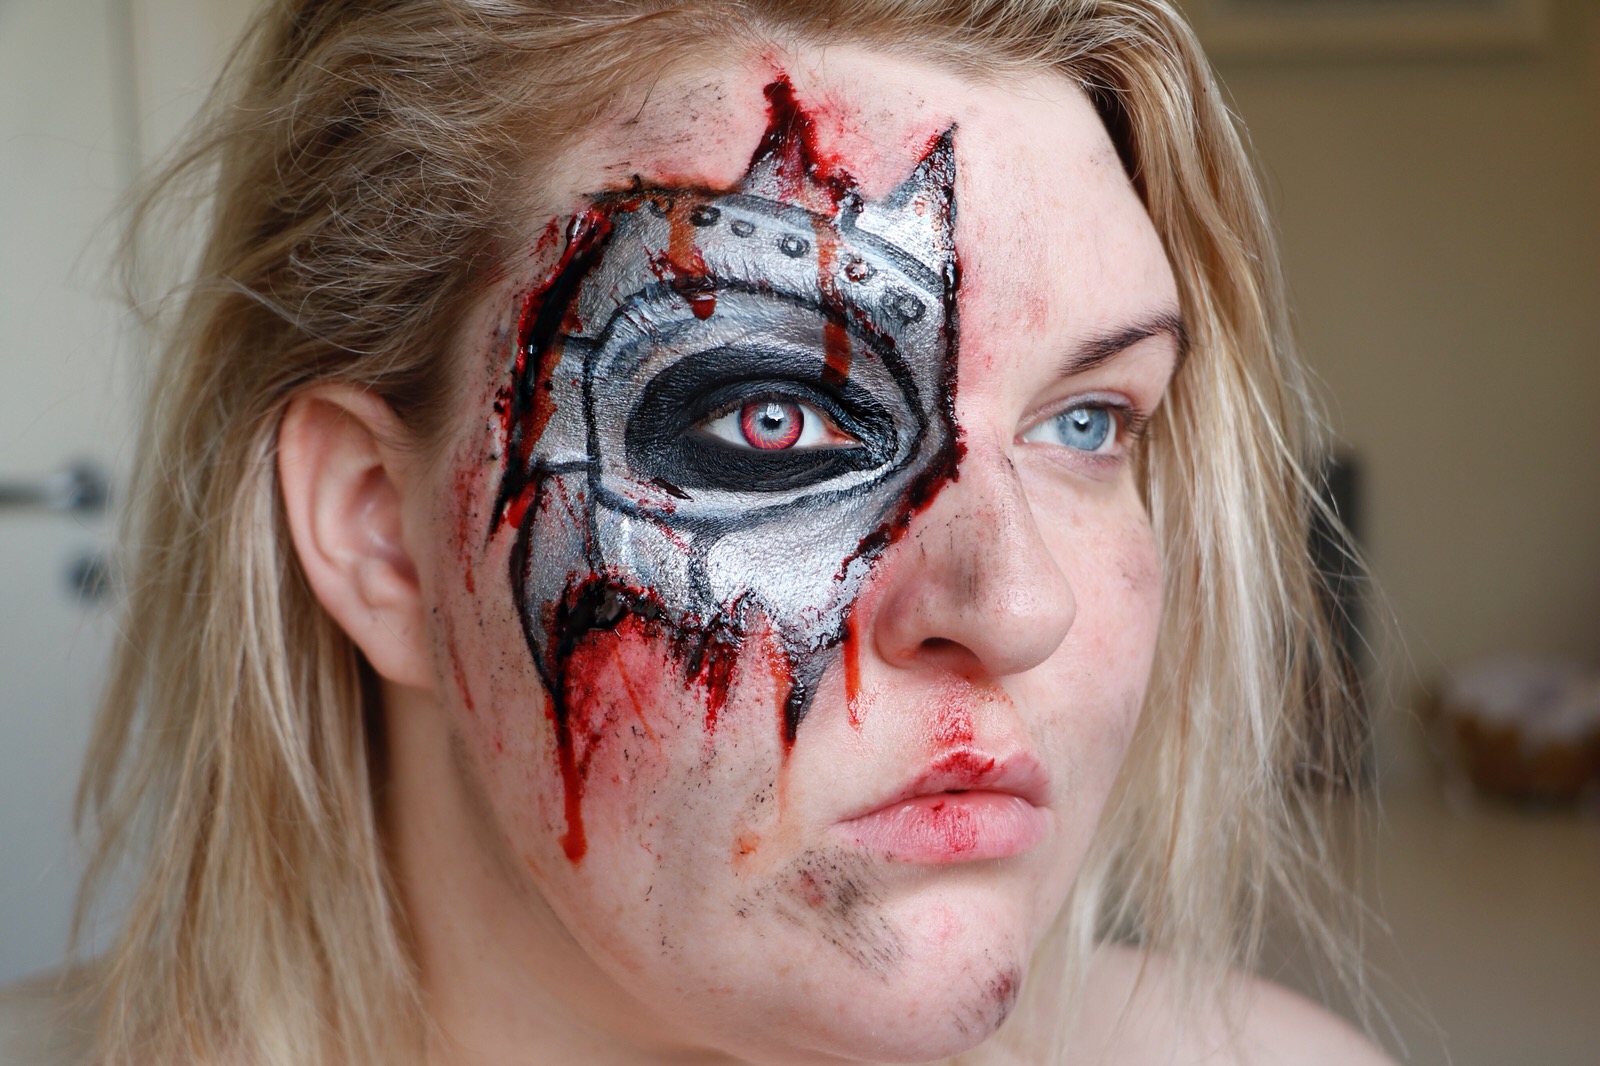
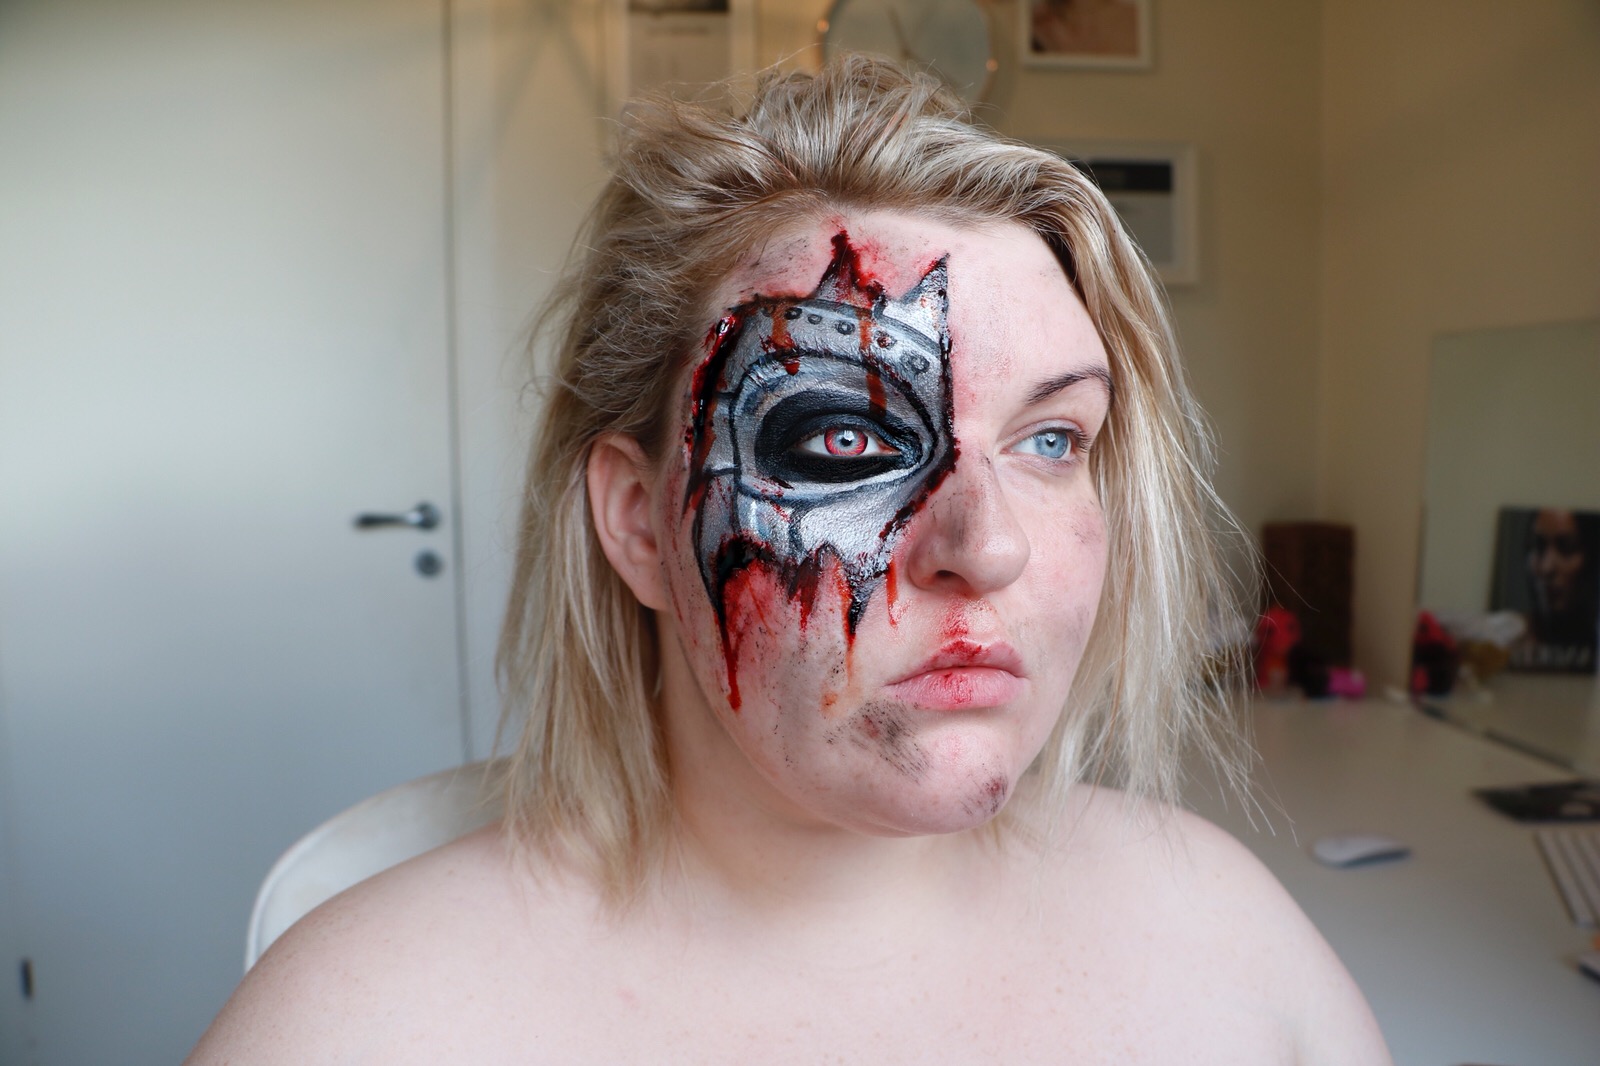
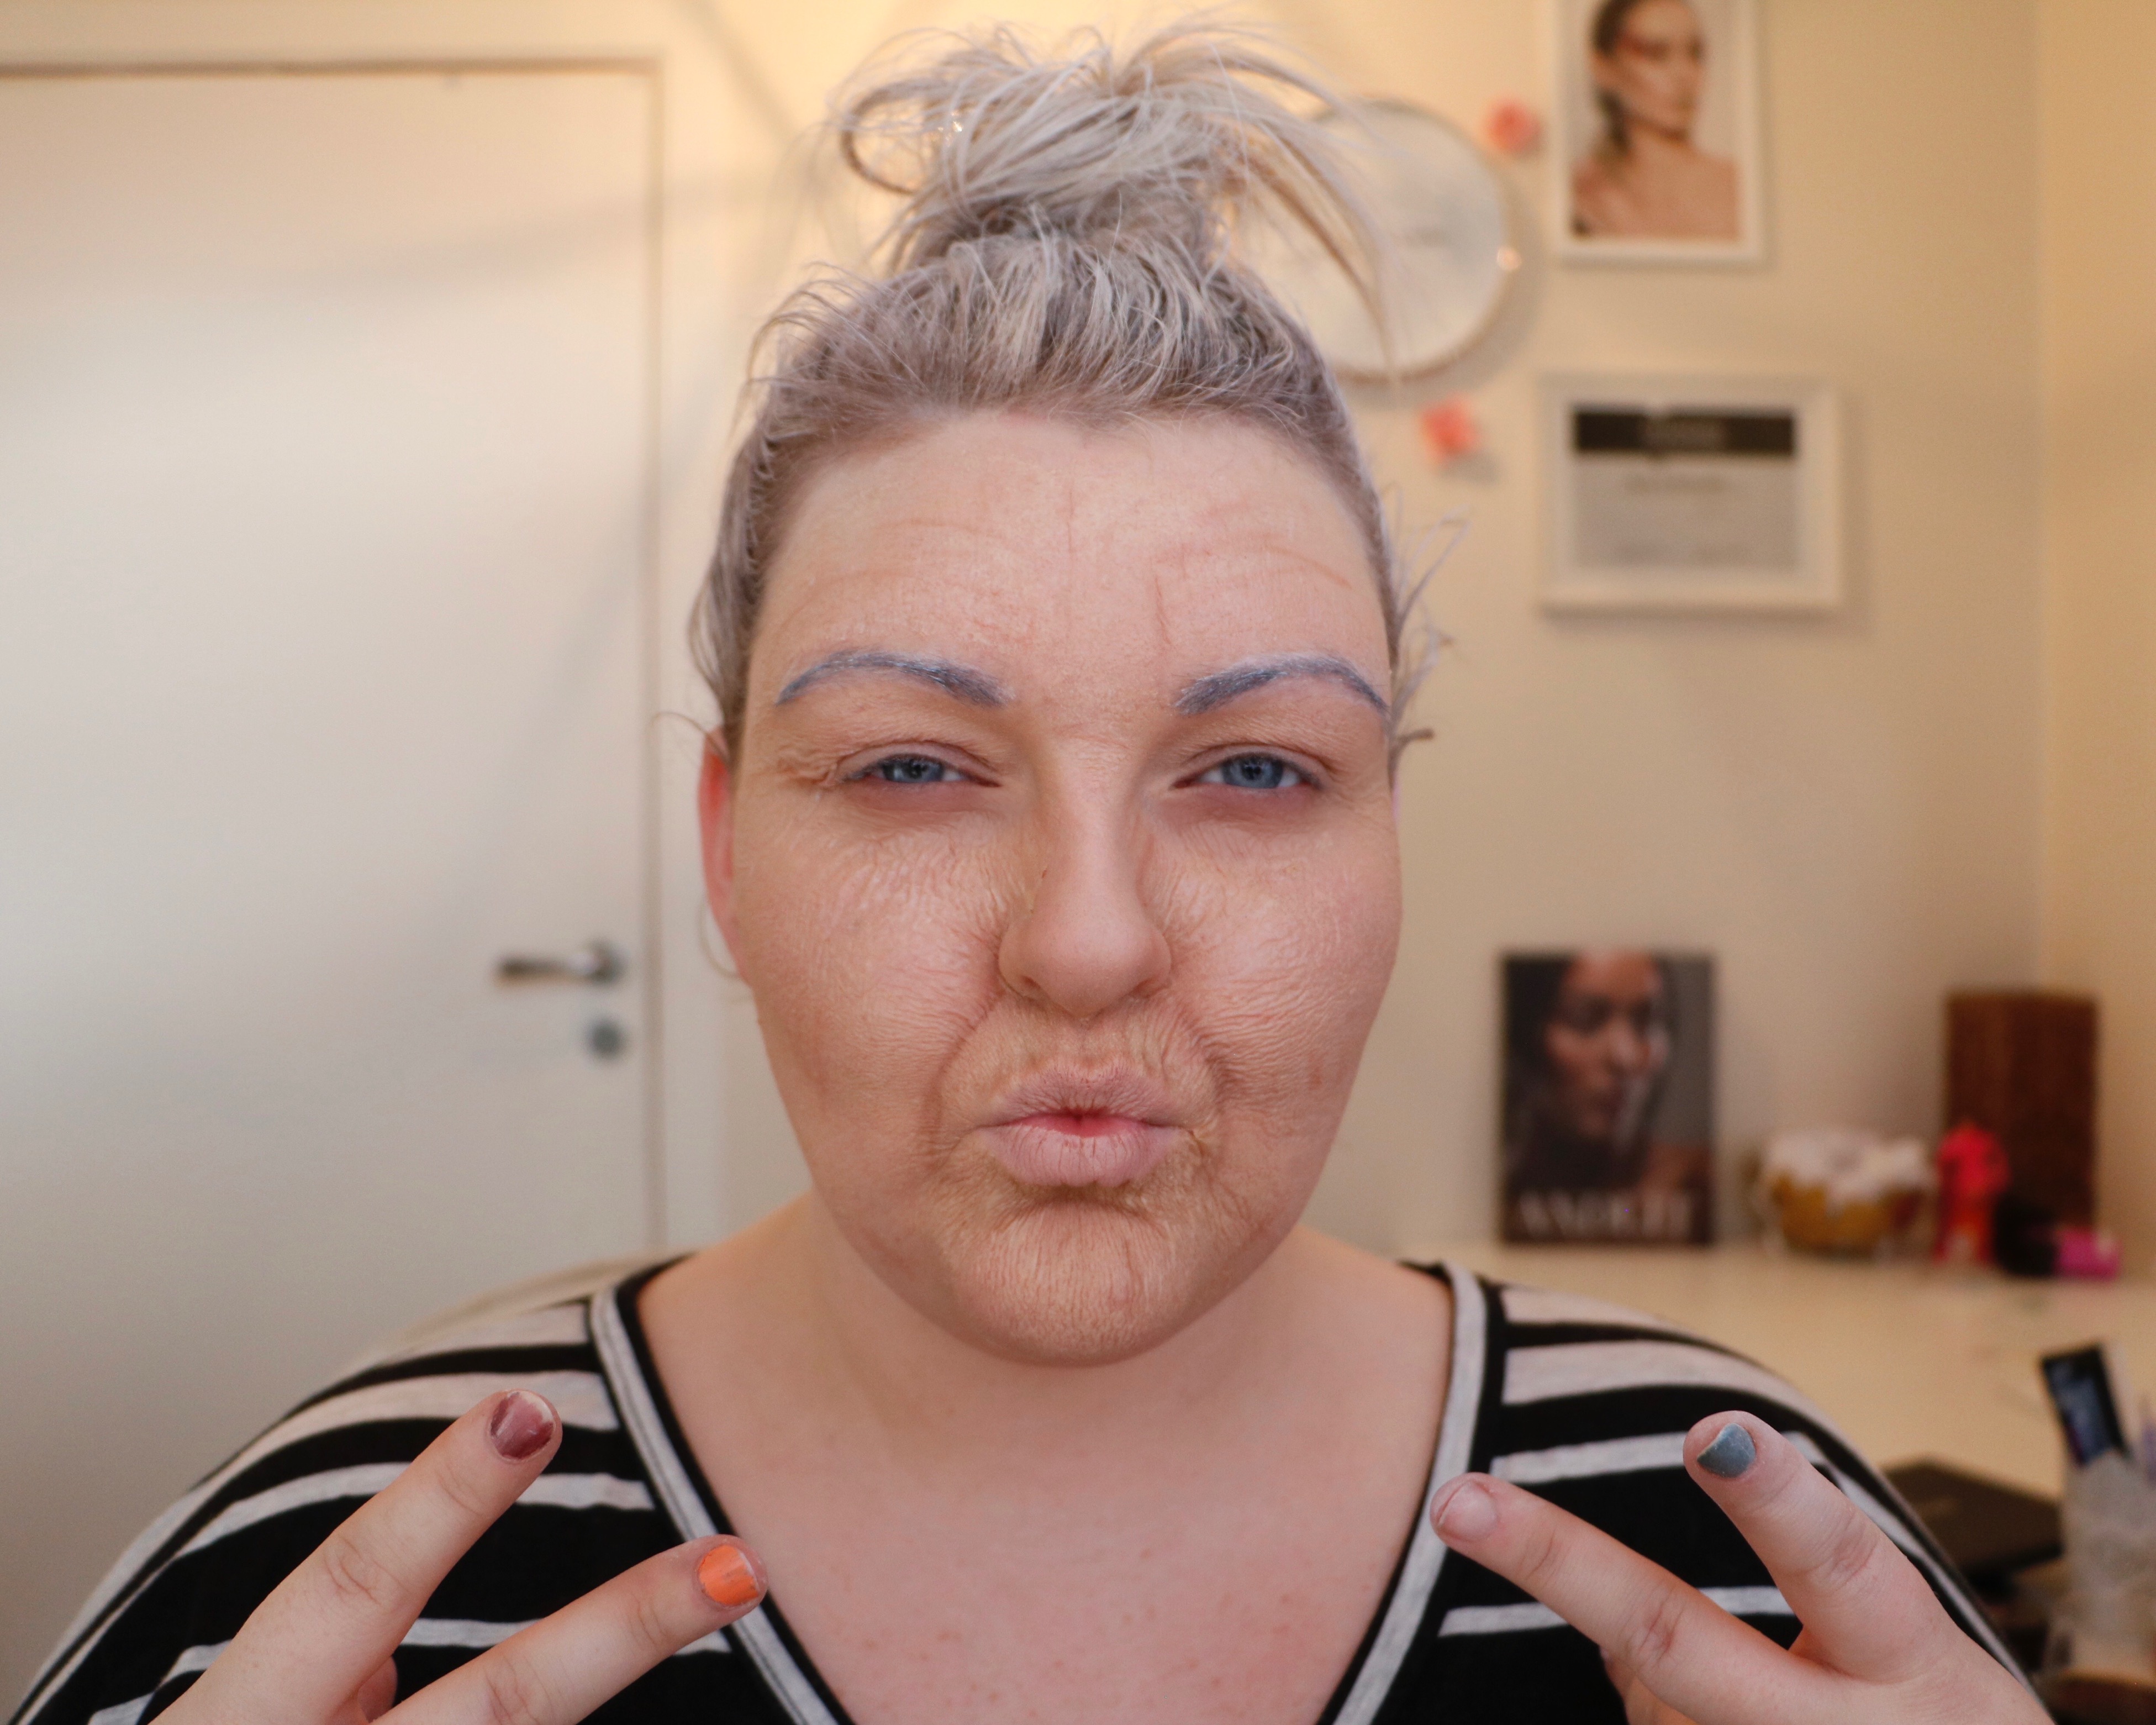
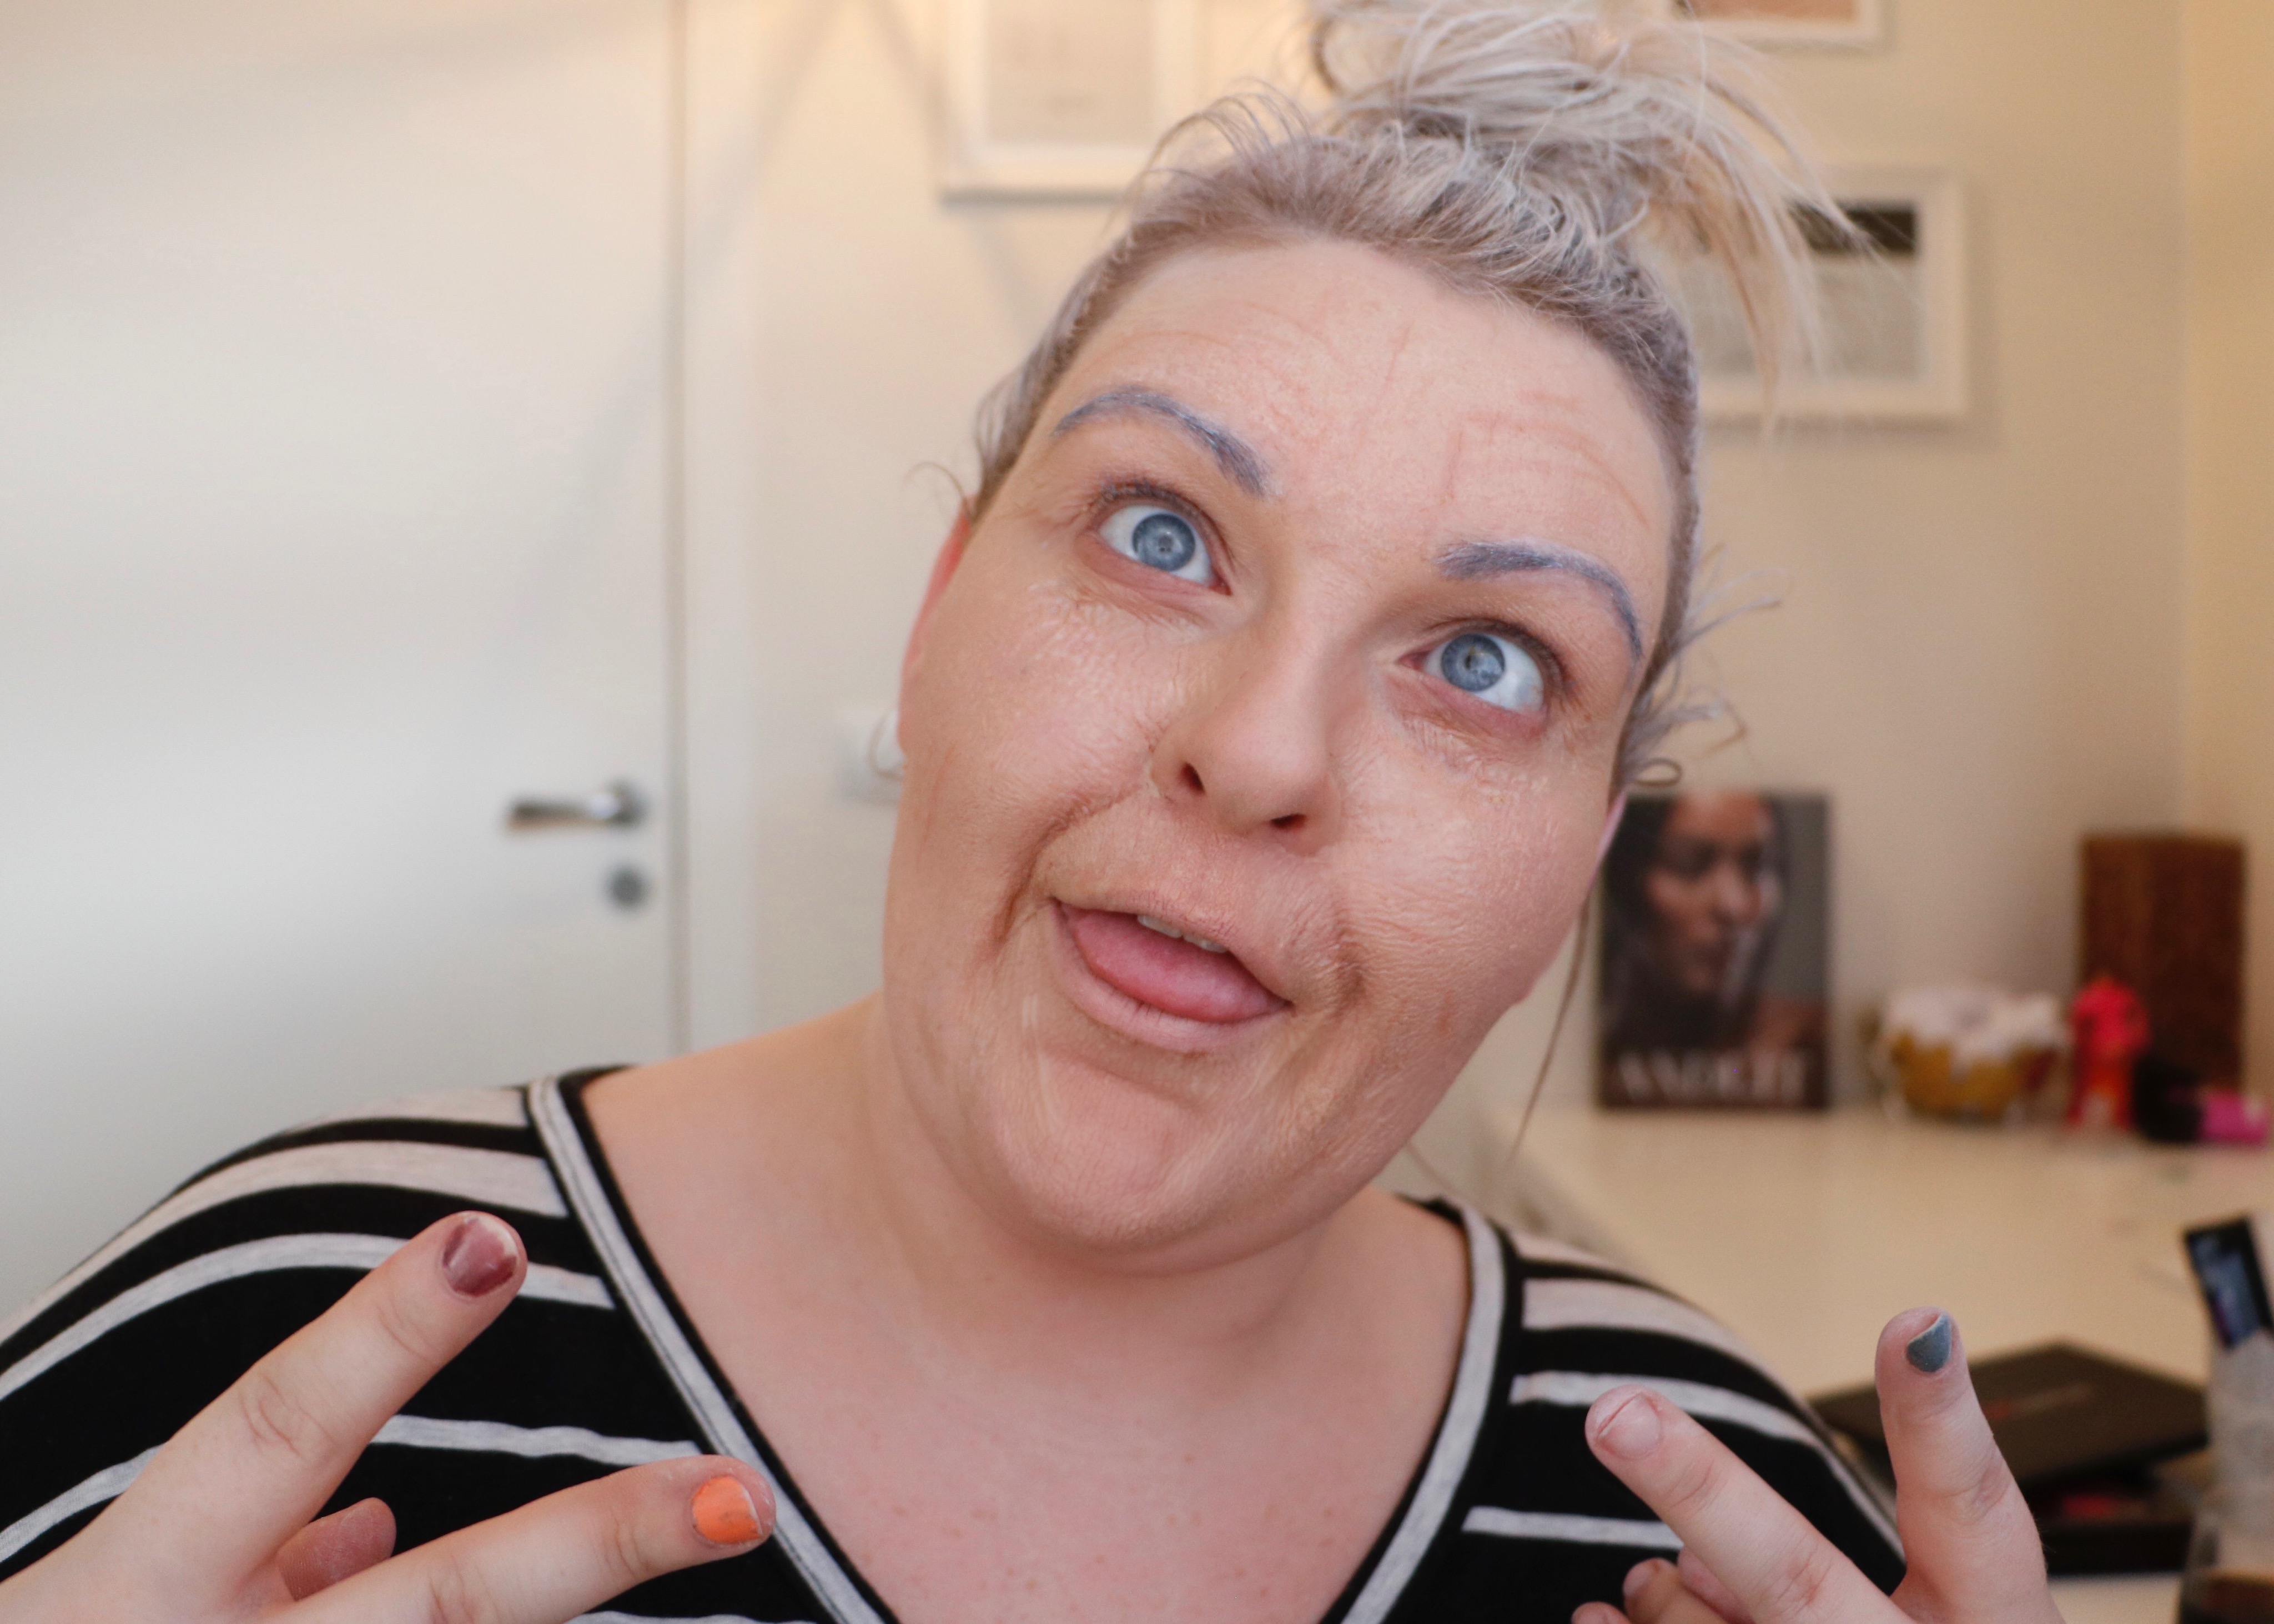
Worked with extremely talented women on set for a photoshoot for 1883 Magazine in February, working with me on makeup for this shoot was my good friend Sandra María. For my makeup looks I wanted to focus on beautiful skin and incorporate their individual styling and characteristics in to the makeup. I have written a little information about the makeup process to each and every picture below. All of these have been published in 1883 Magazine and on RVKDTR’s webpage

Photographer: Berglaug Garðarsdóttir
Makeup: Ágústa Sif Aðalsteinsdóttir
Makeup: Sandra María Ásgeirsdóttir
Stylist: Díana Rós Hanh Breckmann

RVKDTR_by_Berglaug-8

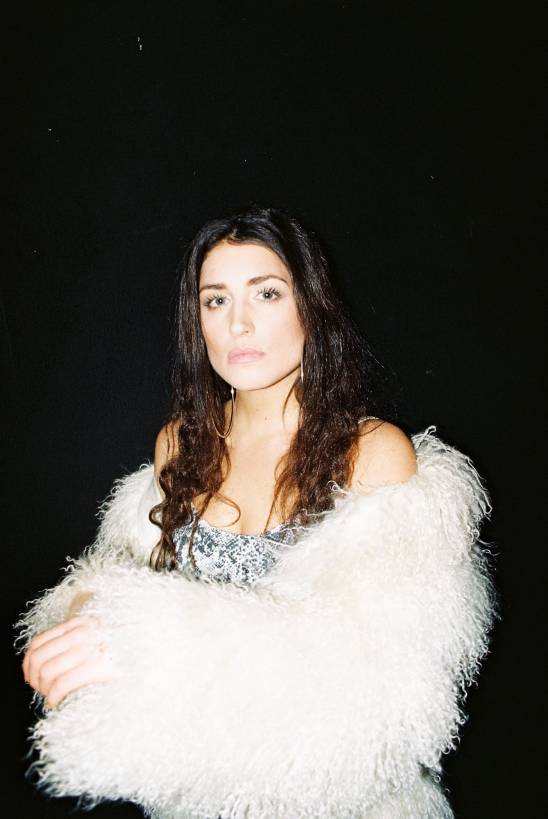
Steinunn Jónsdóttir: For Steinunn I wanted to have her very natural and modern, I didn’t want to drown her beautiful eyes in makeup so I did beautiful skin and a natural brown beauty eye with a brown nude lipstick, and it looked flawless on her.

RVKDTR_by_Berglaug-36

Ragga Hólm: Ragga isn’t the typical woman that likes to go full on barbie, and she wanted a very bronzed no makeup , makeup look. So I made sure to treat her skin extra nicely with a mix of moisturizers, a feather light foundation, bronzer and mascara.

RVKDTR_by_Berglaug-17

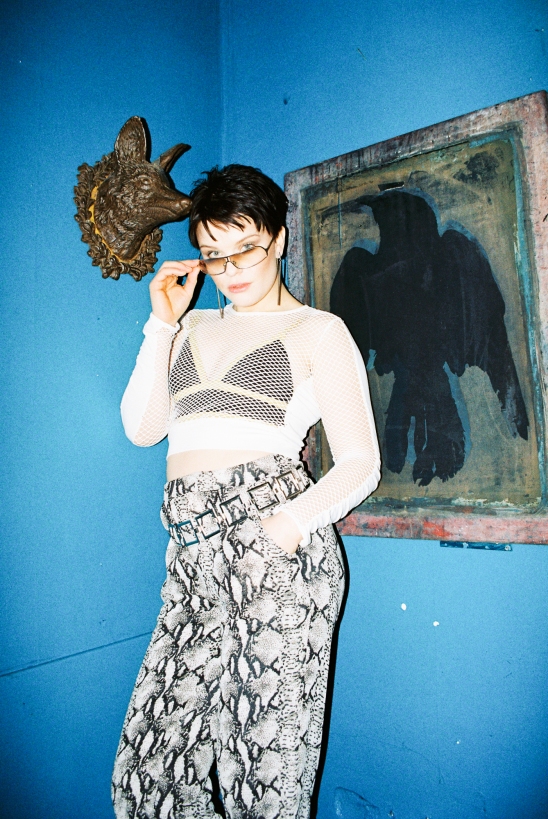
Kolfinna Nikulásdóttir: Kolfinna told me that she had some bad experiences with previous makeup artists and their makeup application on her, so I wanted to make sure that she walked out of my chair happy, For her I wanted a modern toned down Kim Kardashian West look, so colouring, nude lips and a brown toned beauty eye.

RVKDTR_by_Berglaug-5

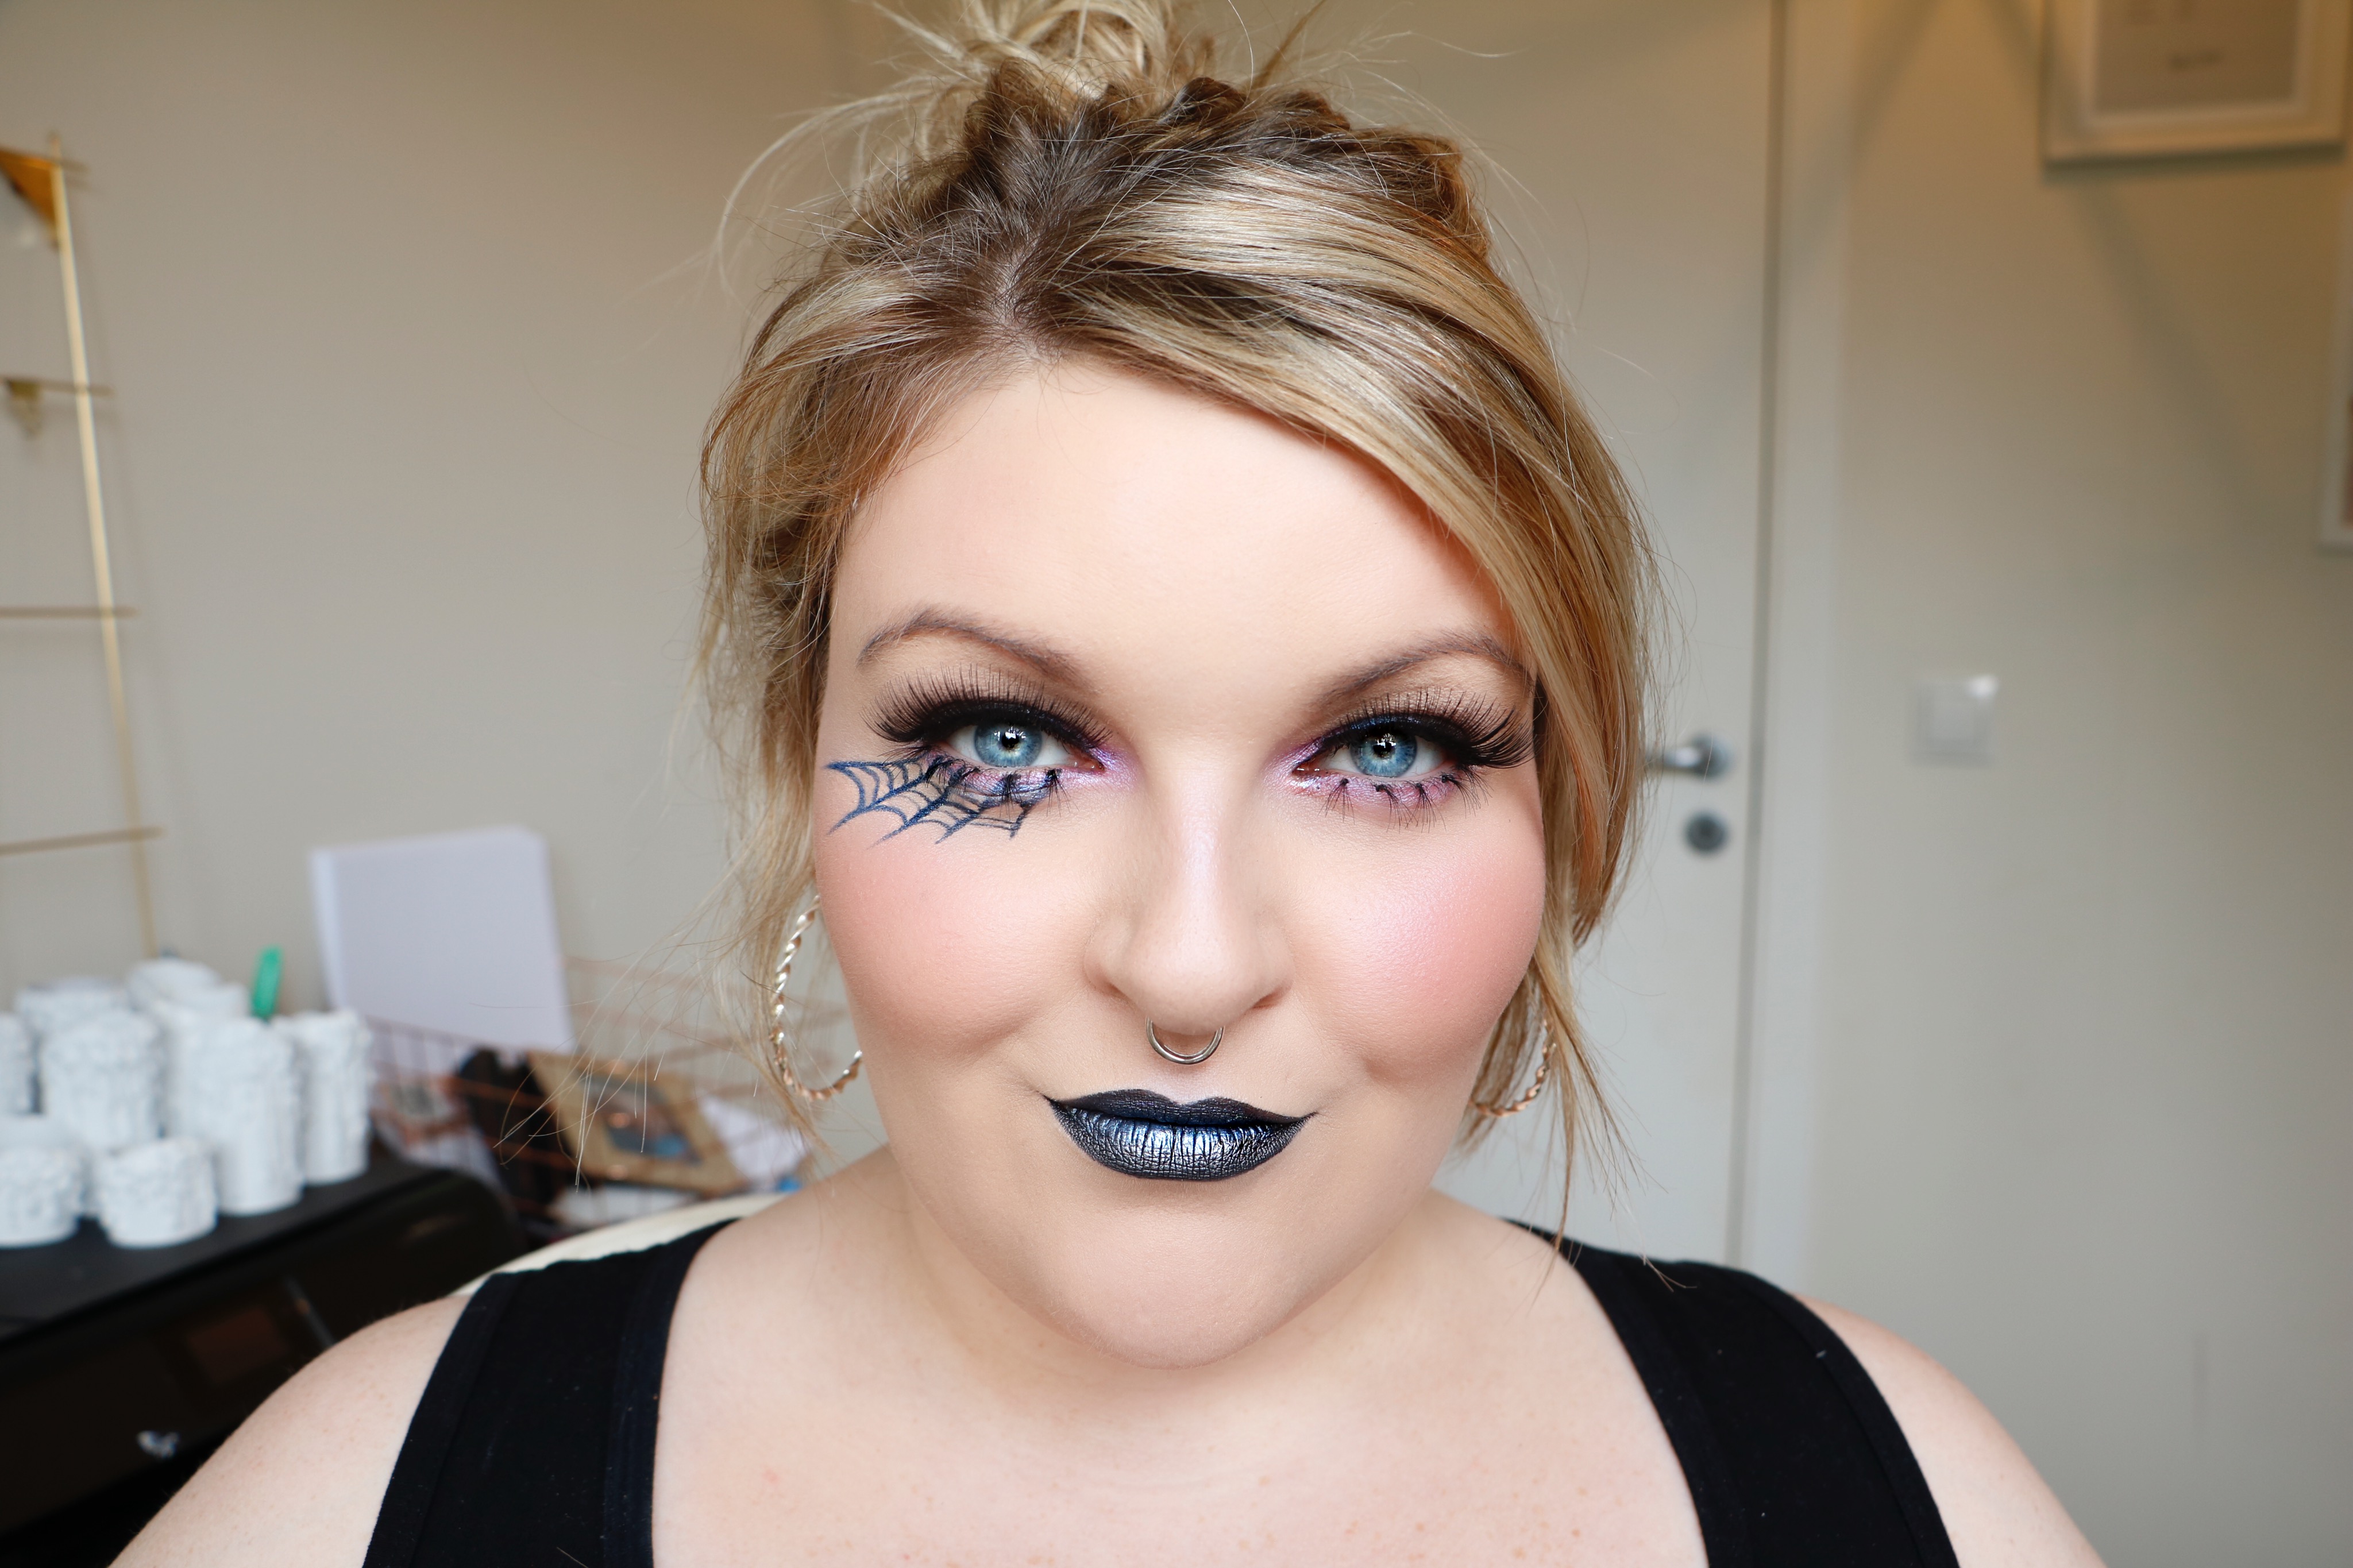
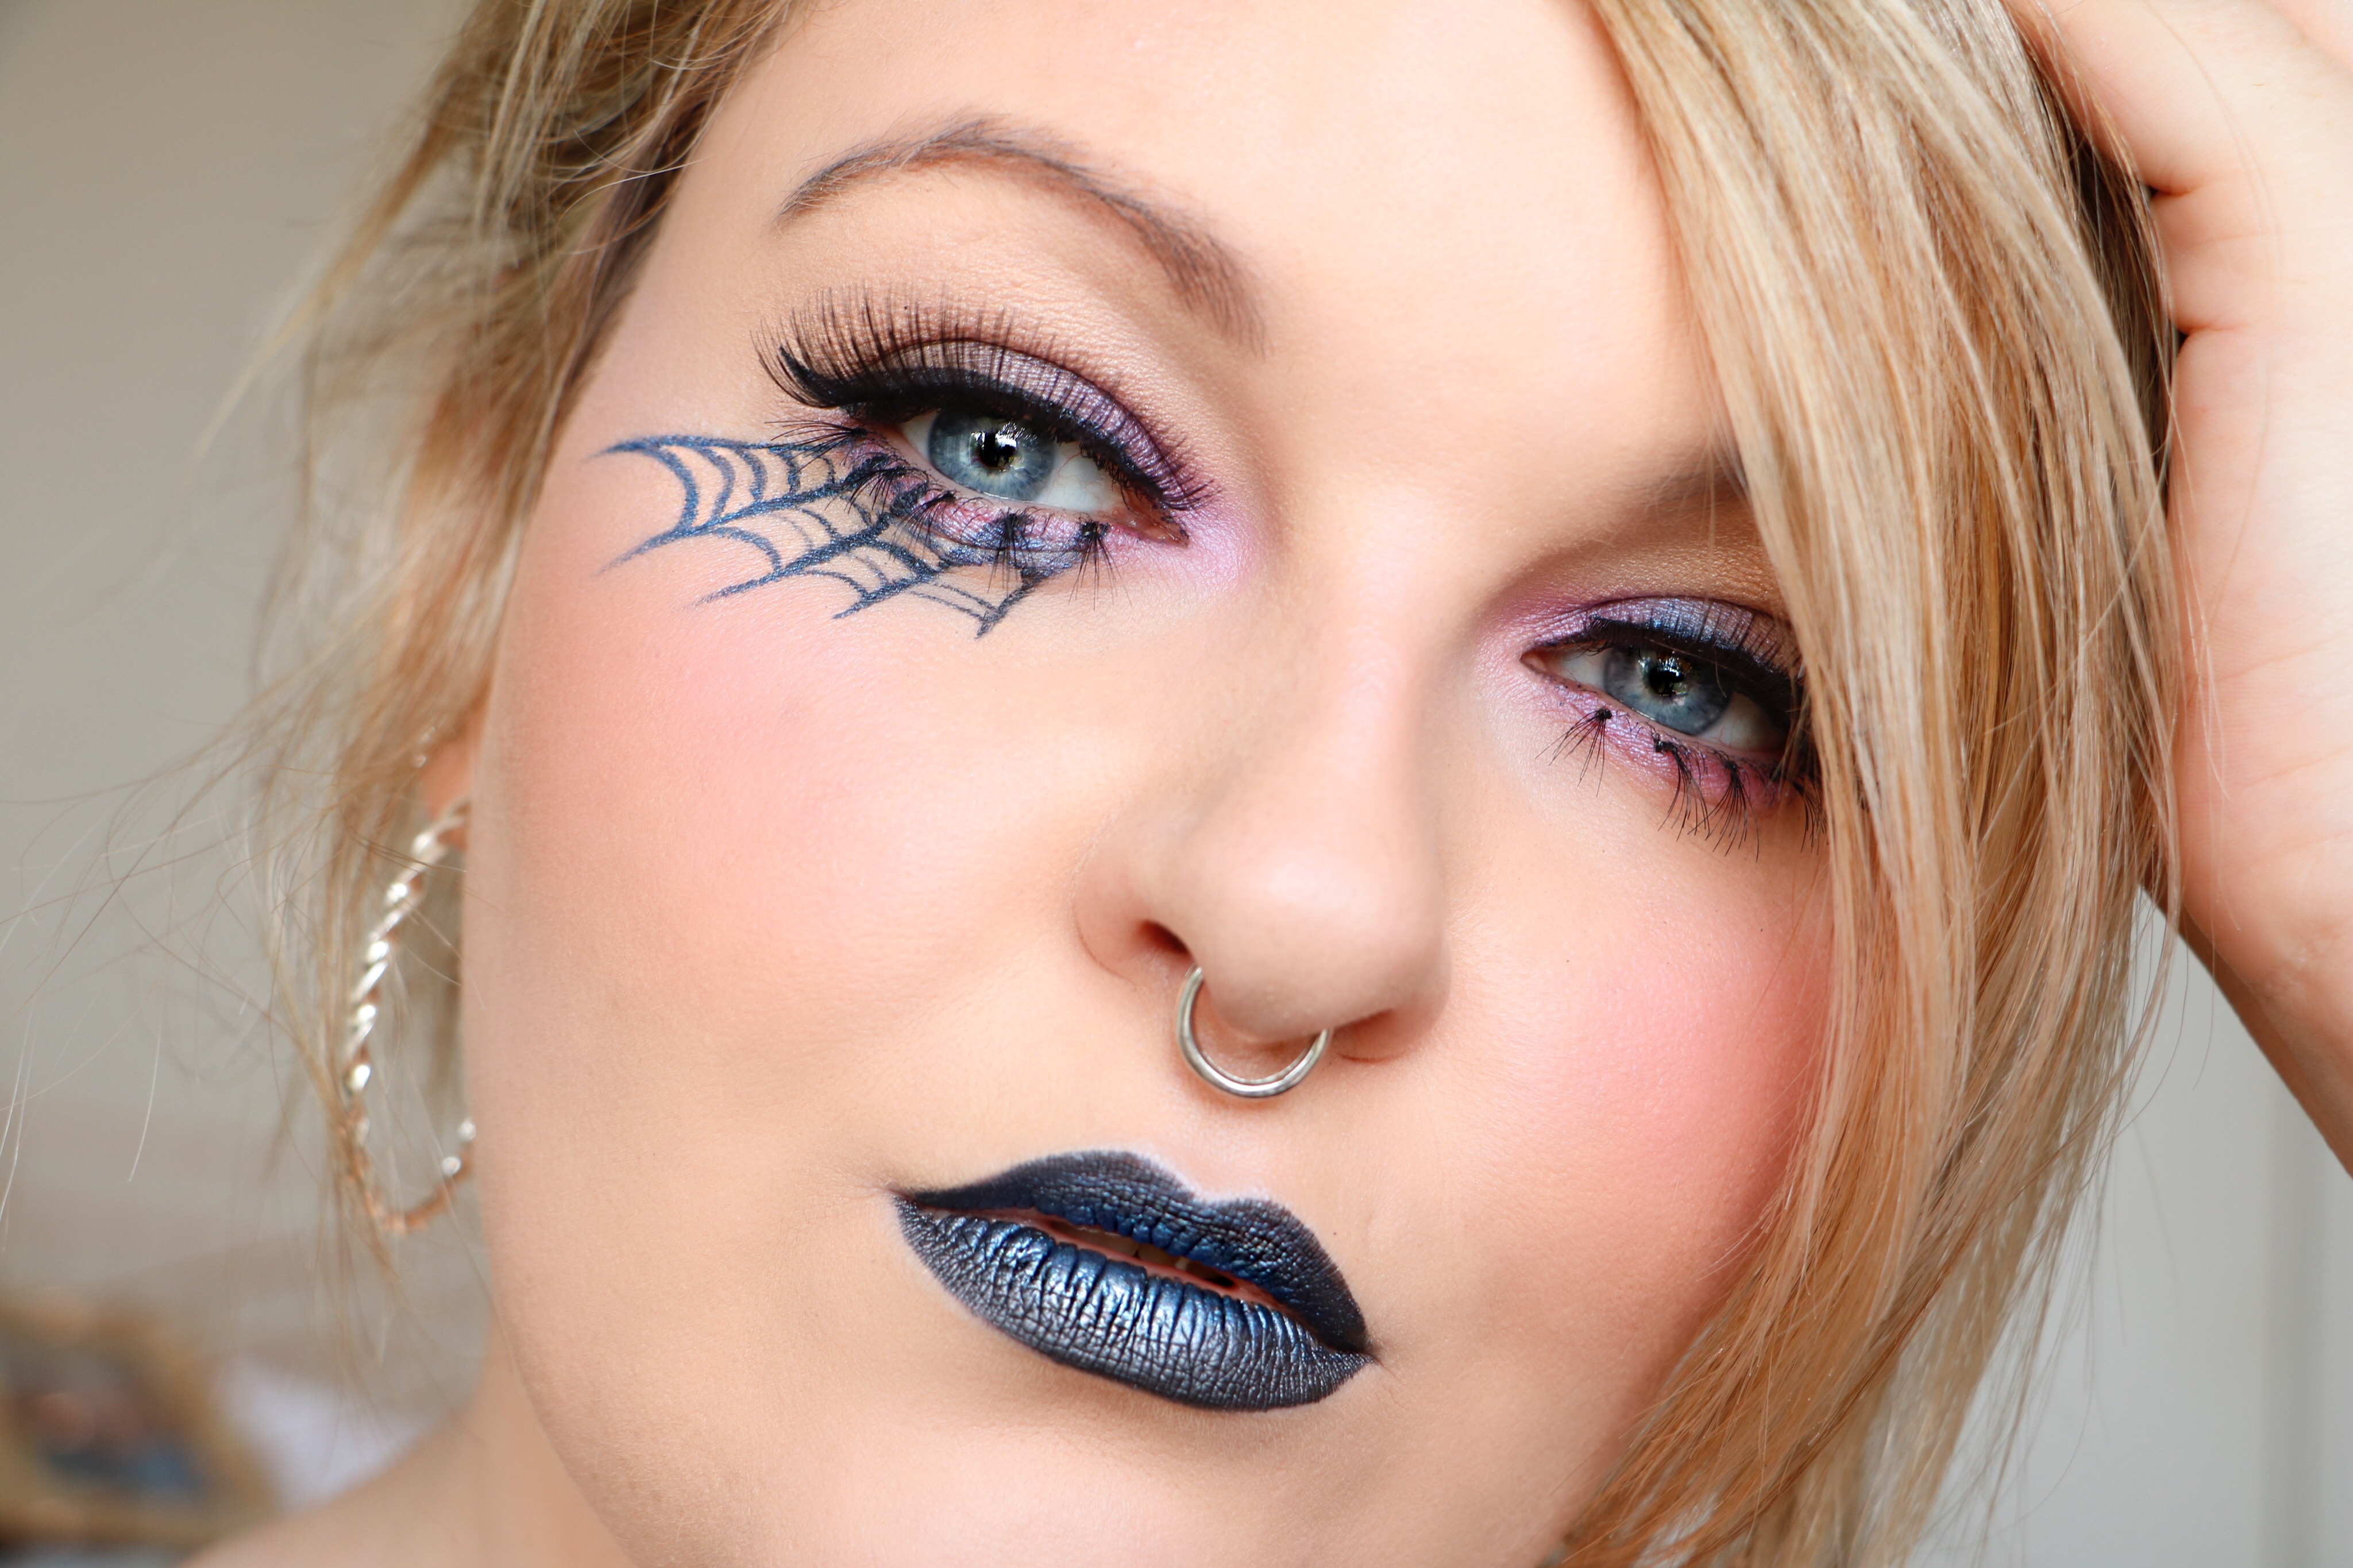
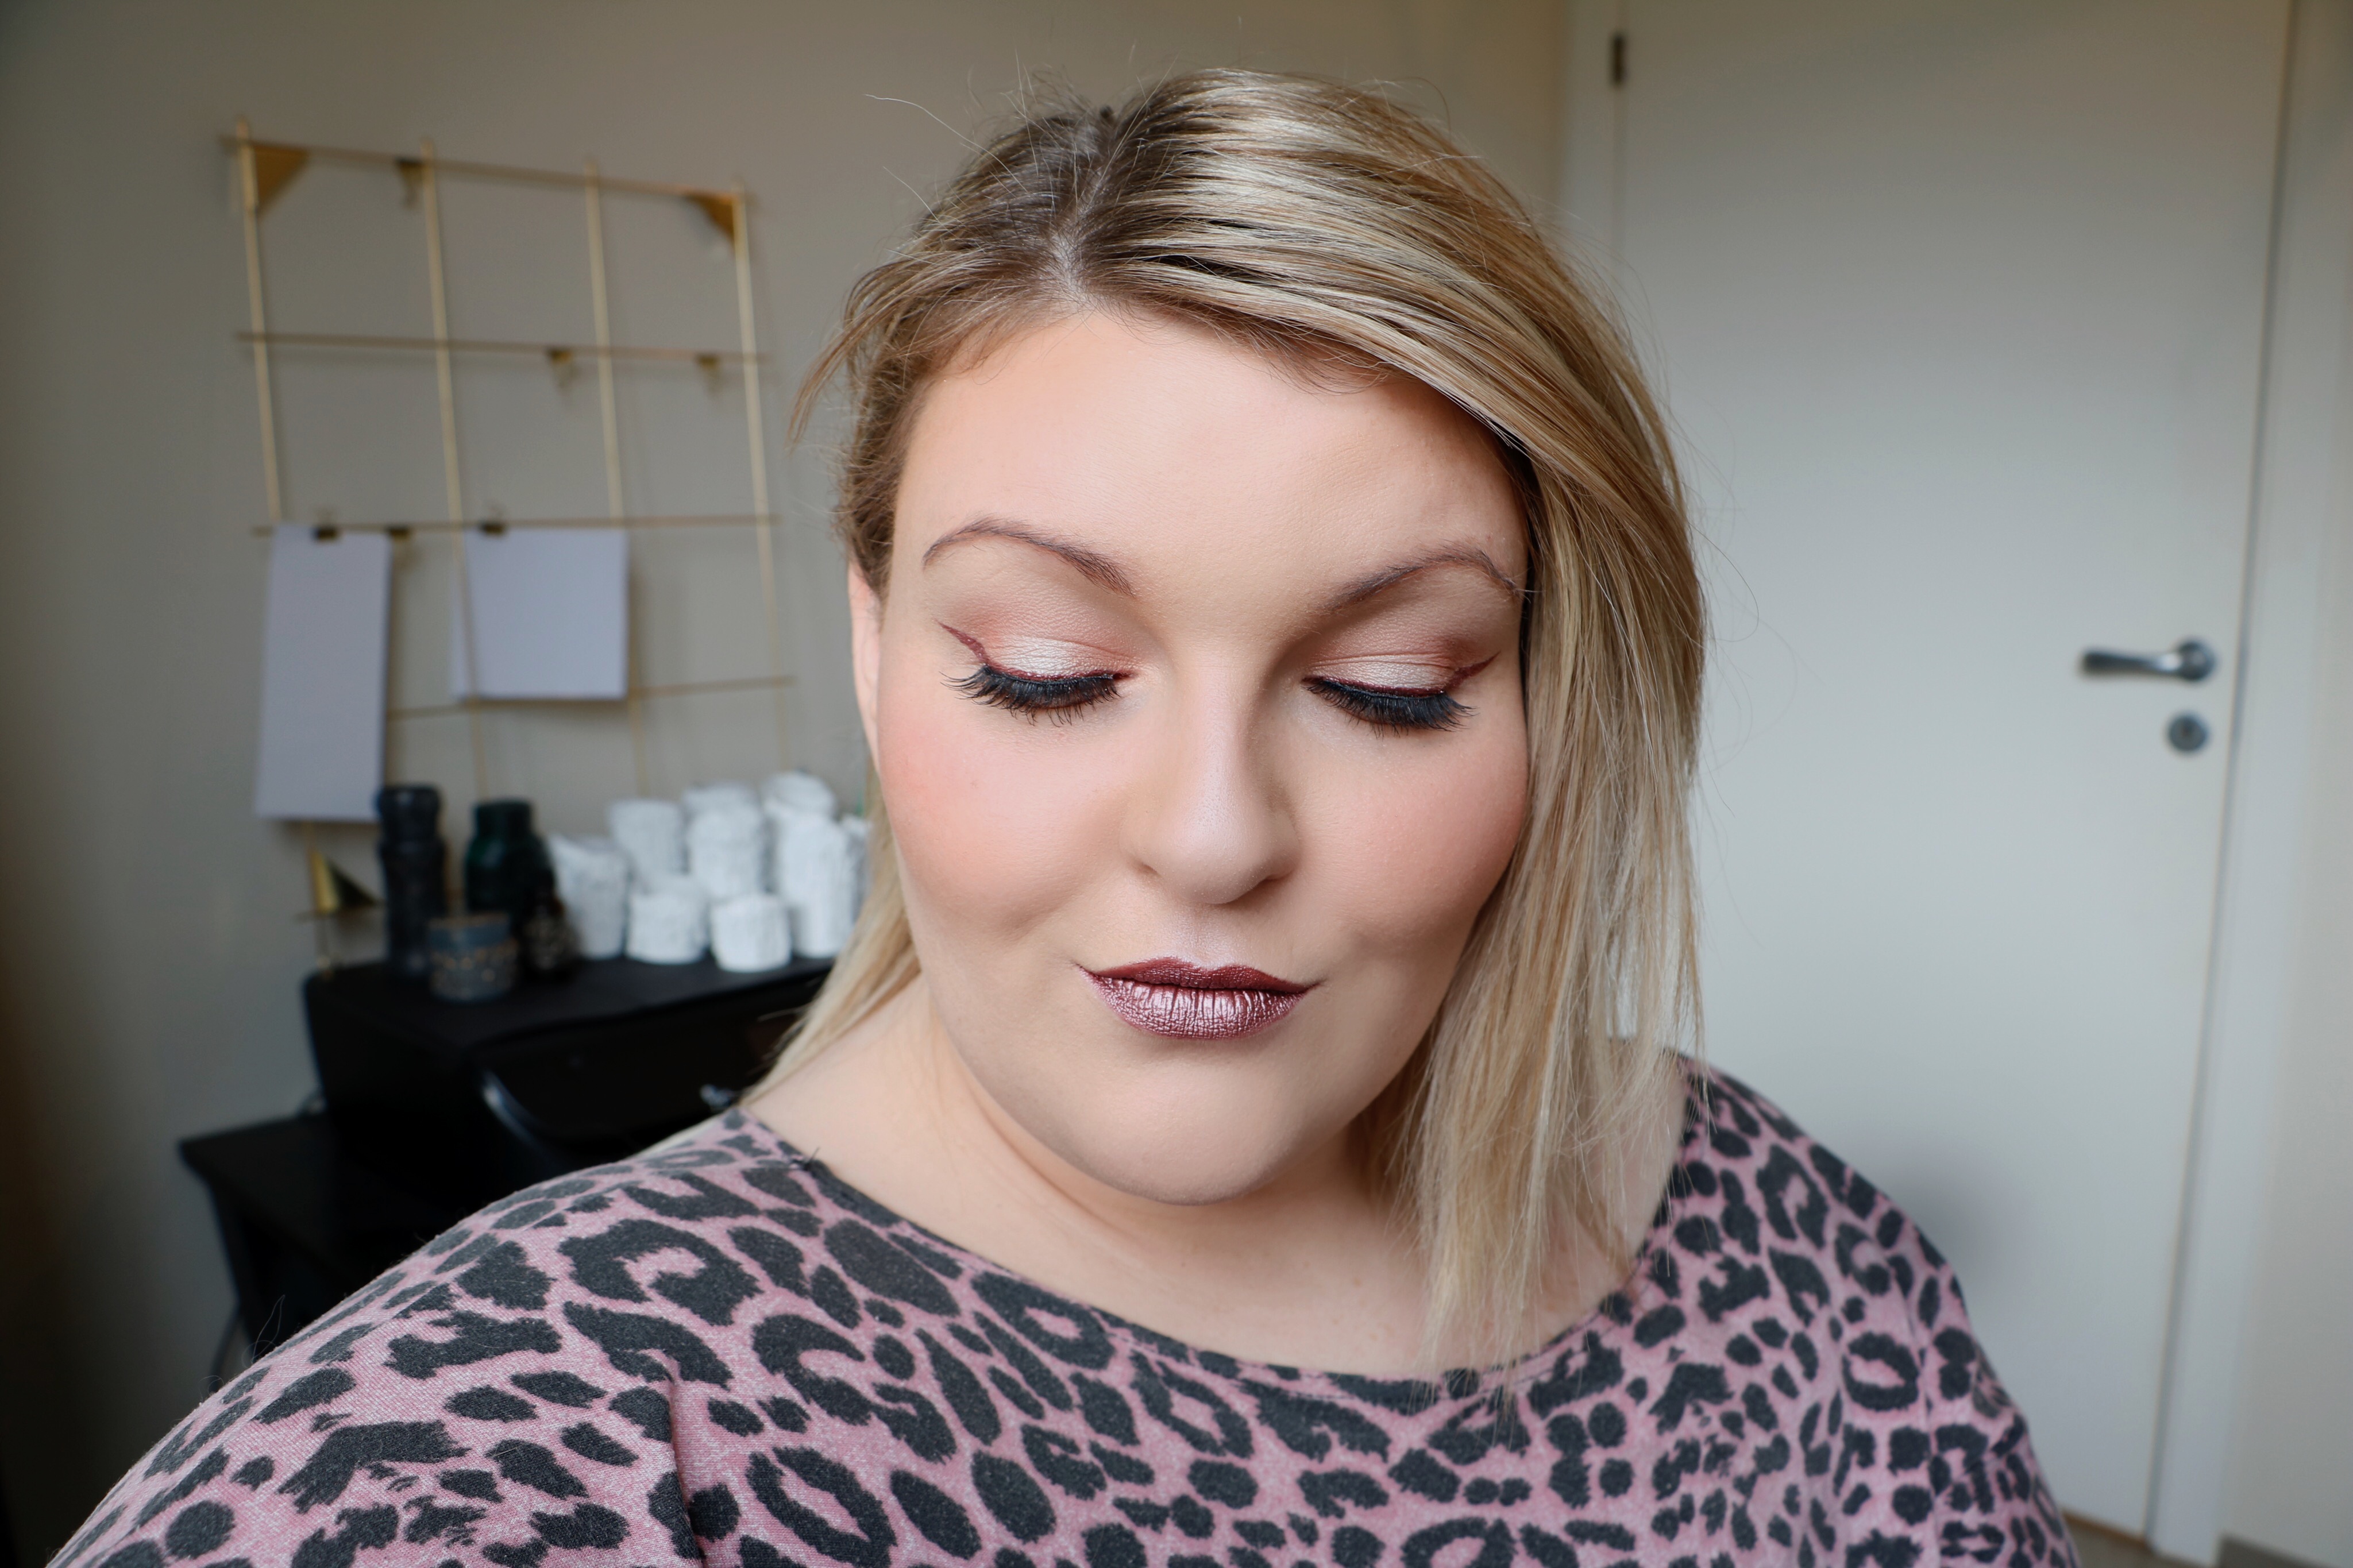
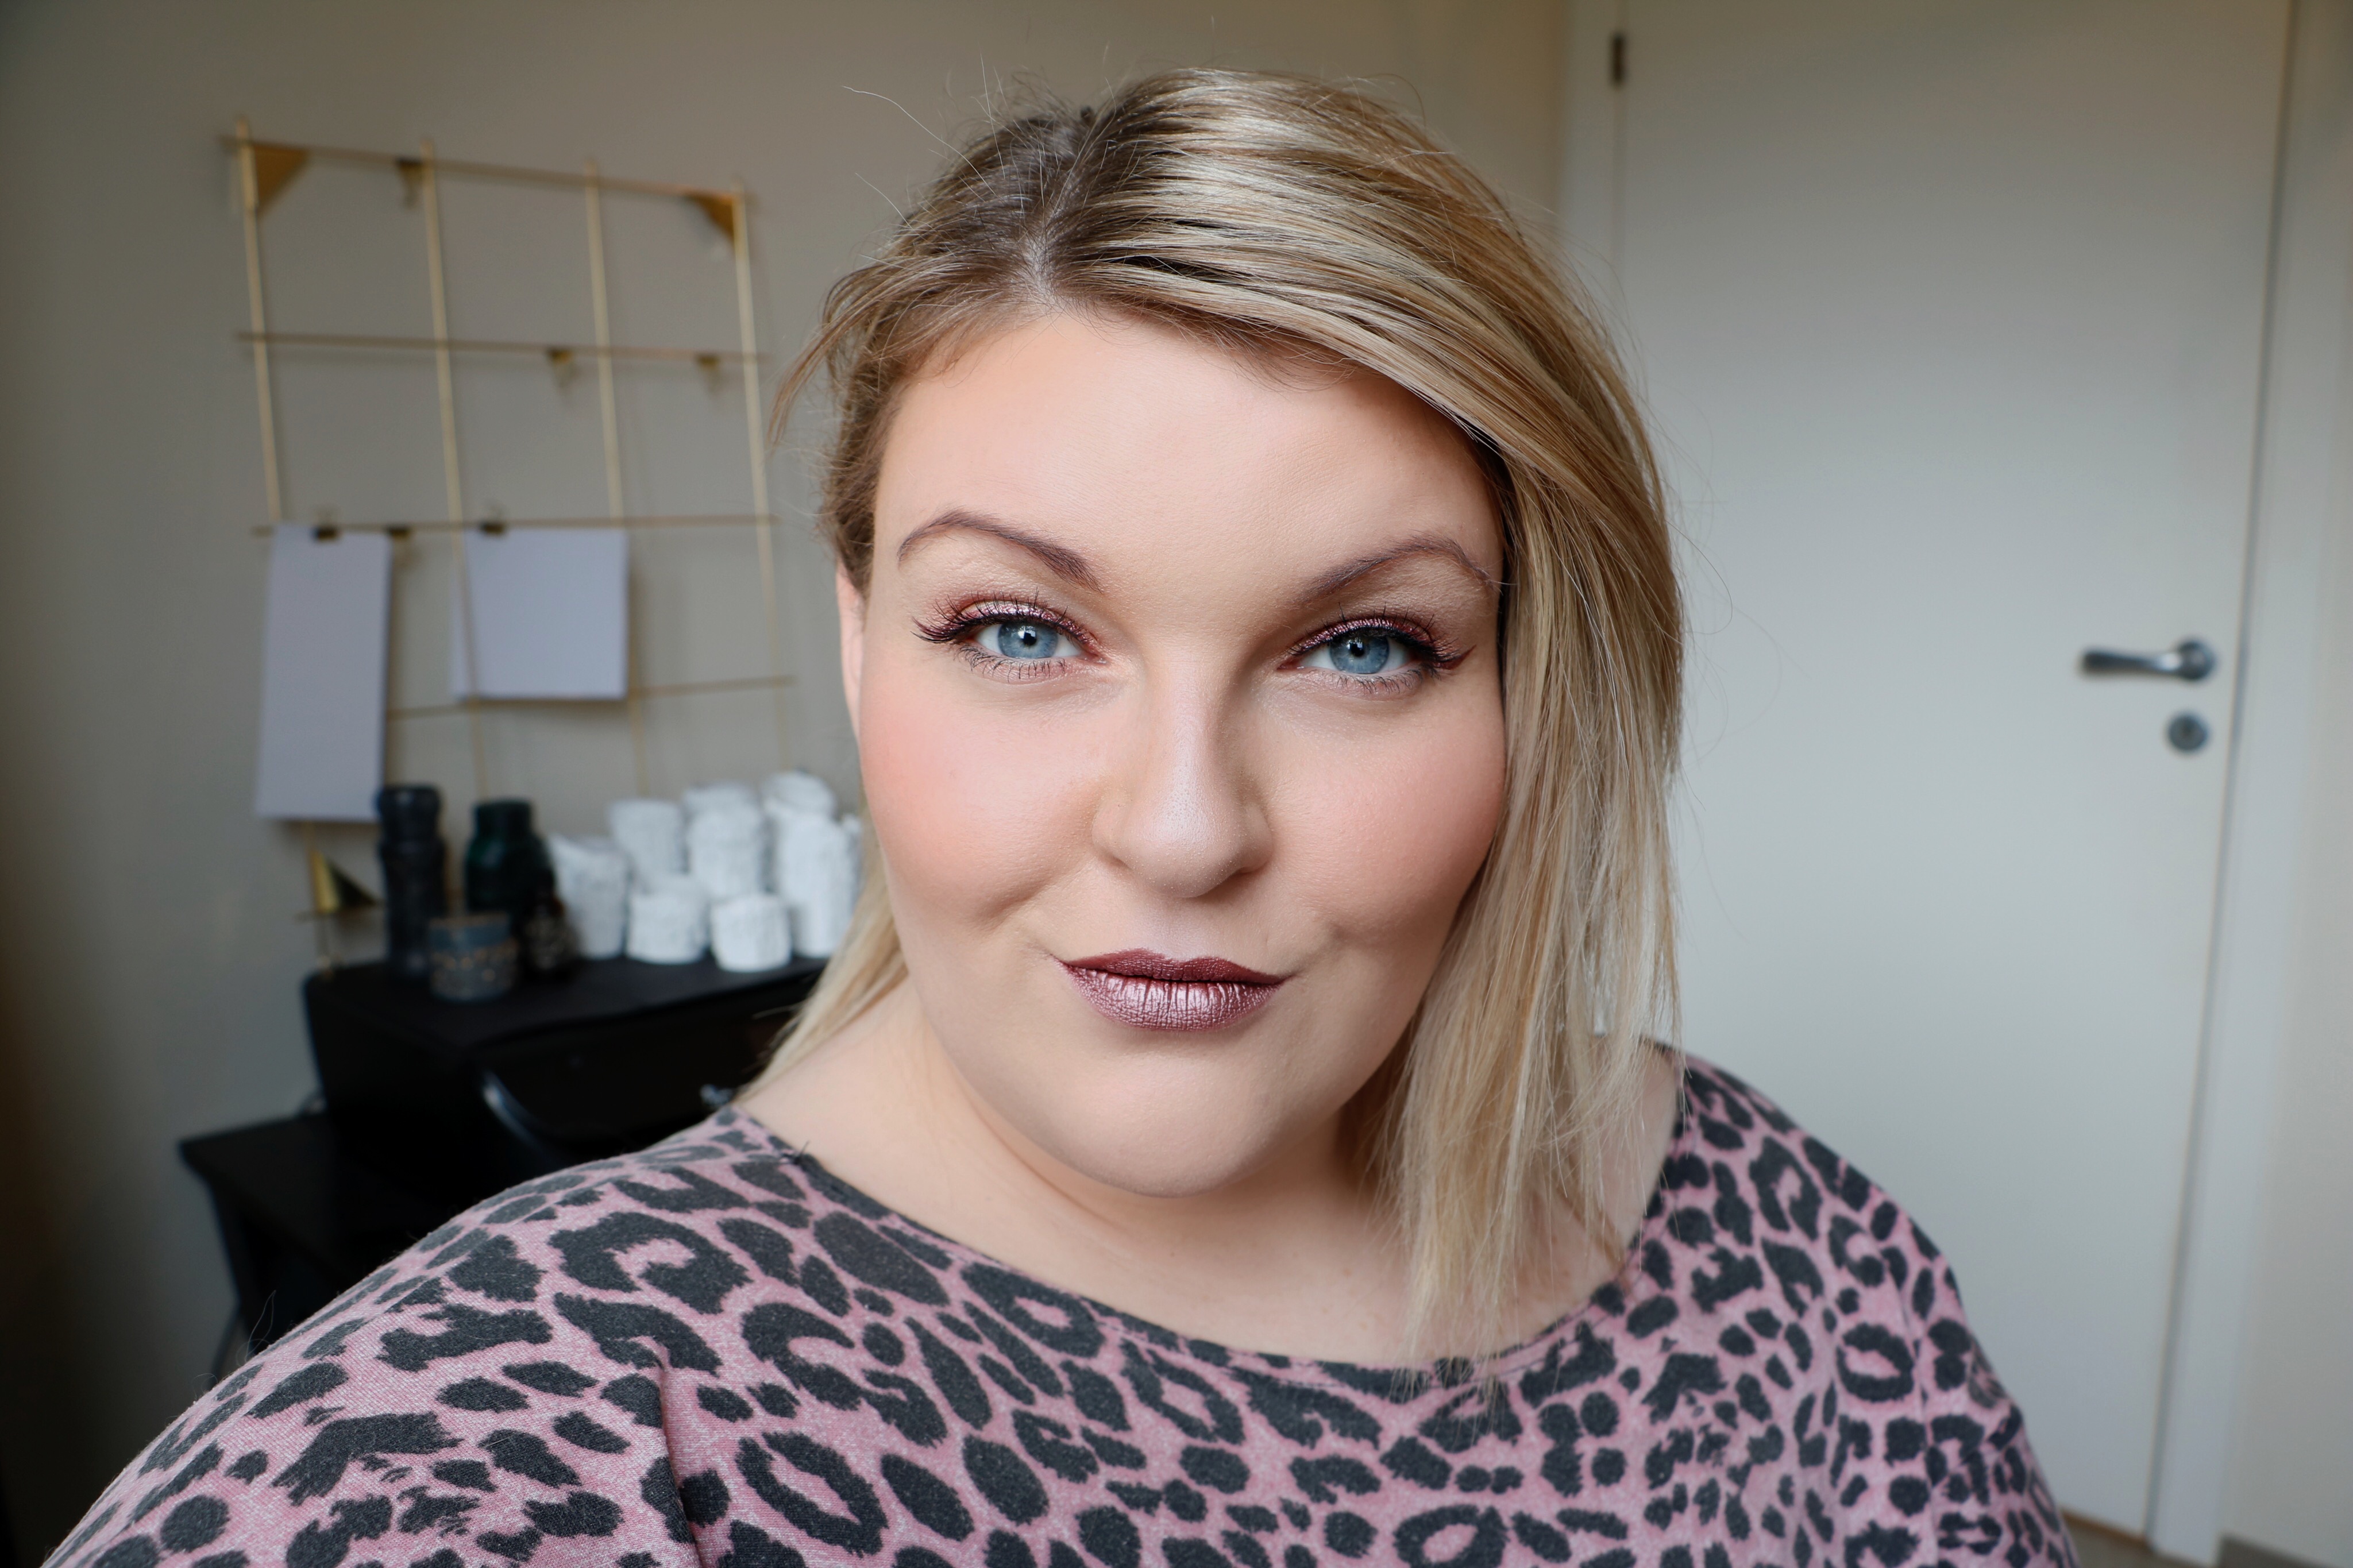
Katrín Helga Andrésdóttir: We had a lot of fun with the story behind this look on Katrín, she said that she looked like the wife of an opium dealer, so we kind of went with that thought, I wanted also to keep her eyes really big and warmed up, so I went with a baby pink halo eye and a baby pink lip.

RVKDTR_by_Berglaug-4

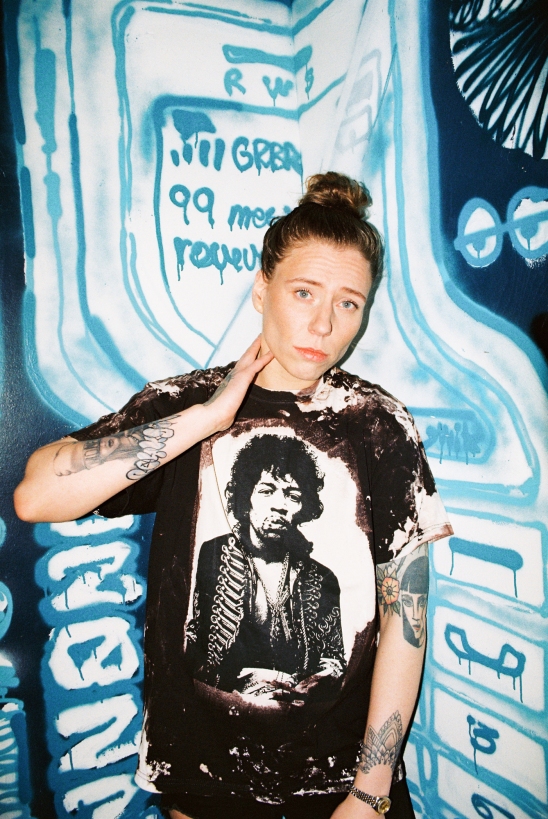
Þuríður Blær Jóhannsdóttir: we joked a lot that Blær looked a little like an early 00’s pop star, like Anastasia, so of course we used shimmery silver beauty eye and a frosty lipgloss!

Ágústa Sif

Instagram: @itsagustasif
Snapchat: @itsagustasif


RVKDTR_by_Berglaug-38

1883 Magazine x RVKDTR

Í Febrúar fórum við Sandra María í förðunarverkefni fyrir 1883 Magazine og Reykjavíkurdætur, það var ótrúlega skemmtilegt að vinna með öllum þessum hæfileikaríku stelpum og gerði það daginn ógleymanlegann. Fyrir farðanirnar sem ég gerði vildi ég einblýna á fallega húð fyrst og fremst, og láta stílíseringuna og ,,einkenni” stelpnanna ef svo má segja, leiða mig. Ég hef skrifað stutta lýsingu á förðunarferlinu við hverja mynd, þannig að þið getið ýtt á myndirnar og fræðst meira um lúkkin. Þessar myndir eru allra aðgengilegar í 1883 Magazine og á heimasíðu Reykjavíkurdætra.

Photographer: Berglaug Garðarsdóttir
Makeup: Ágústa Sif Aðalsteinsdóttir
Makeup: Sandra María Ásgeirsdóttir
Stylist: Díana Rós Hanh Breckmann

RVKDTR_by_Berglaug-8

Steinunn Jónsdóttir: Ég vildi að hennar förðun væri létt en á sama tíma nútímaleg, ég vildi ekki heldur fela fallegu augun hennar í farða svo að ég ákvað að gera fallega húð og náttgúrulegt brúnt beauty, með brúnum nude varalit.

RVKDTR_by_Berglaug-36

Ragga Hólm: Ragga er ekki mikið fyrir að vera máluð og vildi fá sólkyssta og náttúrulega förðun, þannig að ég tók aukaskref til þess að næra húð og varir, notaði fjaðurléttann farða, púður, sólarpúður og maskara.

RVKDTR_by_Berglaug-17

Kolfinna Nikulásdóttir: Kolfinna hafði áður lent í því leiðinlega atviki að hafa ekki verið ánægð með förðun frá öðrum förðunarfræðingi, svo að allt sem ég gerði reyndi ég að gera í samráði við hana, mér fannst útkoman koma æðislega vel út og ég held að hún hafi verið ánægð líka sem er fyrir öllu.

RVKDTR_by_Berglaug-5

Katrín Helga: Við skemmtum okkur konunglega að lýsa lúkkinu hennar og á einum tímapunkti sagðist hún líta út ein og eiginkona ópíumsala, fyrir hennar lúkk vildi ég gera hana frekar fashion-lega, halda augunum stórum og nota hlýja liti, úr því varð baby pink halo.

RVKDTR_by_Berglaug-4

Þuríður Blær: Stílisering hennar Blæs minnti okkur svo mikið á 200 poppstjörnur eins og Anastasiu, þannig að við vildum halda því áfram og nota frosty og shimmery liti á augu og varir.

Ágústa Sif

Instagram: @itsagustasif
Snapchat: @itsagustasif

Halloween | Gauged Eye

I have been so busy lately that I haven’t had the chance to blog at all, but atleast I have some time now to throw this in here. This sfx makeup took me about 20-30 minutes to do, I didn’t have a lot of tie that day, I even skipped taking photos so screenshots will have to do for now 🙂

Halloween|Broken Nose SFX

Hallooo(ween)!

Lately I’ve been doing a lot of easy face painting and little inspired looks, but now were going into the SFX! WOOHOO!!!! Today I am showing you the broken nose It is pretty easy so here ya go!

Products

Kryolan Cine Wax
Kryolan Fresh Scratch Blood
Kryolan Special Blood IEW
IMG_1710

Take a little ball of wax and roll it between your fingers, use some kind of an oil to prevent the wax sticking to your hands. once you have worked the wax a little and it has become pliable you can go ahead and place it on to your nose, make sure that you place the wax on the very edge of the bridge of your nose, then start smoothing out the edges. When your wax is where and how you want it you can take a knife or a toothpick… I chose the knife… because I’m extra….and cut out a little piece of the wax, so that it looks like the skin was ruptured, then you can start adding colour, start with a foundation and powder, then add yellow, green, brown, blue and purple creme or powder eyeshadows under your eyes and around the nose.

IMG_1711

That is it for today, quick and simple like always 🙂

don’t for get to like and subscribe and all that jazz!

xoxo Ágústa Sif.

Halloween|The Lion King: Scar

Hey!

I am playing with face paint yet again! last year I was scar for Ash Wednesday and I wanted to recreate that look with some proper paints! I won’t have the blog too long just make sure to check out the video below 🙂

IMG_1608IMG_1607

Products

Rigid Collodium
Grimes Water activated face paint palette A


Halloween| Terminator

The other day I invested in some facepaint, I have wanted to own this face paint for many many years and I finally decided to get one for myself, and since then I have barely slept because I am so excited to use them! Well! I finally had the time to do a look with it and I present to you! THE TERMINATOOOOOR *echo*

ok a little too dramatic but I am pretty happy with what I did, considering it is my first go on a whole look….

Products

  • Grimes Water Activated Face Paint Palette A
  • Kryolan Fresh Scratch
  • Kryolan Special Blood IEW
  • Kryolan Cine Wax ( just a tiny bit)
  • UHU glue stick

IMG_8227IMG_8087

Halloween|Aging Makeup

Good evening my darlings.

Today I am going to show you how to look older… GLAM-MA’S unite!!! There’s a video at the bottom of the page don’t forget to subscribe to my channel 🙂

for this makeup look you will need:

  • Liquid latex.
  • Vaseline
  • Beige, brown and grey eyeshadow.
  • Hair dryer.
  • Extra pair of hands.
  • White hairspray.
  • Foundation

I really, really …. REALLY recommend you have someone to help you with this, If you have someone else to help it will look a lot better. But if you insist on doing it by yourself that is ok… just be prepared for multitasking and a decent look.

IMG_1533

Start with a clean dry face, this is essential for the liquid latex to stick properly and last longer! Also if you don’t want the cleanup to become painful, coat your hairline with Vaseline, I did not….. and that hurt! Then start stretching your skin and stippling the latex on with a sponge, I like to work my way up so I started on my chin, then cheeks, forehead and lastly my eyes! Coat your eyebrows and eyelashes before you do the upper half of your face! Use a hairdryer to help the latex dry quicker. Once the latex is dry you can shape your wrinkles a little before you start the detailing, when you are happy with it apply foundation all over your face and neck. Then use your beige/grey/brown eye shadows to deepen the wrinkles, the more colours and opacities you use the more realistic this will look. Remember to blend really well! I didn’t notice until I was editing my video that I didn’t blend well enough and it bothers me! Lastly Finish the look with white hairspray! Use a mascara wand to apply the hairspray to your eyebrows. Now you are ready to rock the world…. glam-ma or glam-pa style!

IMG_1532

hope you liked this makeup tutorial, don’t forget to check out my other social platforms!

Youtube: itsagustasif

Instagram: itsagustasif

Facebook: itsagustasif

Snapchat: itsagustasif

Xoxo Ágústa Sif

Halloween Inspired Makeup Look

Hey guys how ya doing?

When I was filming my DIY Halloween Decorations I did a makeup look as well, and I just wanted to post the video here and make this a mini blog post 🙂 Hope you enjoy and don’t forget to subscribe to my youtube channel! whoo!

IMG_1397 2IMG_1400 2

6 DIY Halloween Decorations <3

VIDEO AT THE BOTTOM OF THE PAGE
I have always been curious about Halloween, coming from a culture where this phenomenon is not celebrated, I watched movies revolving and themed around Halloween. The dressing up and scary stuff really intrigued me but I would never have participated, it just wasn’t done here. It’s maybe been 10 years or so since Halloween started to become a thing in Iceland, some neighbourhoods have trick or treating for children but mostly this day is an excuse for adults to dress up and go out drinking. Now my boyfriend is English, and apparently they do this whole halloween thing over there. When he moved to Iceland and we started our family, we never did the English traditions, we have always just gone for the Icelandic traditions, but this year I want to go hard on Halloween, and thats why I am presenting you with my 10 DIY Halloween Decorations! Yes these are all up in my flat right now and we are doing the halloween thing

1.Paper bats.

These are the easiest little things ever, just fold a black paper and cut out the shape of a bat, then put them on a wall with some blu-tack!

fullsizeoutput_3fd

2. Headstones.

Another very easy DIY, cut out a cardboard box in the shape of a headstone, paint it black and write a name and a death date, and stick it where you want it, I wanted to freak out my neighbours so I put it on our front door.

fullsizeoutput_3f9

3.Bleeding candles.

Easiest DIY ever, you only need white candles and a red candle, light the red candle and let the wax pool a little, then pour it over the white candles.

fullsizeoutput_3f7

4. Creepy containers.

You will need empty containers, I mostly used empty spice jars but I also tried this with moisturiser jars, empty shampoo bottles and so on. Write what you want the jars to contain, on the clean, label free jars with a sharpie. Then use a glue gun to trace your writing and pictures. I painted my jars in a brownish grey colour and used a metallic gold paint to paint the writings and also to dry brush some details around the jar. To finish it I glued little spiders around them and a Gold skull on top of one of them. fullsizeoutput_3f6

5.Harry Potter Floating Candles.

This is a pretty simple DIY but it does need some time to save up for the supplies you need, unless your uncle works at a toilet paper factory and can get you the toilet paper tubes quickly. What you need is toilet paper tubes, a Glue gun and glue, acrylic paint, a cardboard box and fishing line. Start by cutting your tubes “skewed” so they look like they have been burning for a while, then take your glue gun and put glue on the tube so it looks like wax leaking from the top. once you are happy with the look you wait until the glue is dry. Once it is dry you want to paint the candle in whatever colour you want, I wanted mine to be white so I painted 3-5 coats of white acrylic paint on. Now our candle needs to dry before we make a bottom for it. when the candle is dry you put hot glue on the tube and glue it to a thin piece of cardboard, I used a cereal box. then you trim the thin cardboard all the way to the tube so it looks neat. don’t forget to paint the inside and bottom of the candle. When the whole thing is dry, its good to fill the tube up with a little toilet paper or newspaper, that will help the LED candle to stay up. once you have the perfect hight you can pierce the tube on each side to make way for the fishing line, when you have threaded the fishing line you can put the LED candle in the tube, tie the fishing line together at the ends and glue the fishing line to the ceiling with a glue gun.
fullsizeoutput_3fc

6. Ouija Board Doormat.

This was the hardest one to do, and I think it is mostly to do with the type of wood/fabric the doormat is made from, I got the cheapest doormat from Ikea, found a picture of a ouija board online that I liked and cut out stencils from a baking sheet. Once I got all my stencils ready I laid them flat on the doormat and mixed black acrylic paint with a little bit of water and painted the stencils on, I had to go over them again without the stencils, just to make it darker. And when the paint is dry you can display it in front of your door.

fullsizeoutput_3fb


Metallic Eyeliner

Hello!
Just a quick and easy little tutorial since I was really late…I did show up 15 minutes late but oh well. The Video is at the bottom of this post 🙂 hope you enjoy!
IMG_1395

Skin
L’Oréal True Match foundation – 1.5 Linen
Cover me MAC Studio Conceal and correct palette/ Diane Kendal – Lightest + Light
Makeup Store Loose Powder – Pale
MAC Bronzing powder – Medium
Malibu Glitz Bluher – Mauve
Morphe 35N eyeshadow palette – Light brown shade for eyebrows
AOA Studio Wonder Metal Liquid Lipstick – Cosmo

IMG_1396

Eyes
MAC Paint Pot – Bare Study
MAC Eyeshadow – White Frost
MAC Vibe Tribe Eyeshadow – Summer Sun
AOA Studio Wonder Metal Liquid Lipstick – Cosmo (Eyeliner)
Maybelline Lash Sensational Mascara
Kara Lashes – #46

Huge Eyelash & Other Bits HAUL <3

Lets face it, you need practice before you get good at applying false lashes.
It took me a few years to get the hang of lashes, I always liked the look of them but they always stabbed my skin which made my eyes water and that means one thing…bye bye lashes! They just felt soooo uncomfortable to wear. So after a few attempts I kind of just gave up and never wore them unless I was going out or was wearing a very dark eye. But after going to MOOD makeup school I learned that I was applying them in a horrible way and learned how to do it properly, now I am a little *Huge* fan of lashes, I don’t wear them on a daily basis but when I want to be more glam I definitely wear them, and you can get so many styles, natural, volumising, lengthening, drag…. you name it you can find everything you want.
Well about a month ago I had around 7 pairs of heavily used eyelashes in my eyelash drawer… yup I had a whole drawer for a few old pairs! I looked at it and thought “wow this is a sad situation” and I remembered my friend Sandra María *she is a fellow makeup artist you can go to her website by clicking her name* told me about this website called Shop Miss A, they are a cruelty free shop based in Dallas Texas, who have pretty great eyelashes and other items for a DOLLAR! And I am not joking when I say these are good, they literally are great quality and 100% human hair… AND JUST A DOLLAAAAARRR! So obviously I’m thinking… I’ll give myself a budget of $100 and see what mayhem I can cause. Yeah so, being the extra person that I am… a few pairs of lashes became 65 pairs of eyelashes and 4 boxes of individual lashes! soooo 69 items of the lash variety… I know… I’m not normal…. I won’t be able to show you all of my new lashes *duh* but I will insert a few pictures of what I got just so this blog post doesn’t turn in to a long ass picture post that takes you a month to go through.

My eyelash drawer after I stacked my new babies in ❤ each row is 2-4 boxes, the only old ones are the peekaboo lashes on the edge with the glues.

OH YEAH! I also got a few other bits that I wanted to test out and see if they were any good, I got 3 sheets of metallic temporary tattoos a pack of 5 pairs of hoop earrings and a pack of 6 stud earrings. 2 sets of septum rings one in gold and one in silver *I know I’m late to the party but they are kind of cool*  a beauty sponge *It is great!* a sili sponge * do not recommend, they suck* , two blushes, one in coral *that’s the broken one! my son got to it before I could take a picture* and the other one in mauve. then I got one bronzer, dark eyelash glue from Kleancolor and waterproof eyelash glue from Cala, eyelash applicator, a packet of nail art studs that I am hoping to incorporate to my makeup.

Flash Tattoos ❤

Earrings, Septum rings and nail art studs!

Two liquid lipsticks from AOA Studio in their Wonder metal line, the first one is called Cosmo and is a maroon/purple shade, the other one, Rouge, is a Greyish black with silver reflection, I love them both, but I have no other comparison, but I like these a lot. then I got another Liquid lipstick from a brand called Santée, the colour is a bright orange/coral shad…and I hate it,

Highlighters, Bronzer and Blushes.

it goes lumpy on my lips so I don’t think I will try more of their liquid lipsticks and last but by no means least I got two AOA Studio Highlighters in Icing, which is a white highlighter with a blue reflection and Cream puff and that is my fave! it is a glittery champagne colour that can either look pretty subtle or bling bling!

I didn’t mean for this blog to get this long so I will leave you here!
Hope you have a lovely day!

XoXo
Ágústa Sif