I have been so busy lately that I haven’t had the chance to blog at all, but atleast I have some time now to throw this in here. This sfx makeup took me about 20-30 minutes to do, I didn’t have a lot of tie that day, I even skipped taking photos so screenshots will have to do for now 🙂
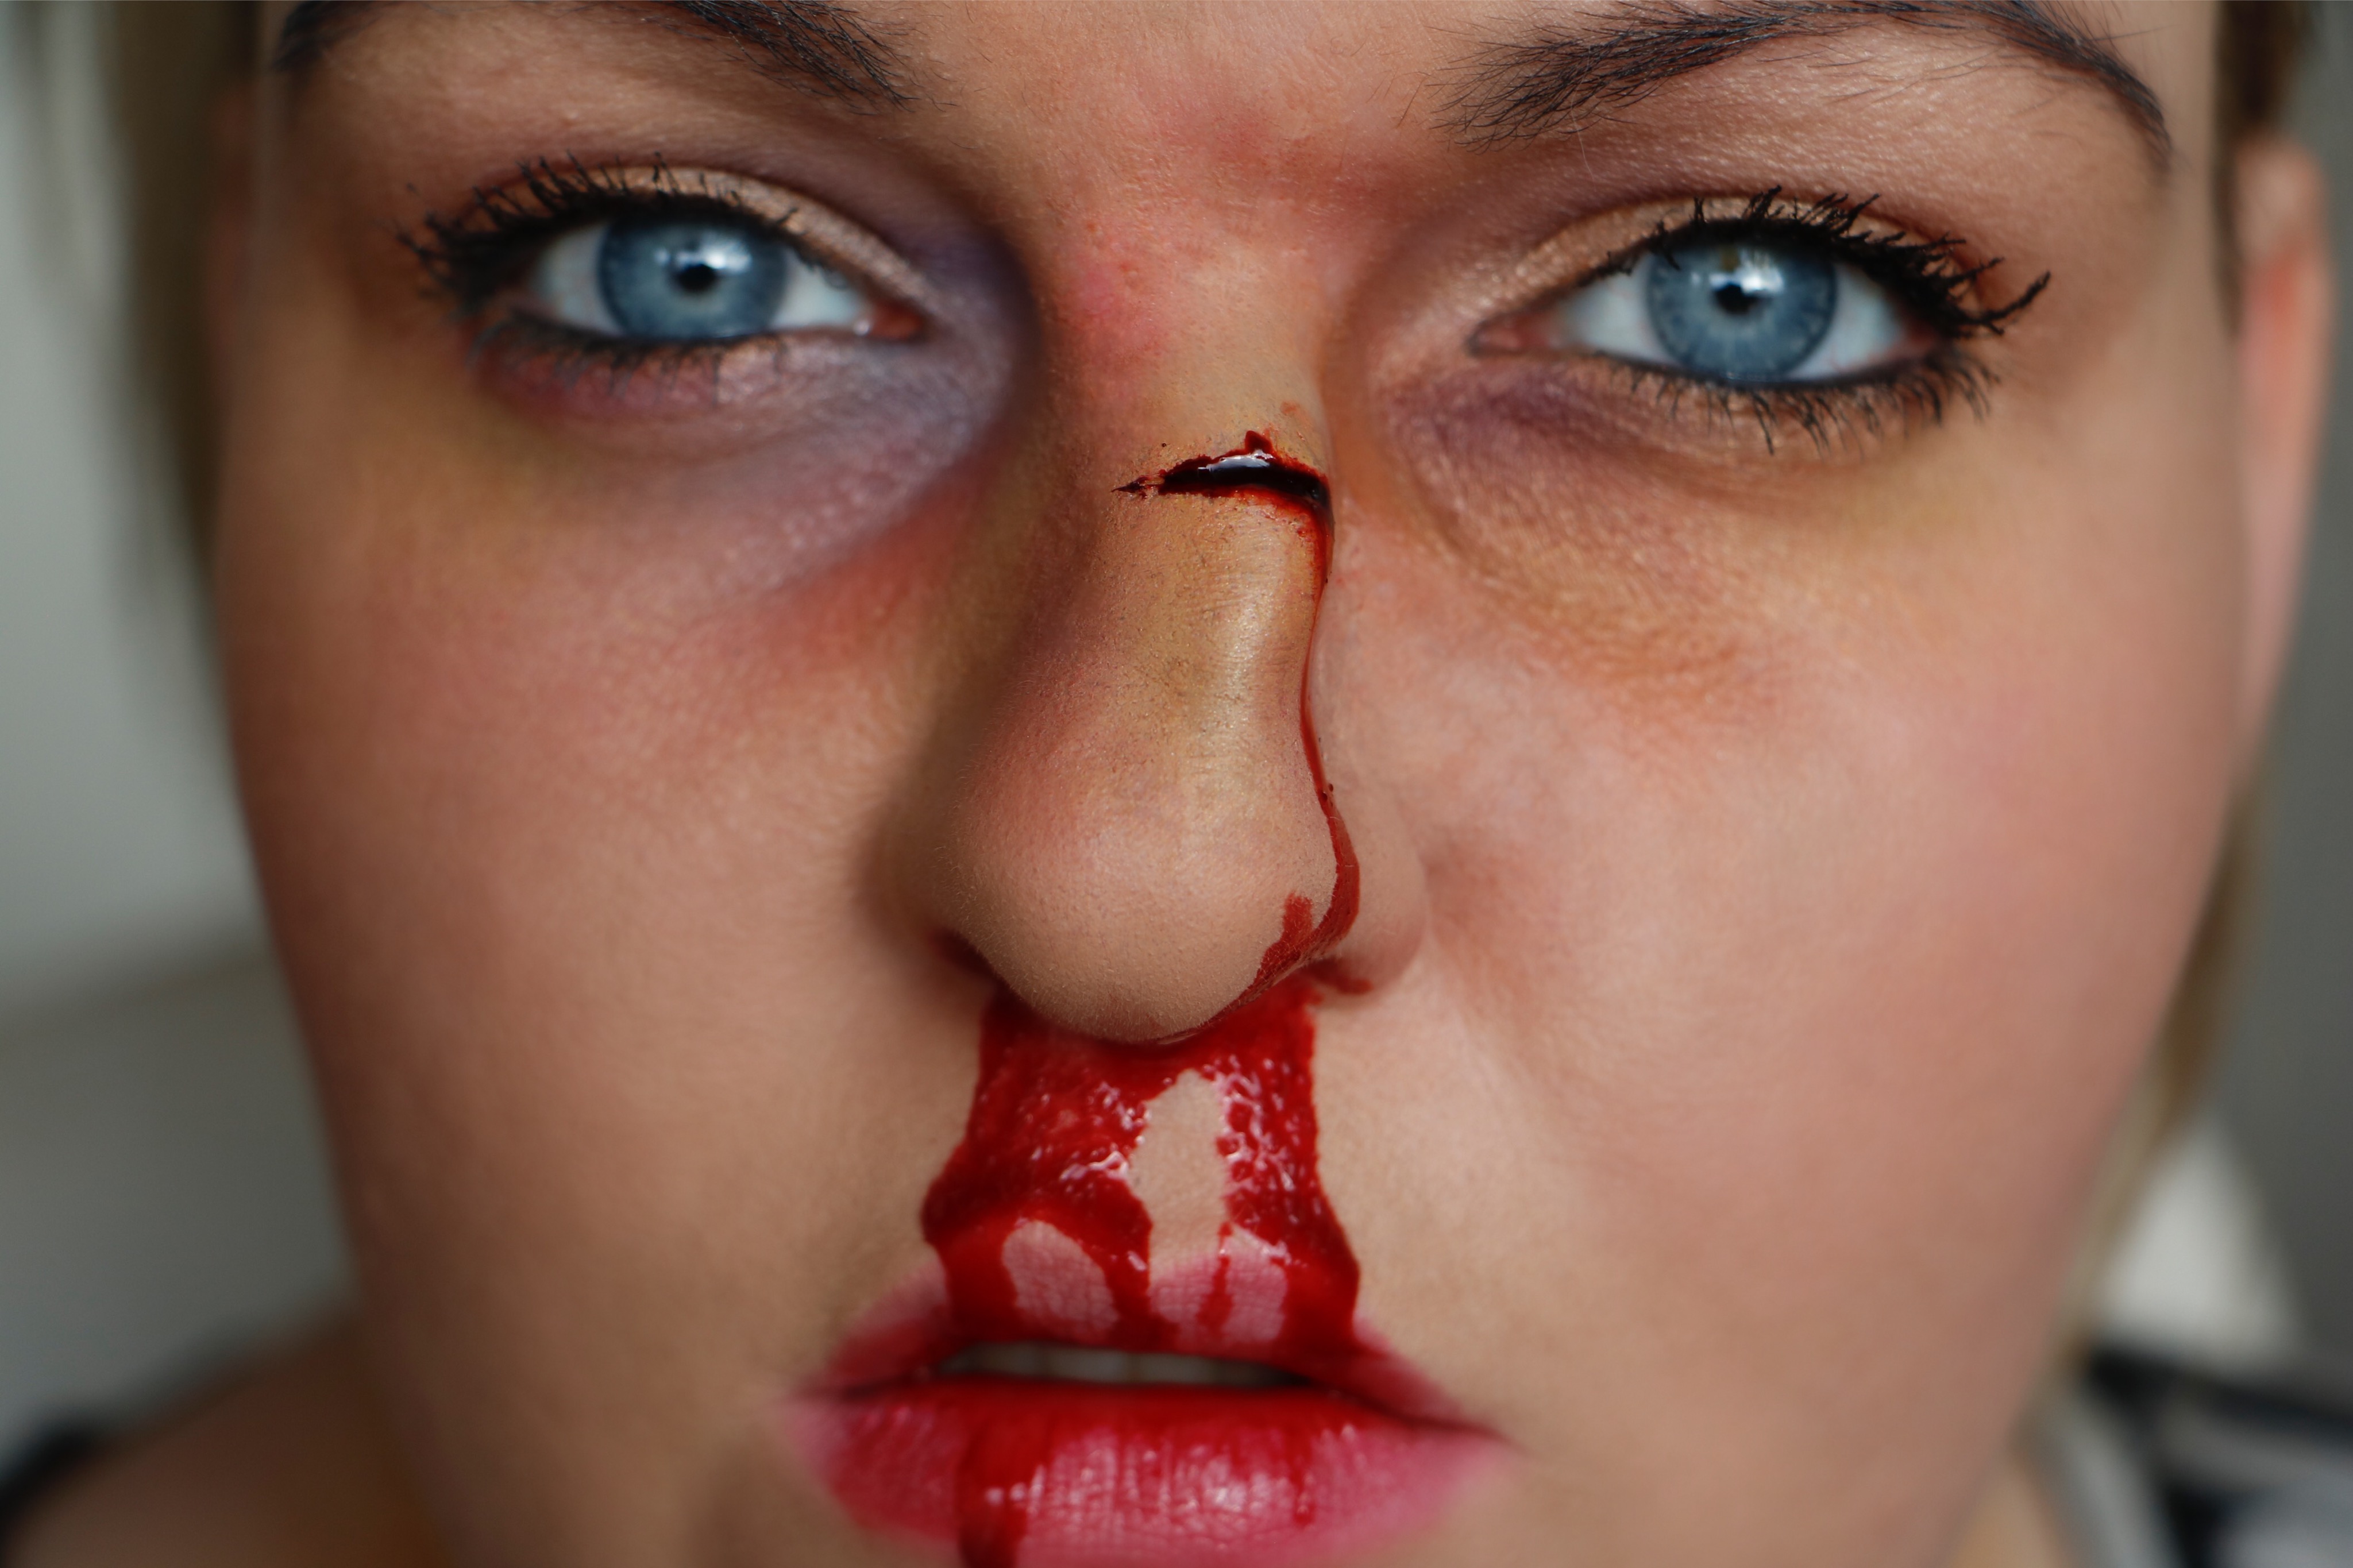
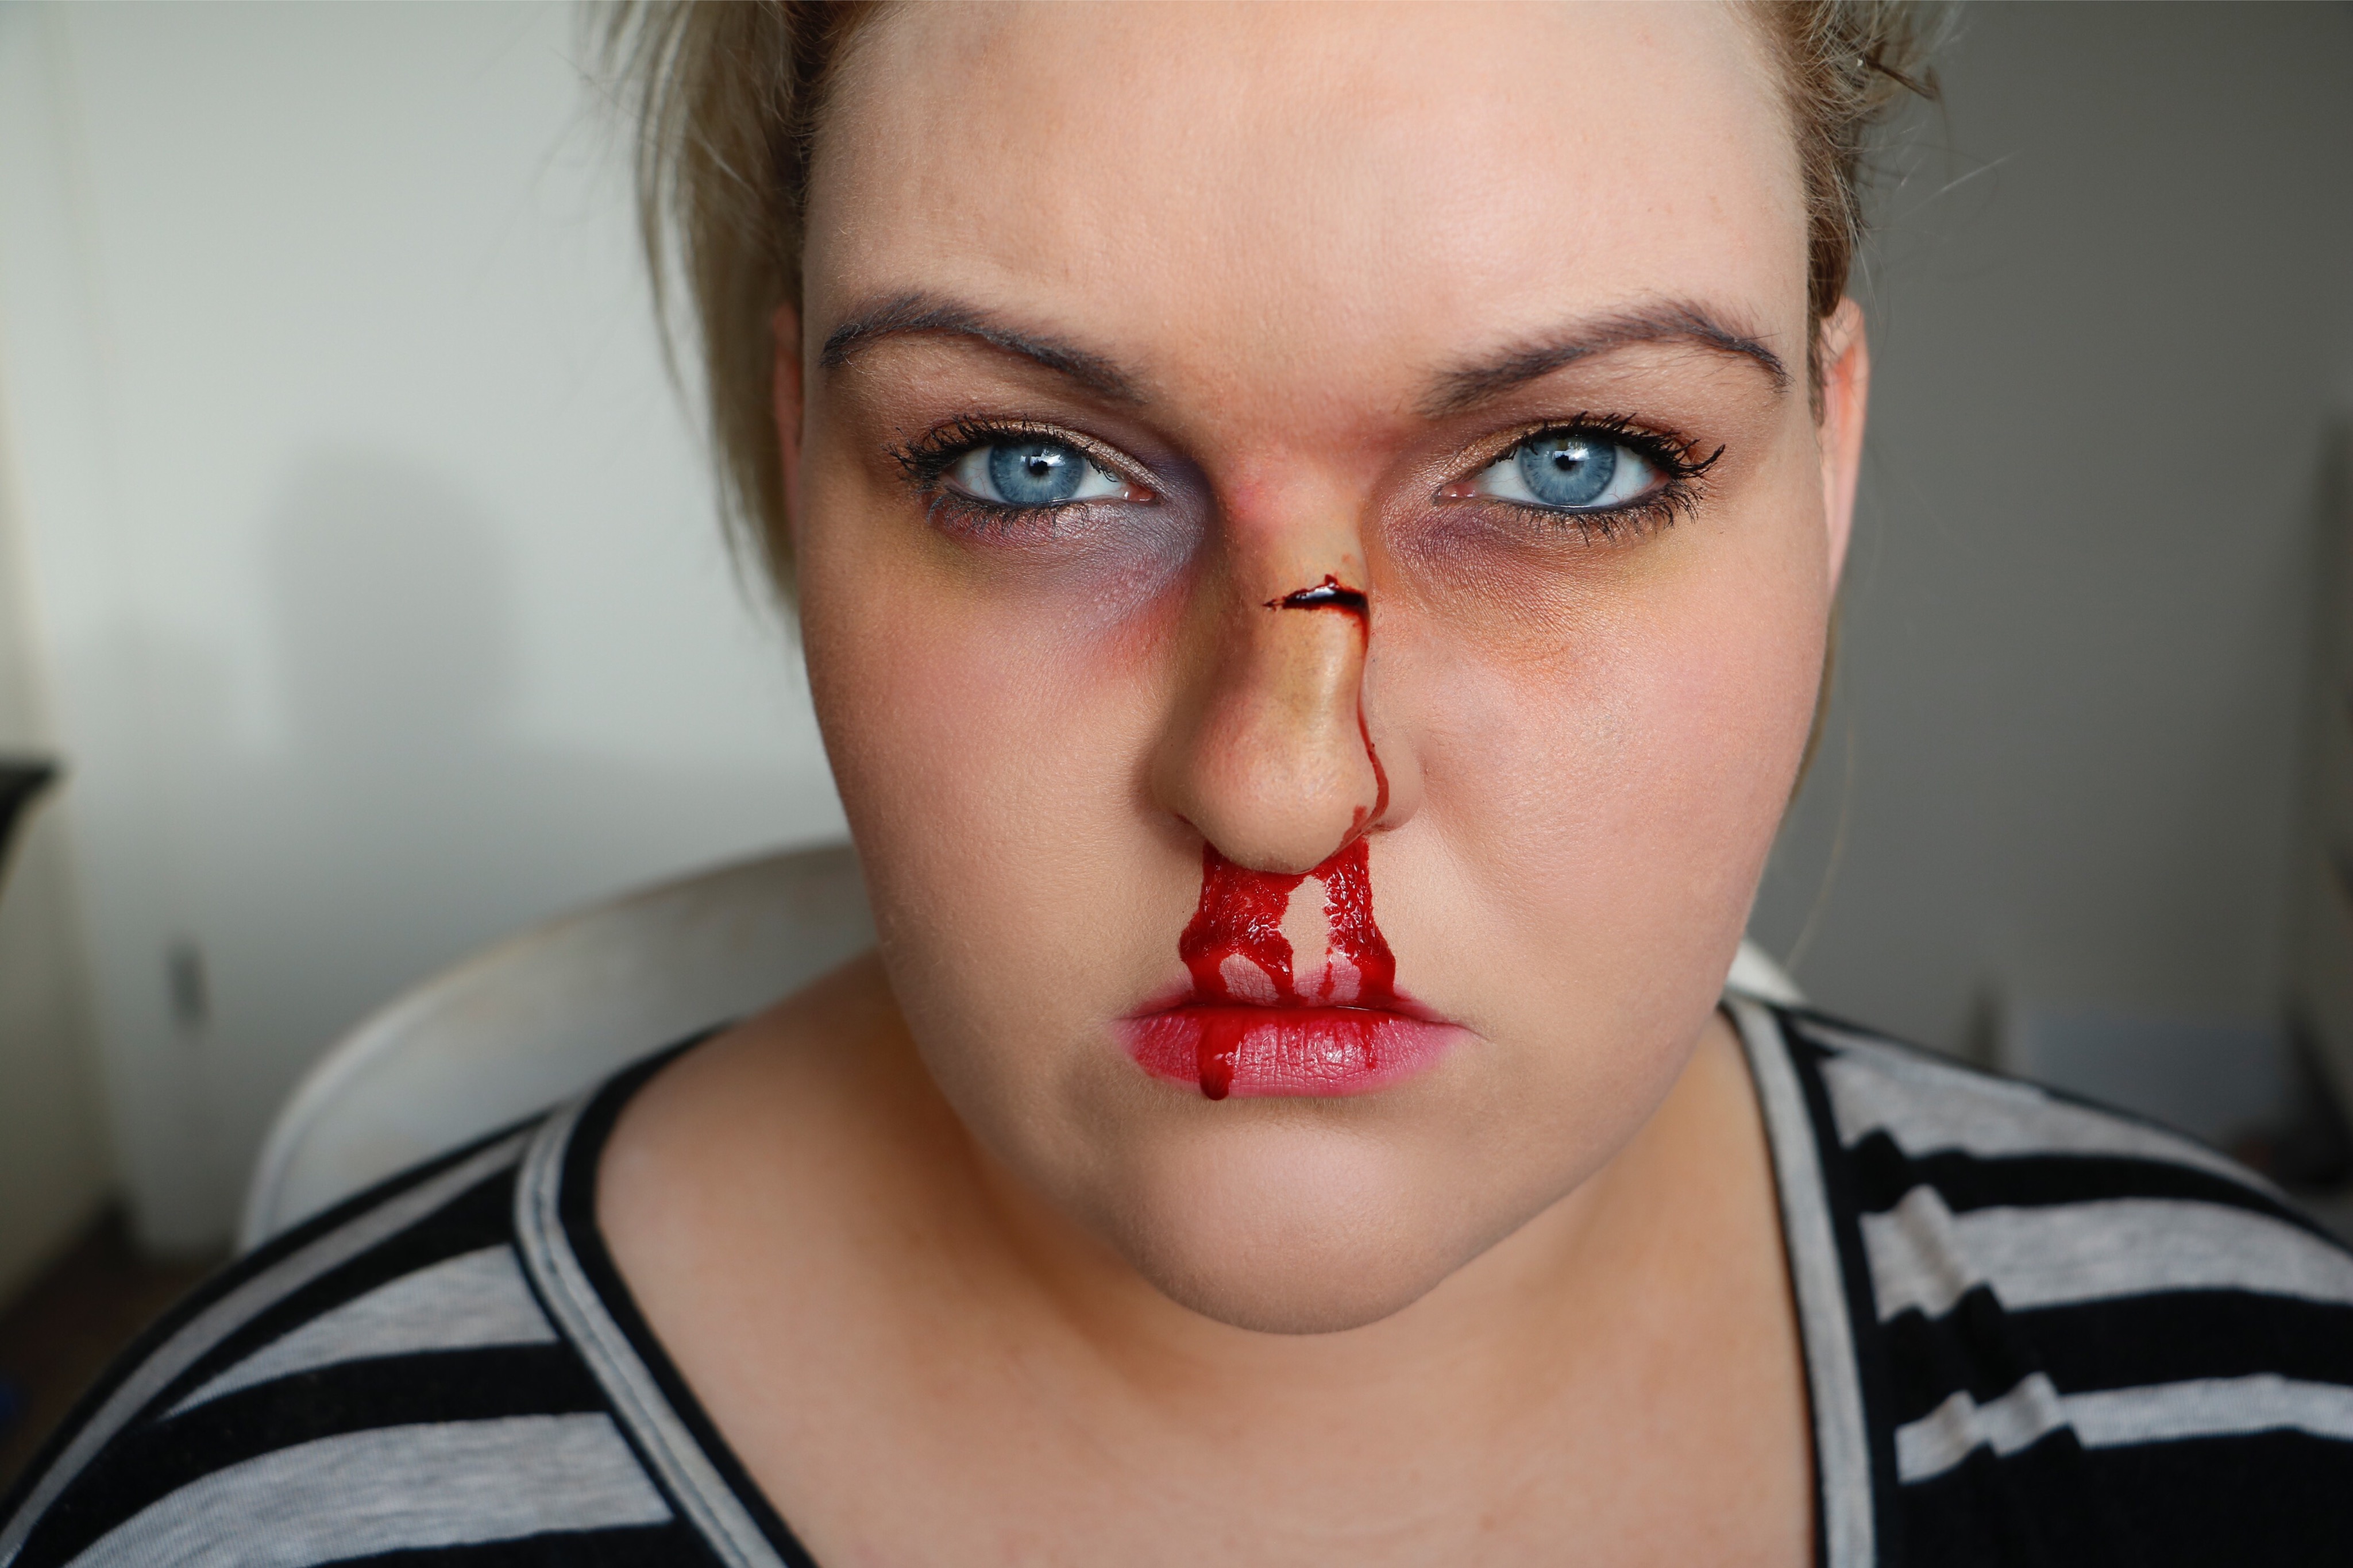
Lately I’ve been doing a lot of easy face painting and little inspired looks, but now were going into the SFX! WOOHOO!!!! Today I am showing you the broken nose It is pretty easy so here ya go!
Products
Kryolan Cine Wax Kryolan Fresh Scratch Blood Kryolan Special Blood IEW
Take a little ball of wax and roll it between your fingers, use some kind of an oil to prevent the wax sticking to your hands. once you have worked the wax a little and it has become pliable you can go ahead and place it on to your nose, make sure that you place the wax on the very edge of the bridge of your nose, then start smoothing out the edges. When your wax is where and how you want it you can take a knife or a toothpick… I chose the knife… because I’m extra….and cut out a little piece of the wax, so that it looks like the skin was ruptured, then you can start adding colour, start with a foundation and powder, then add yellow, green, brown, blue and purple creme or powder eyeshadows under your eyes and around the nose.
That is it for today, quick and simple like always 🙂
don’t for get to like and subscribe and all that jazz!
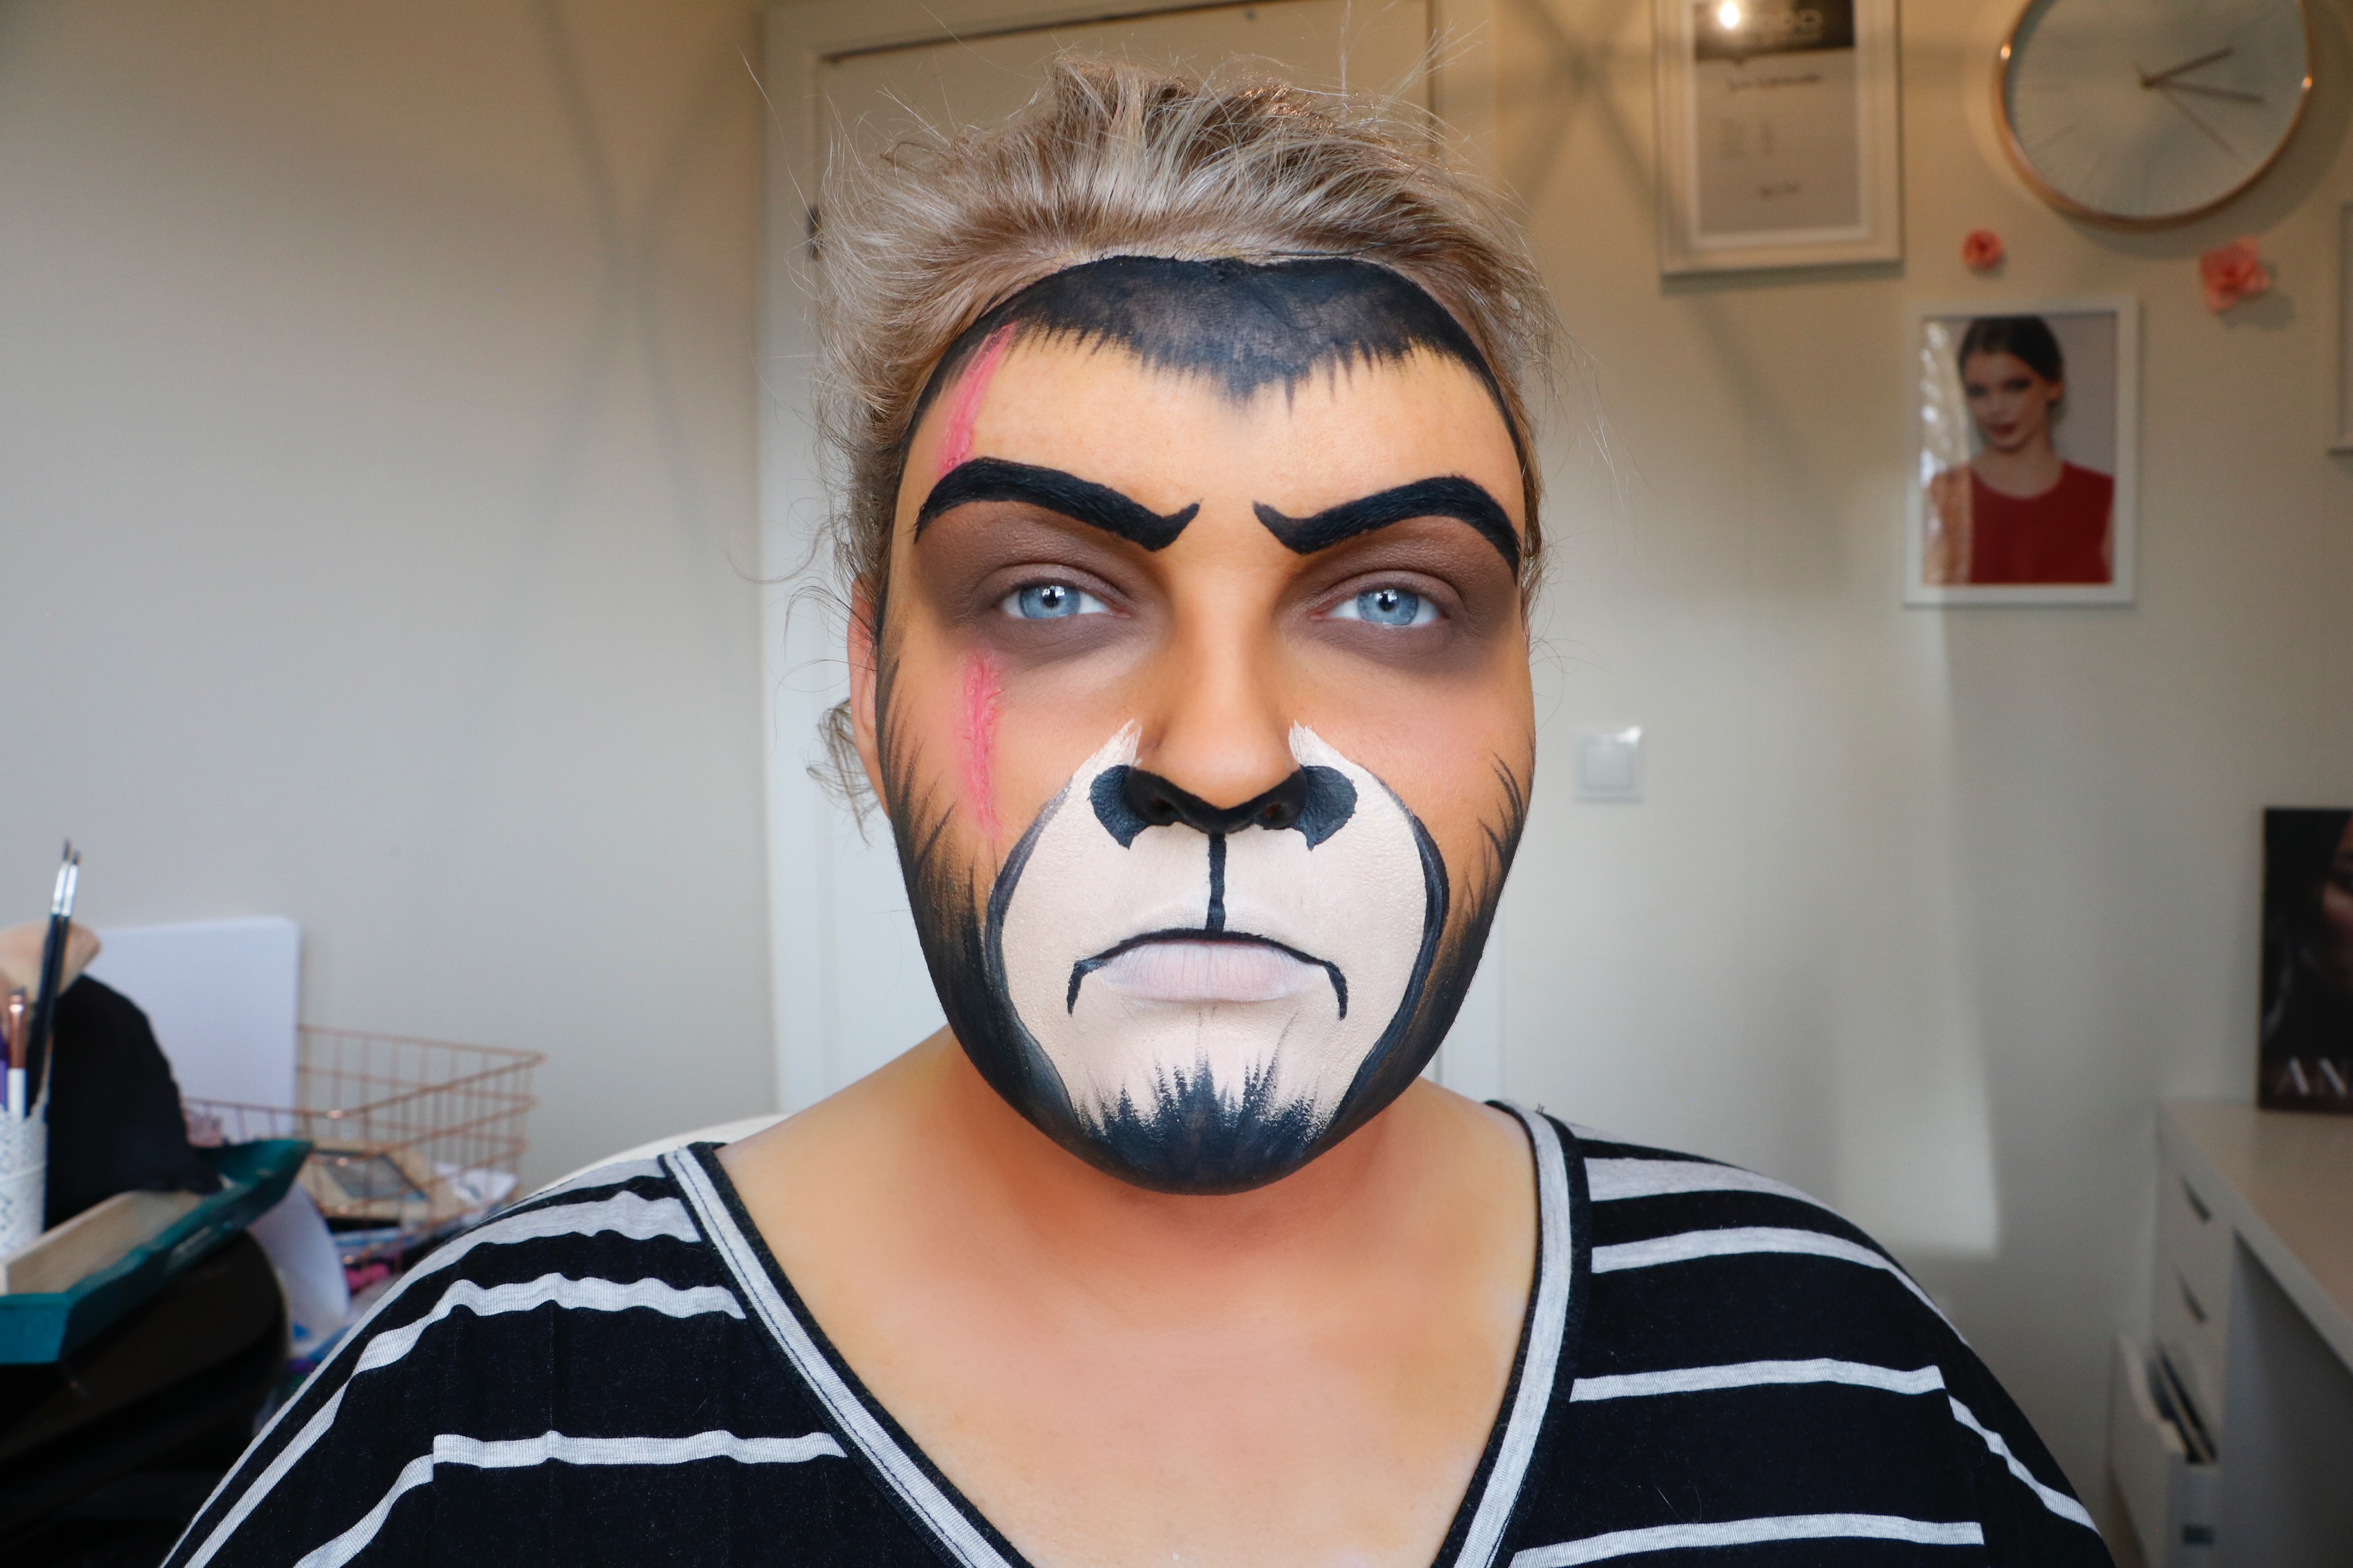
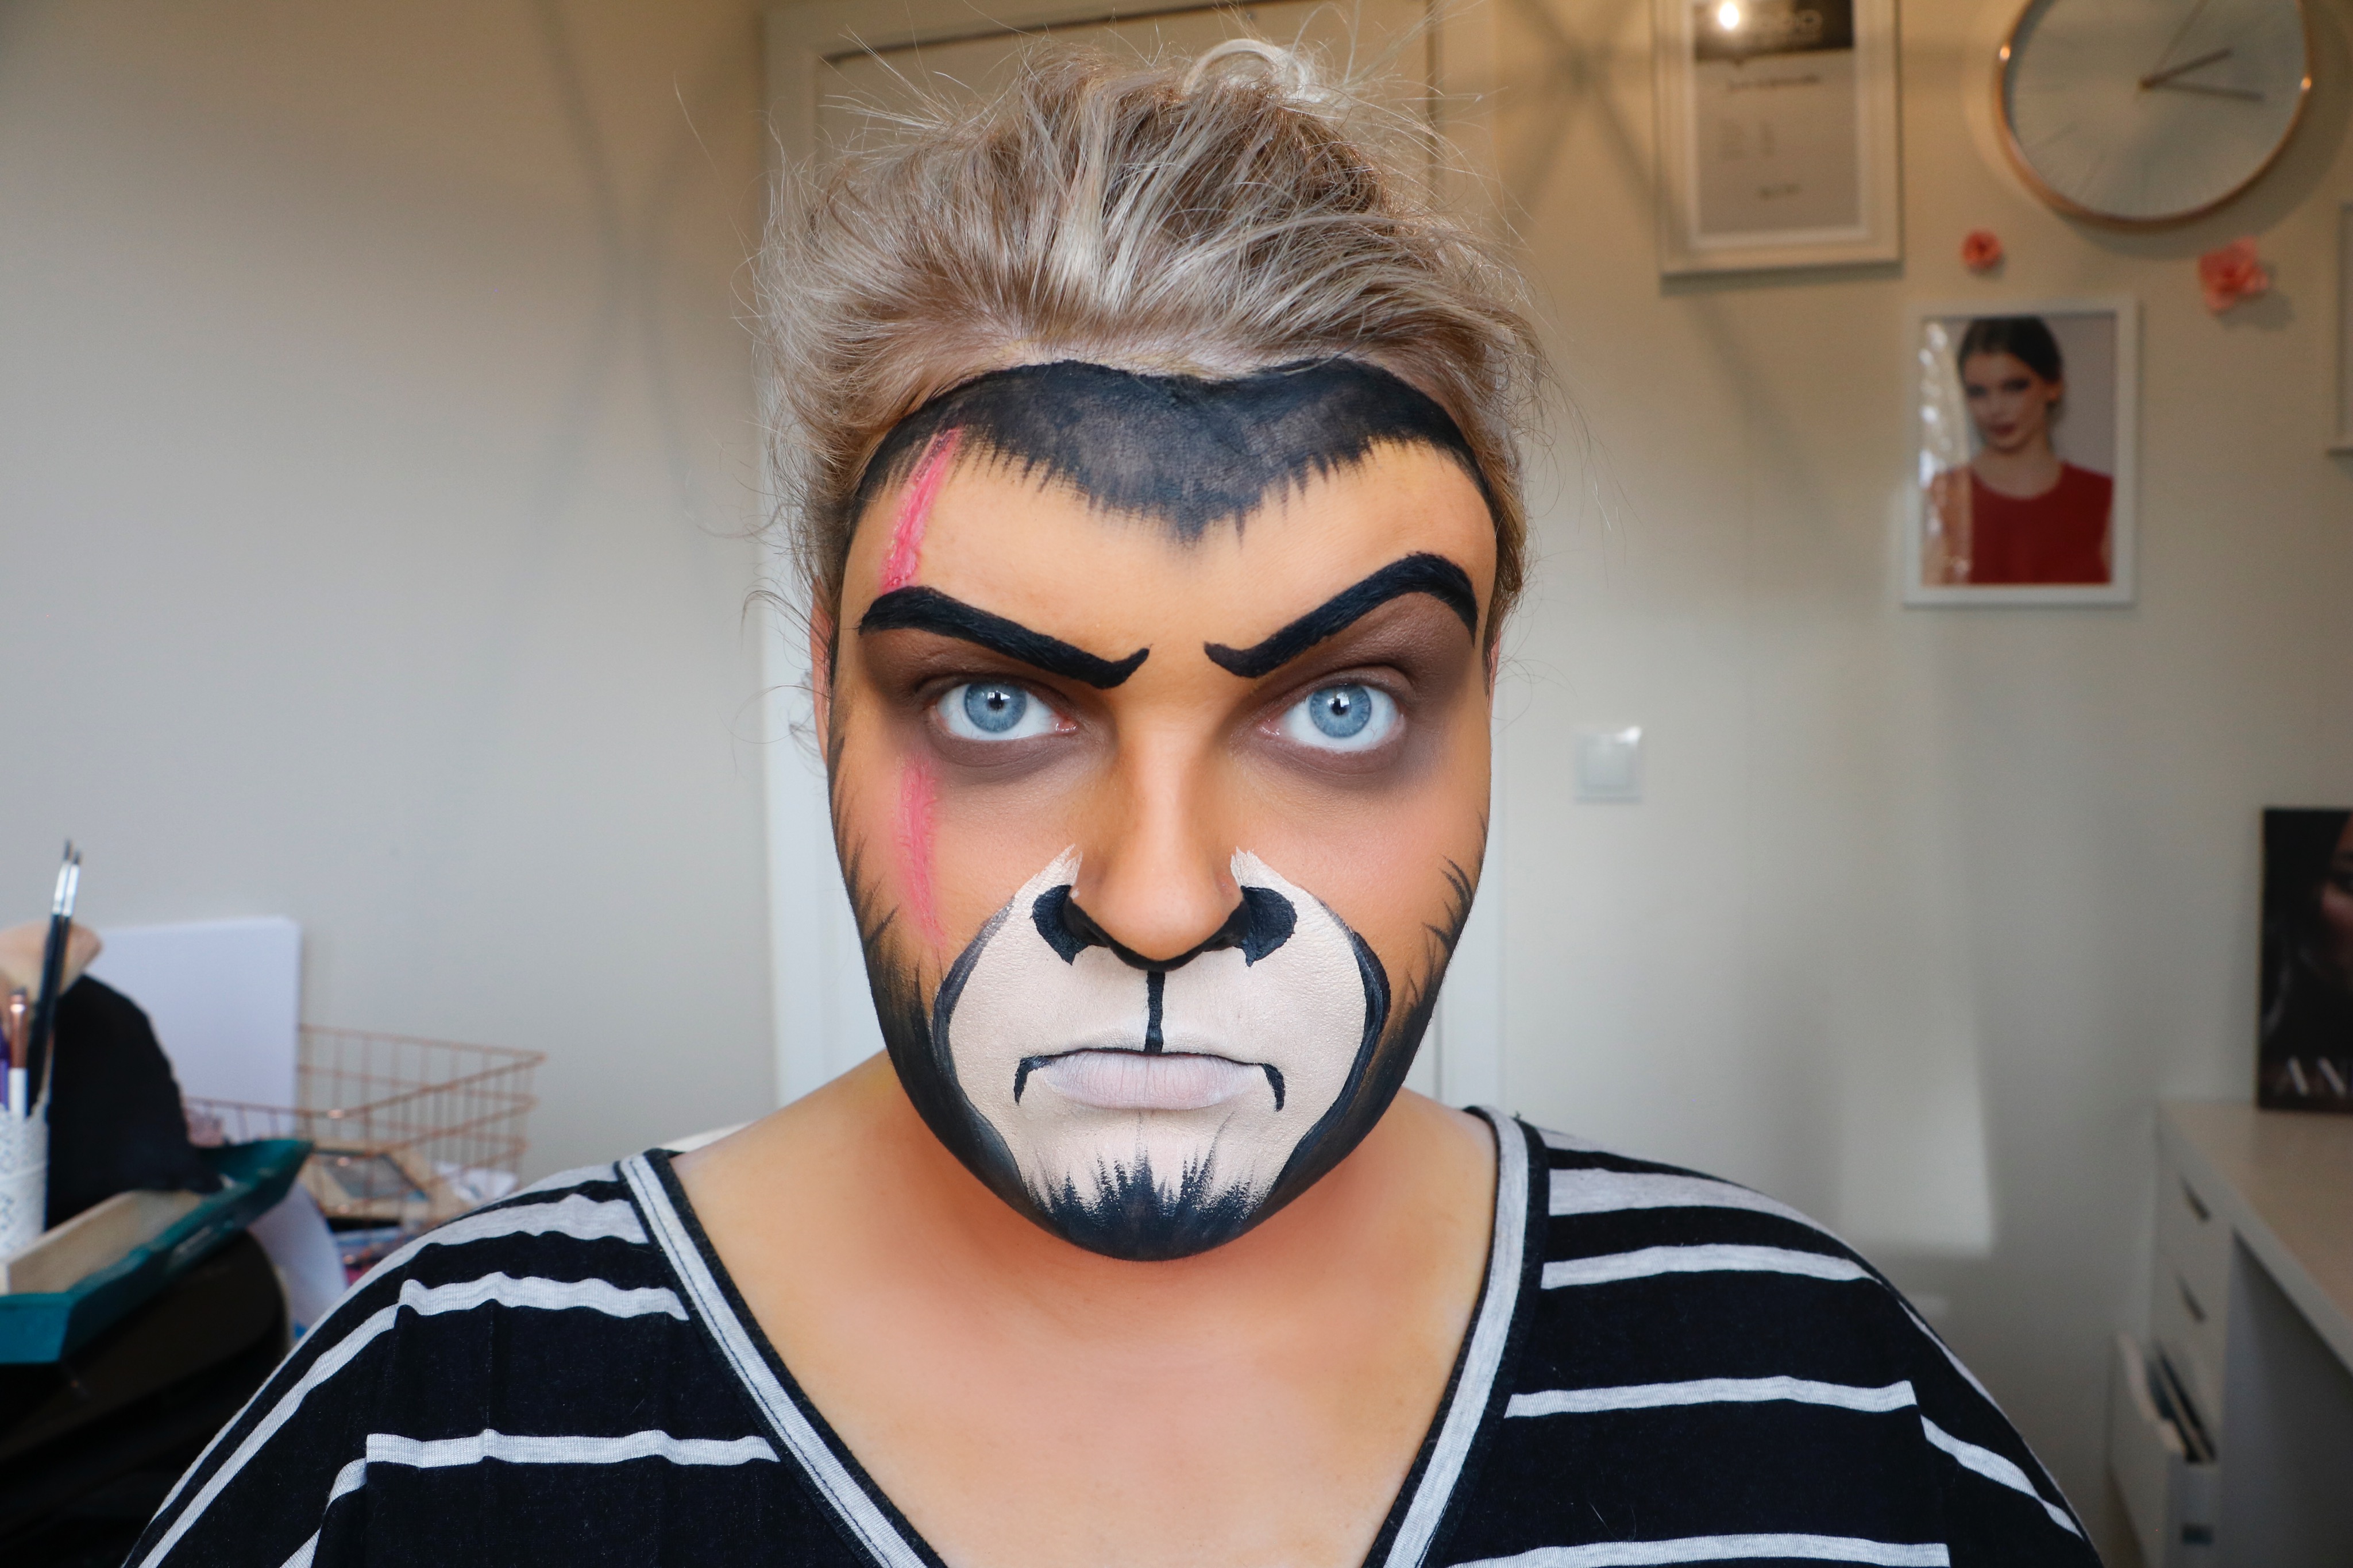
I am playing with face paint yet again! last year I was scar for Ash Wednesday and I wanted to recreate that look with some proper paints! I won’t have the blog too long just make sure to check out the video below 🙂
Products
Rigid Collodium Grimes Water activated face paint palette A
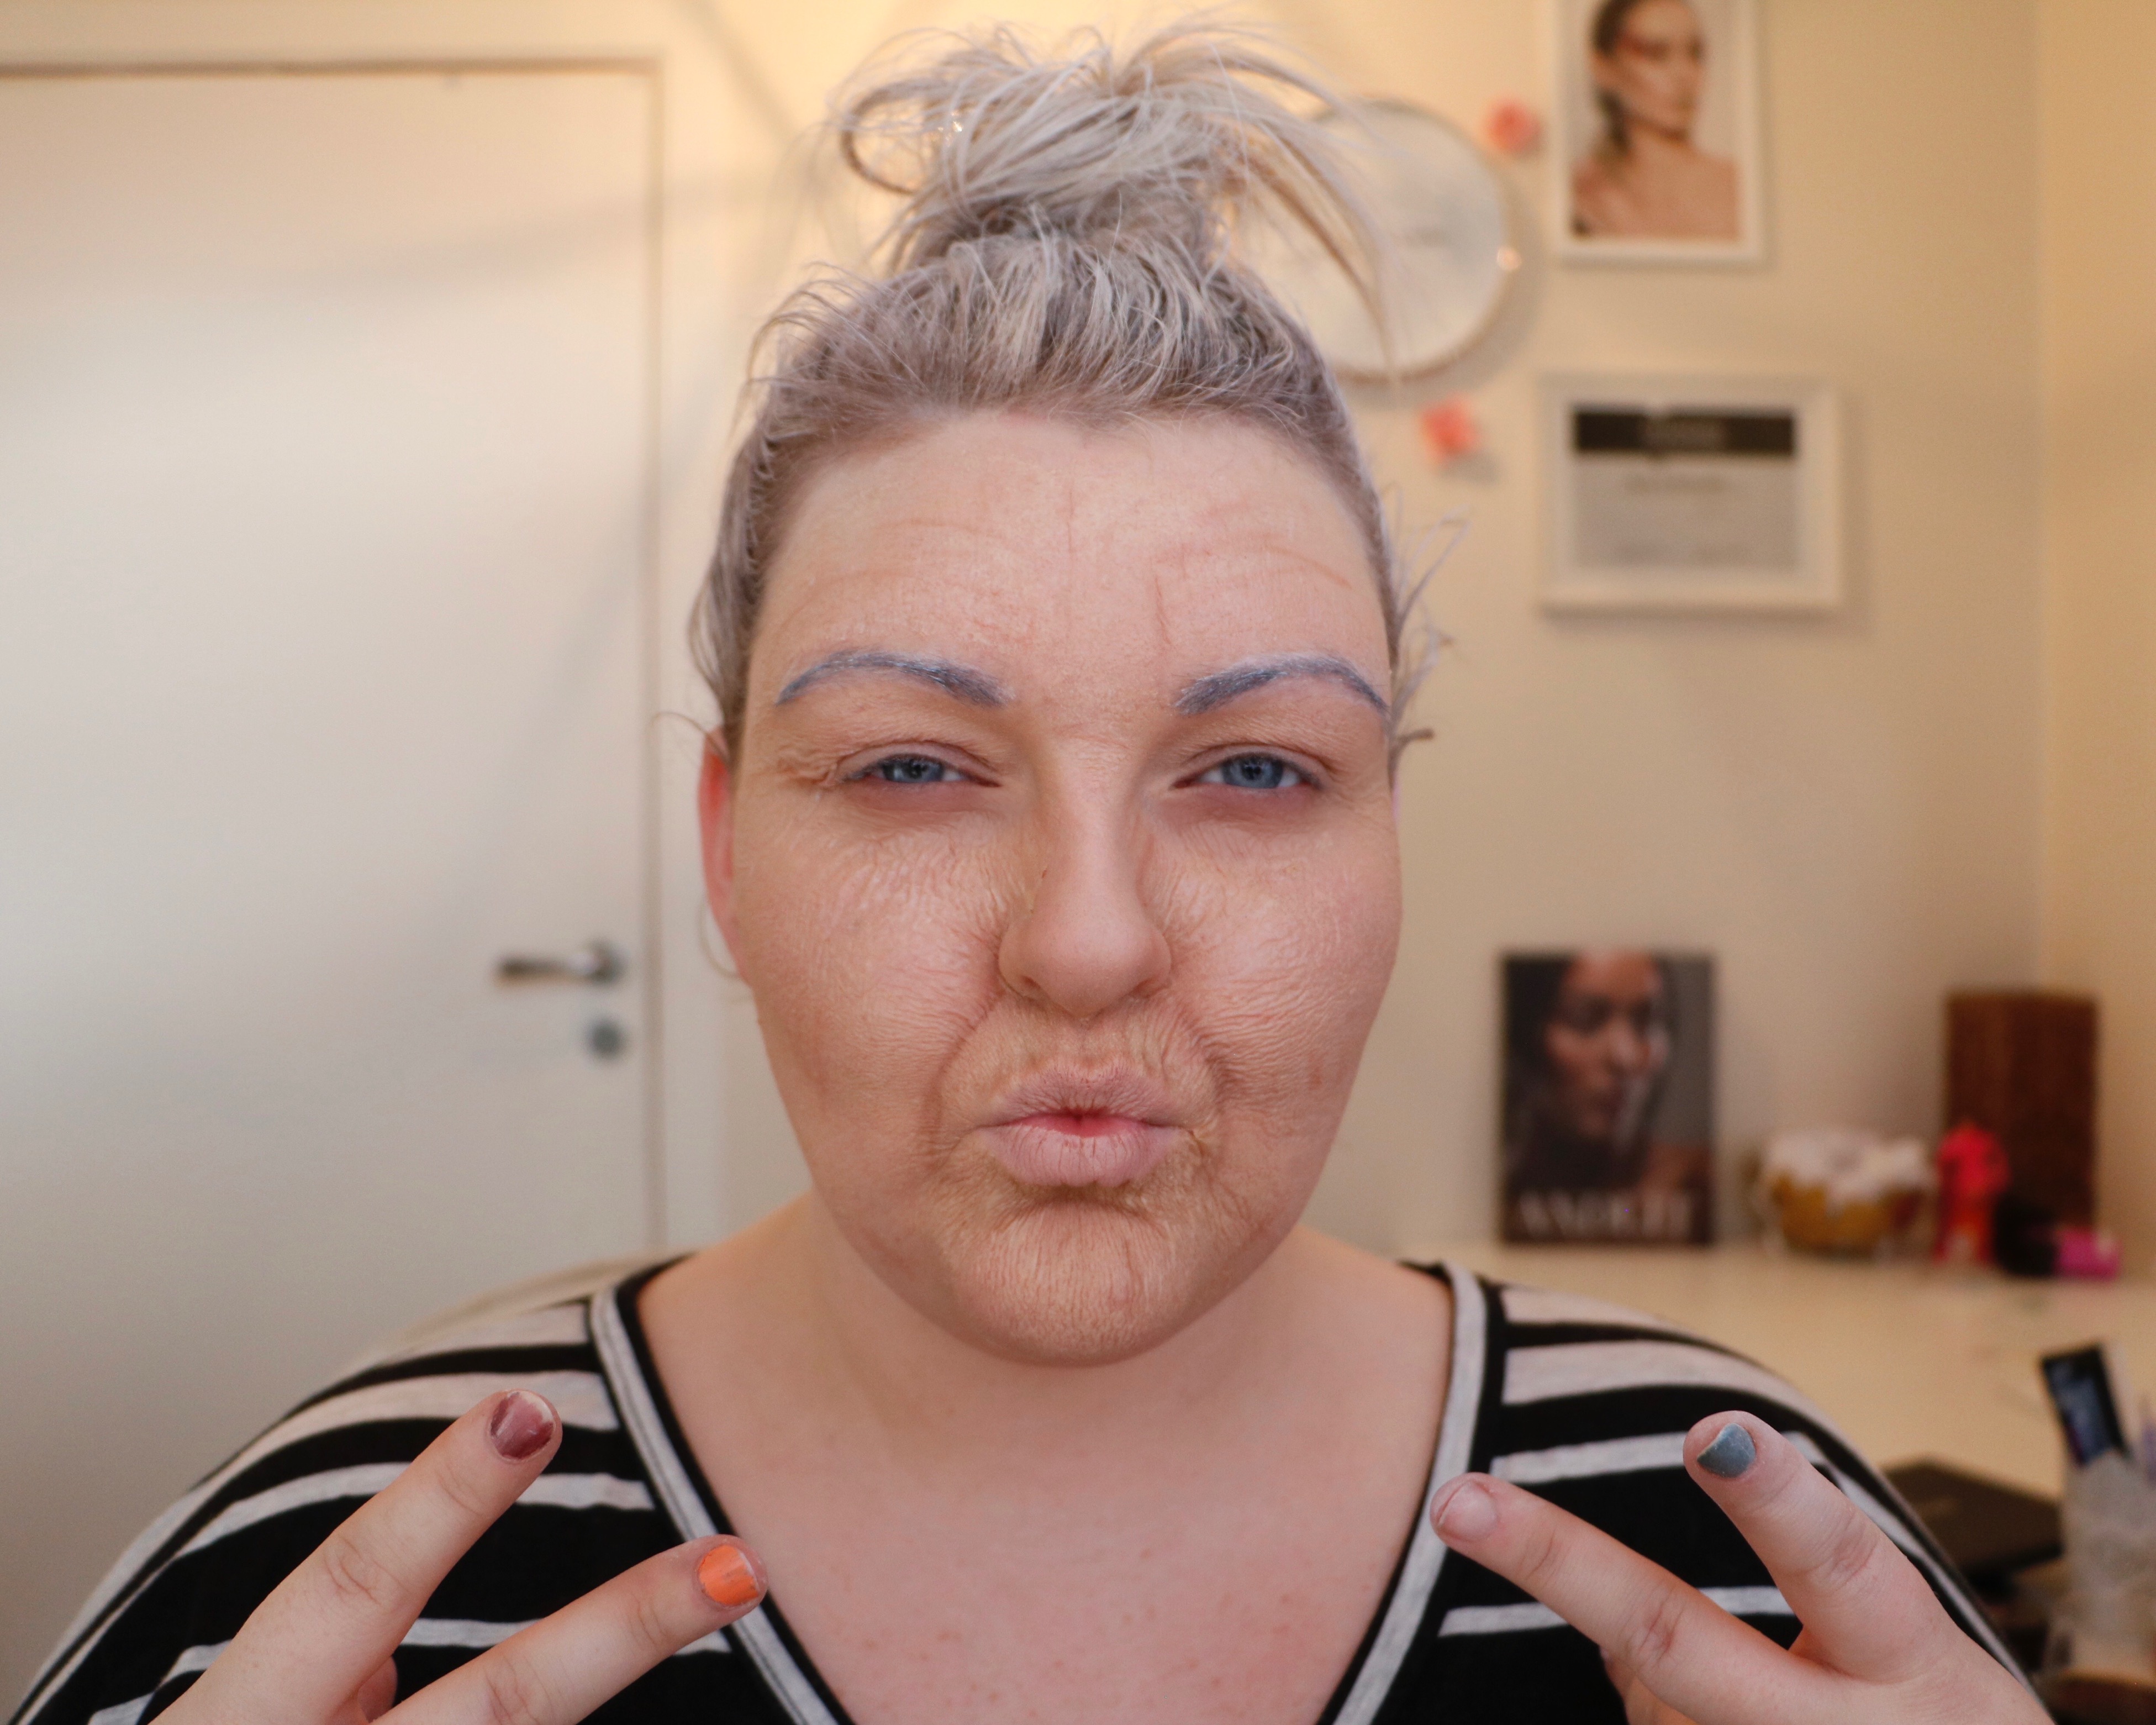
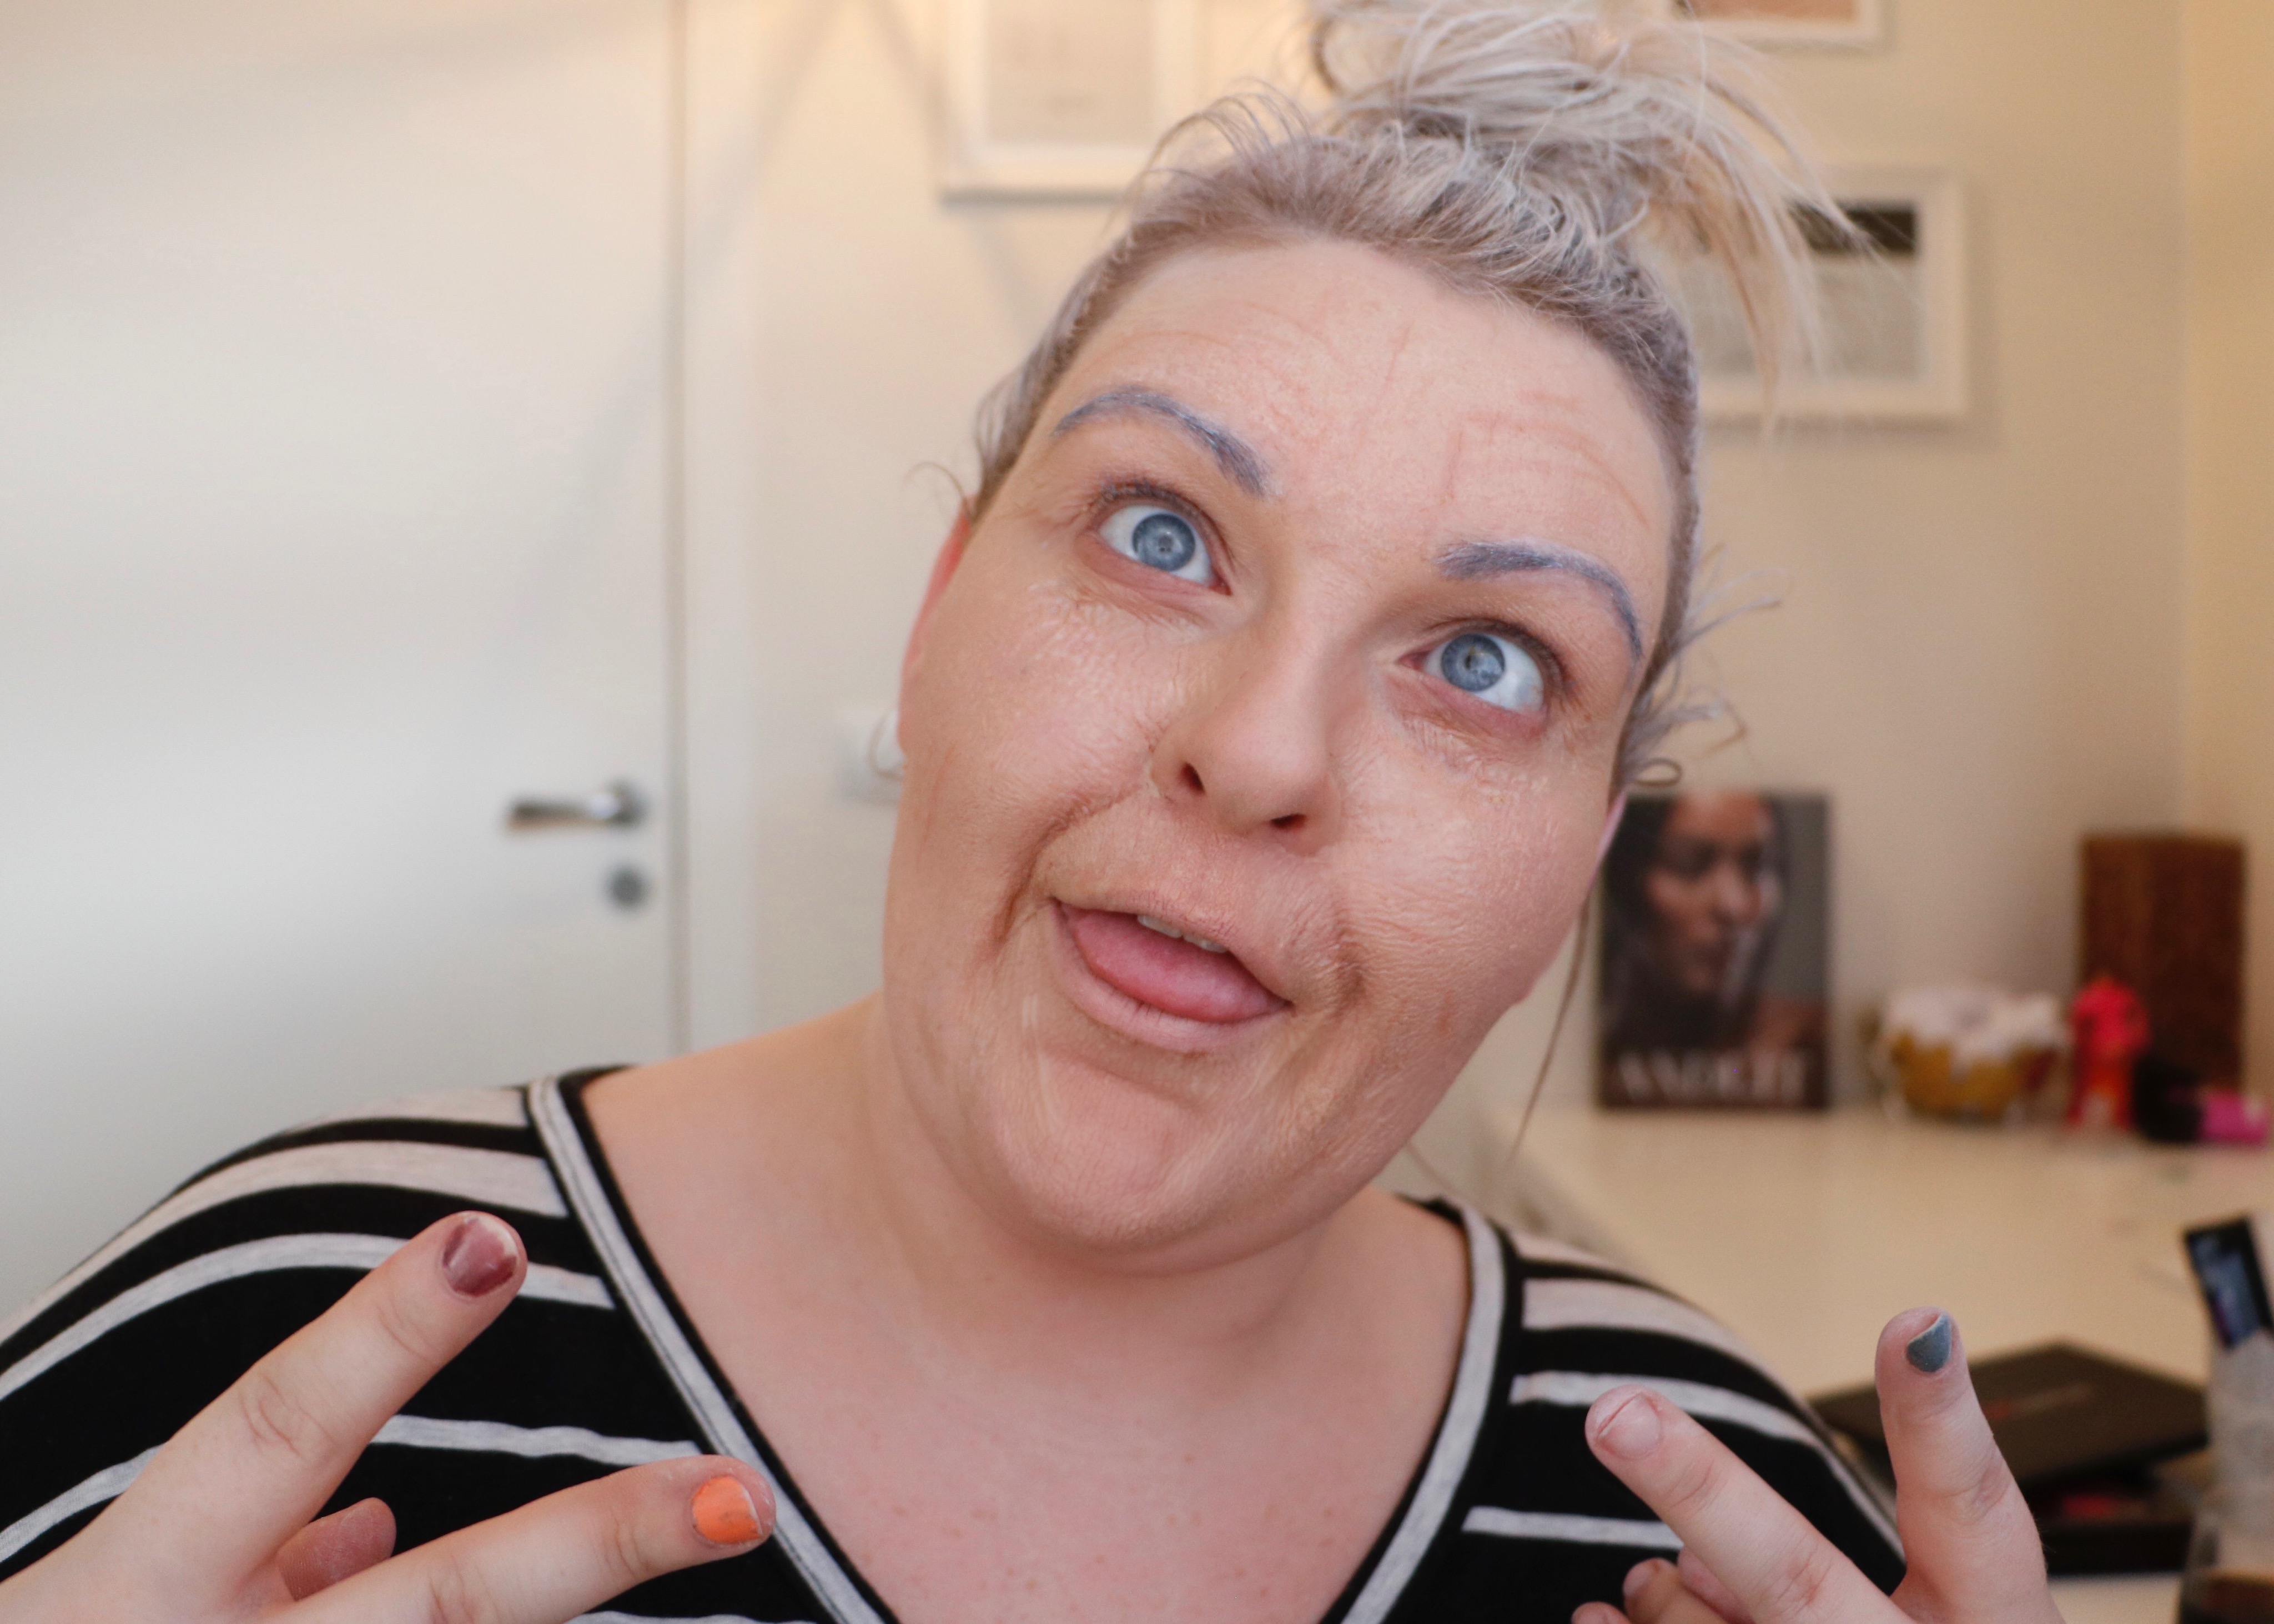
Today I am going to show you how to look older… GLAM-MA’S unite!!! There’s a video at the bottom of the page don’t forget to subscribe to my channel 🙂
for this makeup look you will need:
Liquid latex.
Vaseline
Beige, brown and grey eyeshadow.
Hair dryer.
Extra pair of hands.
White hairspray.
Foundation
I really, really …. REALLY recommend you have someone to help you with this, If you have someone else to help it will look a lot better. But if you insist on doing it by yourself that is ok… just be prepared for multitasking and a decent look.
Start with a clean dry face, this is essential for the liquid latex to stick properly and last longer! Also if you don’t want the cleanup to become painful, coat your hairline with Vaseline, I did not….. and that hurt! Then start stretching your skin and stippling the latex on with a sponge, I like to work my way up so I started on my chin, then cheeks, forehead and lastly my eyes! Coat your eyebrows and eyelashes before you do the upper half of your face! Use a hairdryer to help the latex dry quicker. Once the latex is dry you can shape your wrinkles a little before you start the detailing, when you are happy with it apply foundation all over your face and neck. Then use your beige/grey/brown eye shadows to deepen the wrinkles, the more colours and opacities you use the more realistic this will look. Remember to blend really well! I didn’t notice until I was editing my video that I didn’t blend well enough and it bothers me! Lastly Finish the look with white hairspray! Use a mascara wand to apply the hairspray to your eyebrows. Now you are ready to rock the world…. glam-ma or glam-pa style!
hope you liked this makeup tutorial, don’t forget to check out my other social platforms!
VIDEO AT THE BOTTOM OF THE PAGE
I have always been curious about Halloween, coming from a culture where this phenomenon is not celebrated, I watched movies revolving and themed around Halloween. The dressing up and scary stuff really intrigued me but I would never have participated, it just wasn’t done here. It’s maybe been 10 years or so since Halloween started to become a thing in Iceland, some neighbourhoods have trick or treating for children but mostly this day is an excuse for adults to dress up and go out drinking. Now my boyfriend is English, and apparently they do this whole halloween thing over there. When he moved to Iceland and we started our family, we never did the English traditions, we have always just gone for the Icelandic traditions, but this year I want to go hard on Halloween, and thats why I am presenting you with my 10 DIY Halloween Decorations! Yes these are all up in my flat right now and we are doing the halloween thing
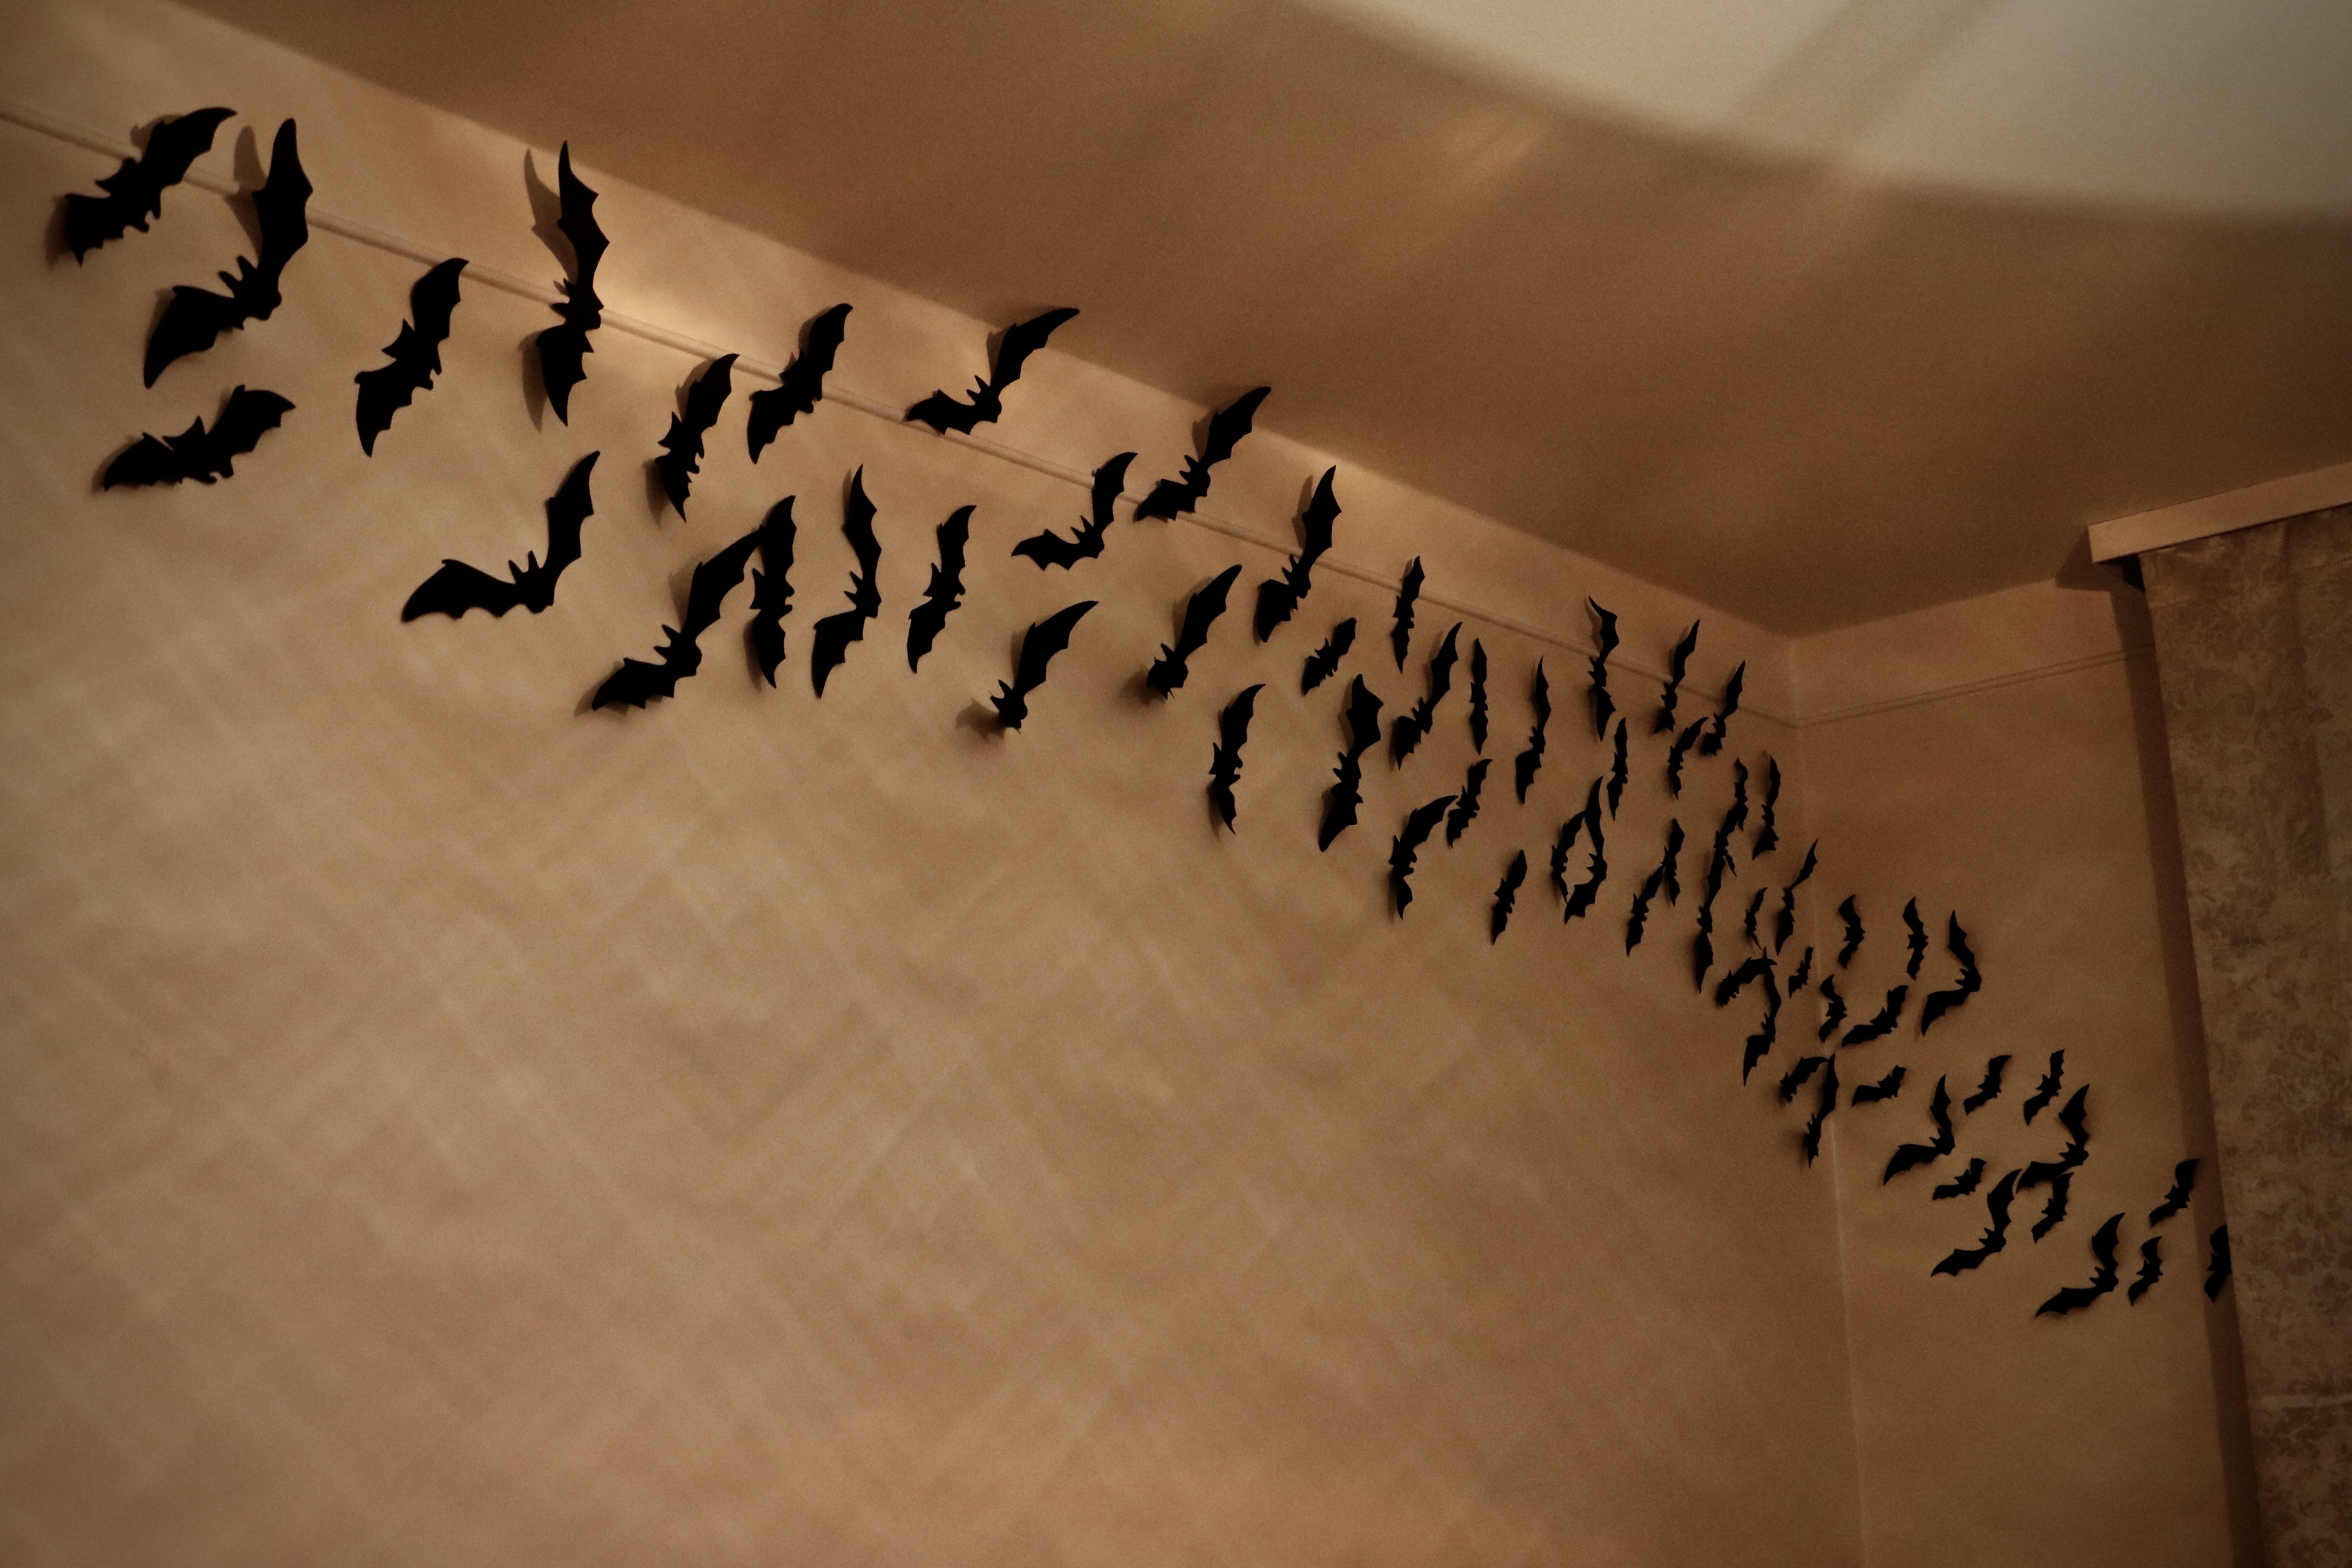
1.Paper bats.
These are the easiest little things ever, just fold a black paper and cut out the shape of a bat, then put them on a wall with some blu-tack!
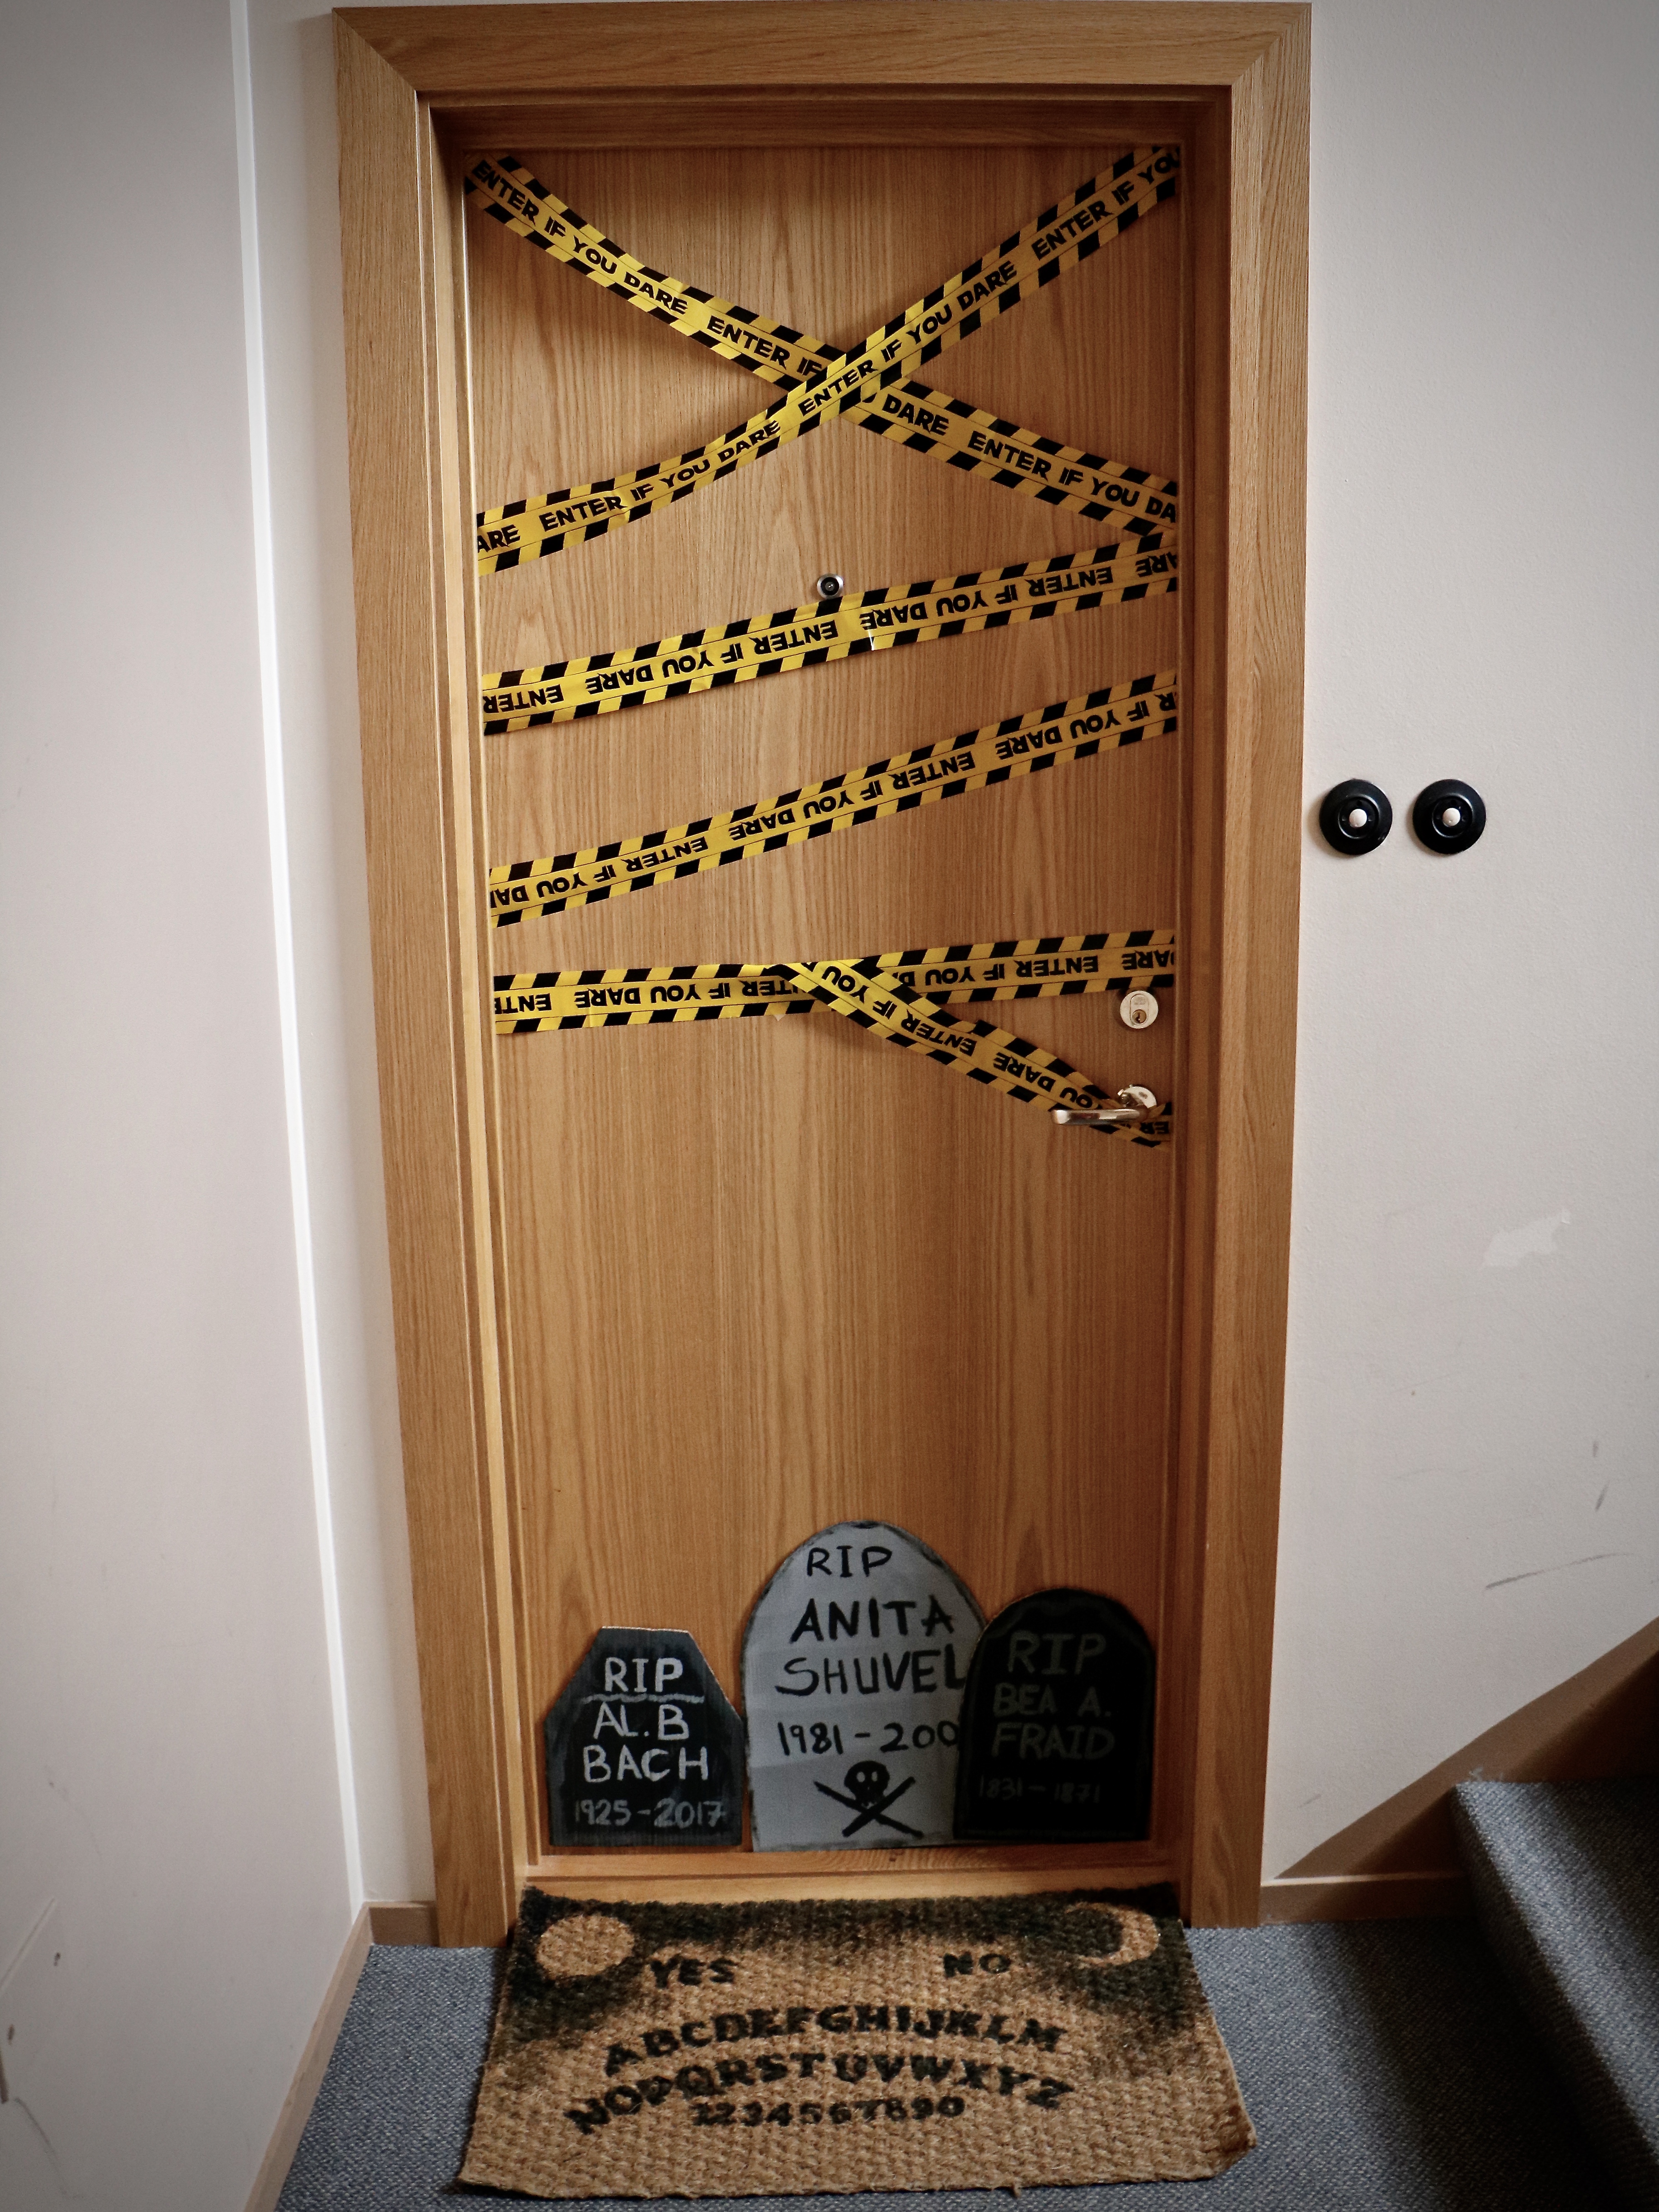
2. Headstones.
Another very easy DIY, cut out a cardboard box in the shape of a headstone, paint it black and write a name and a death date, and stick it where you want it, I wanted to freak out my neighbours so I put it on our front door.
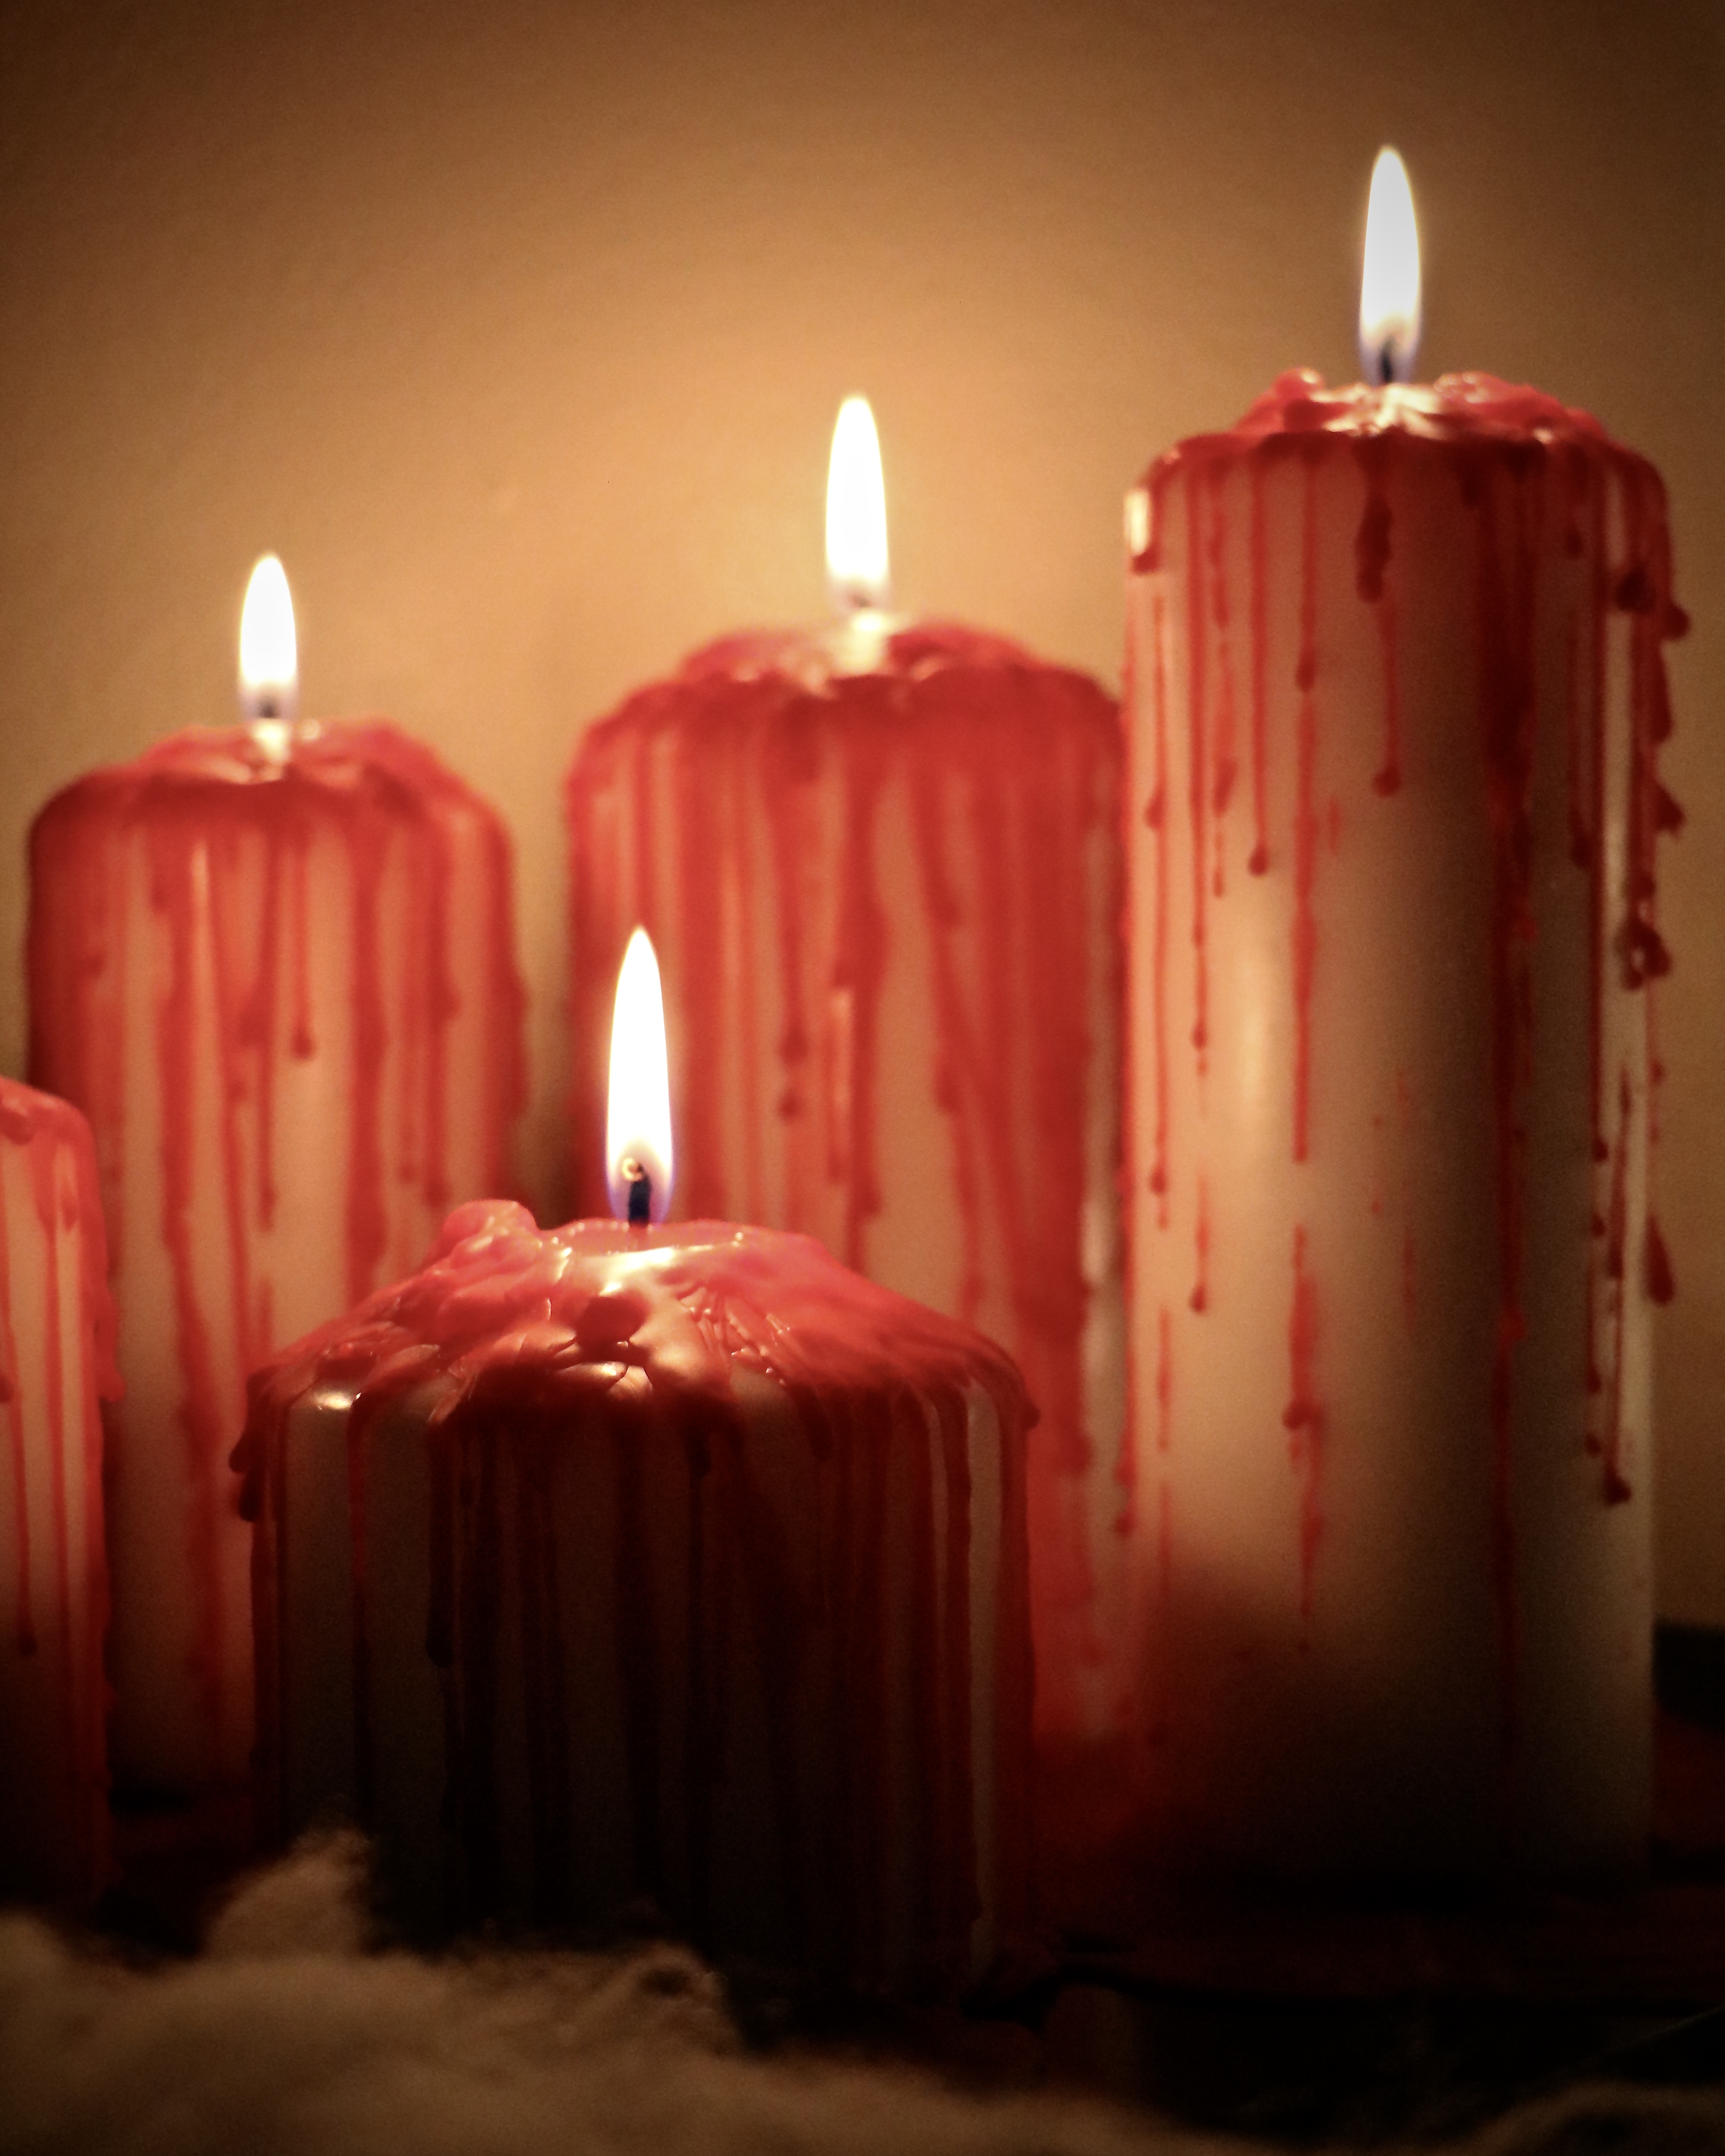
3.Bleeding candles.
Easiest DIY ever, you only need white candles and a red candle, light the red candle and let the wax pool a little, then pour it over the white candles.
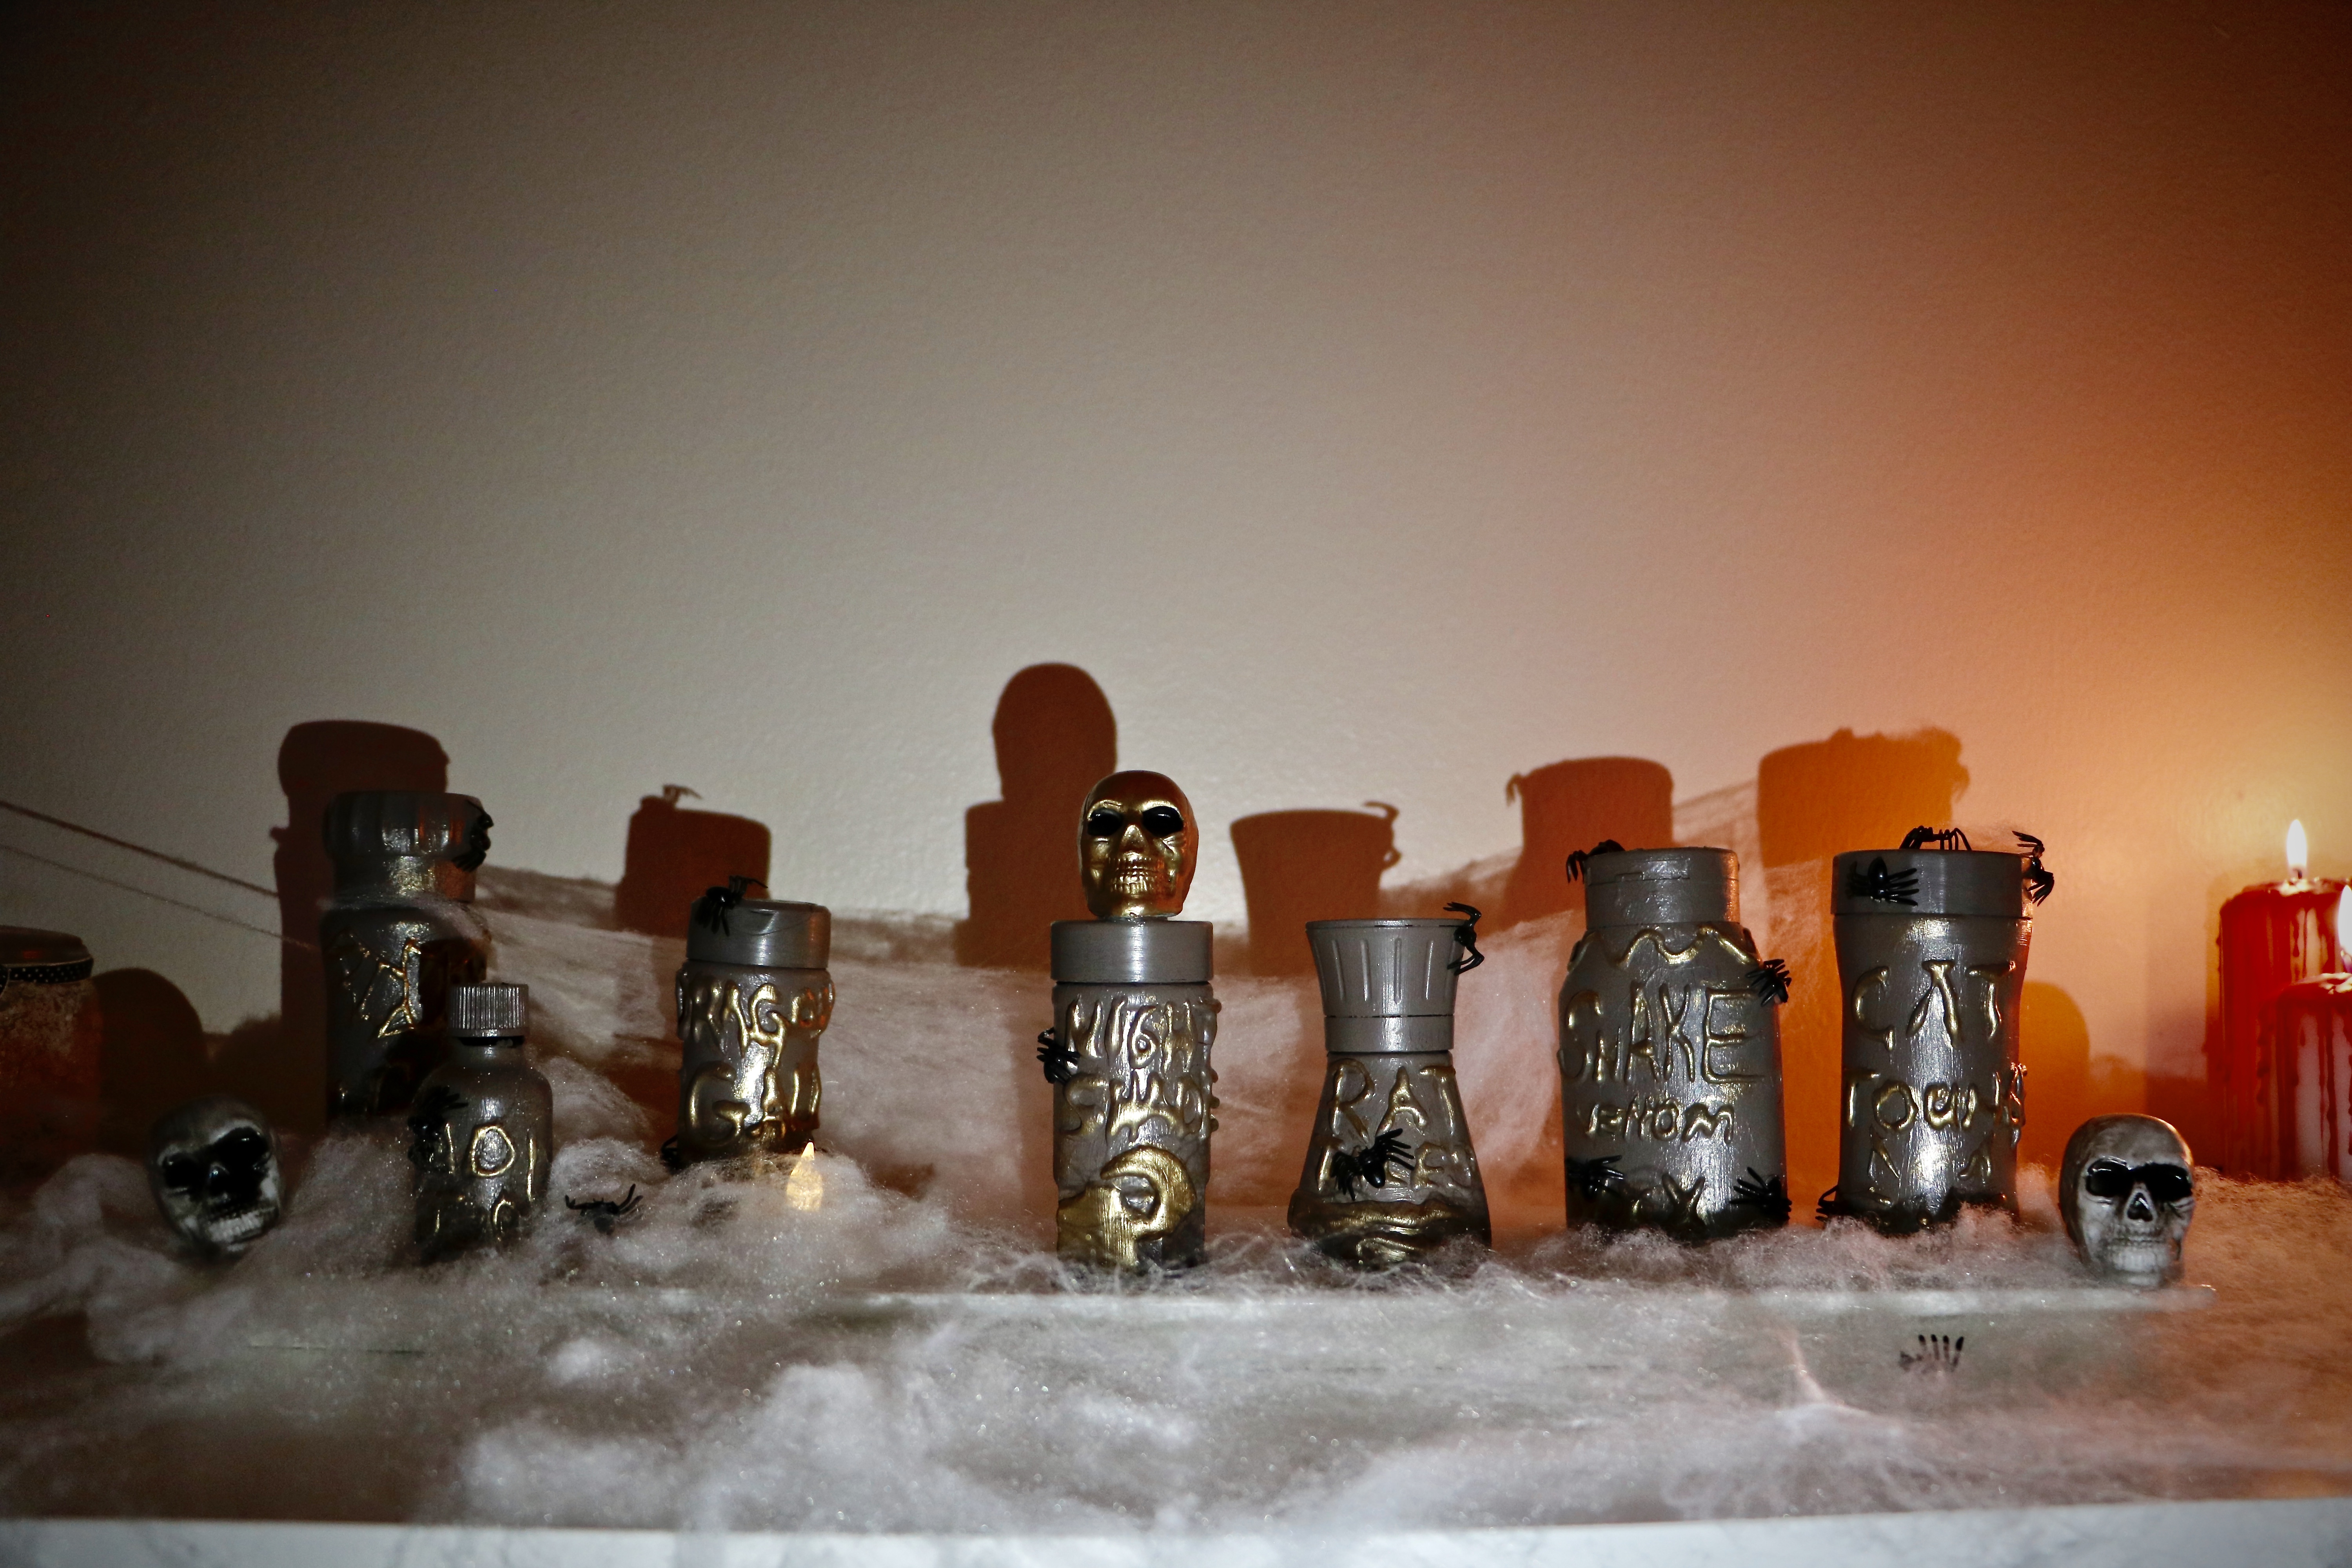
4. Creepy containers.
You will need empty containers, I mostly used empty spice jars but I also tried this with moisturiser jars, empty shampoo bottles and so on. Write what you want the jars to contain, on the clean, label free jars with a sharpie. Then use a glue gun to trace your writing and pictures. I painted my jars in a brownish grey colour and used a metallic gold paint to paint the writings and also to dry brush some details around the jar. To finish it I glued little spiders around them and a Gold skull on top of one of them.
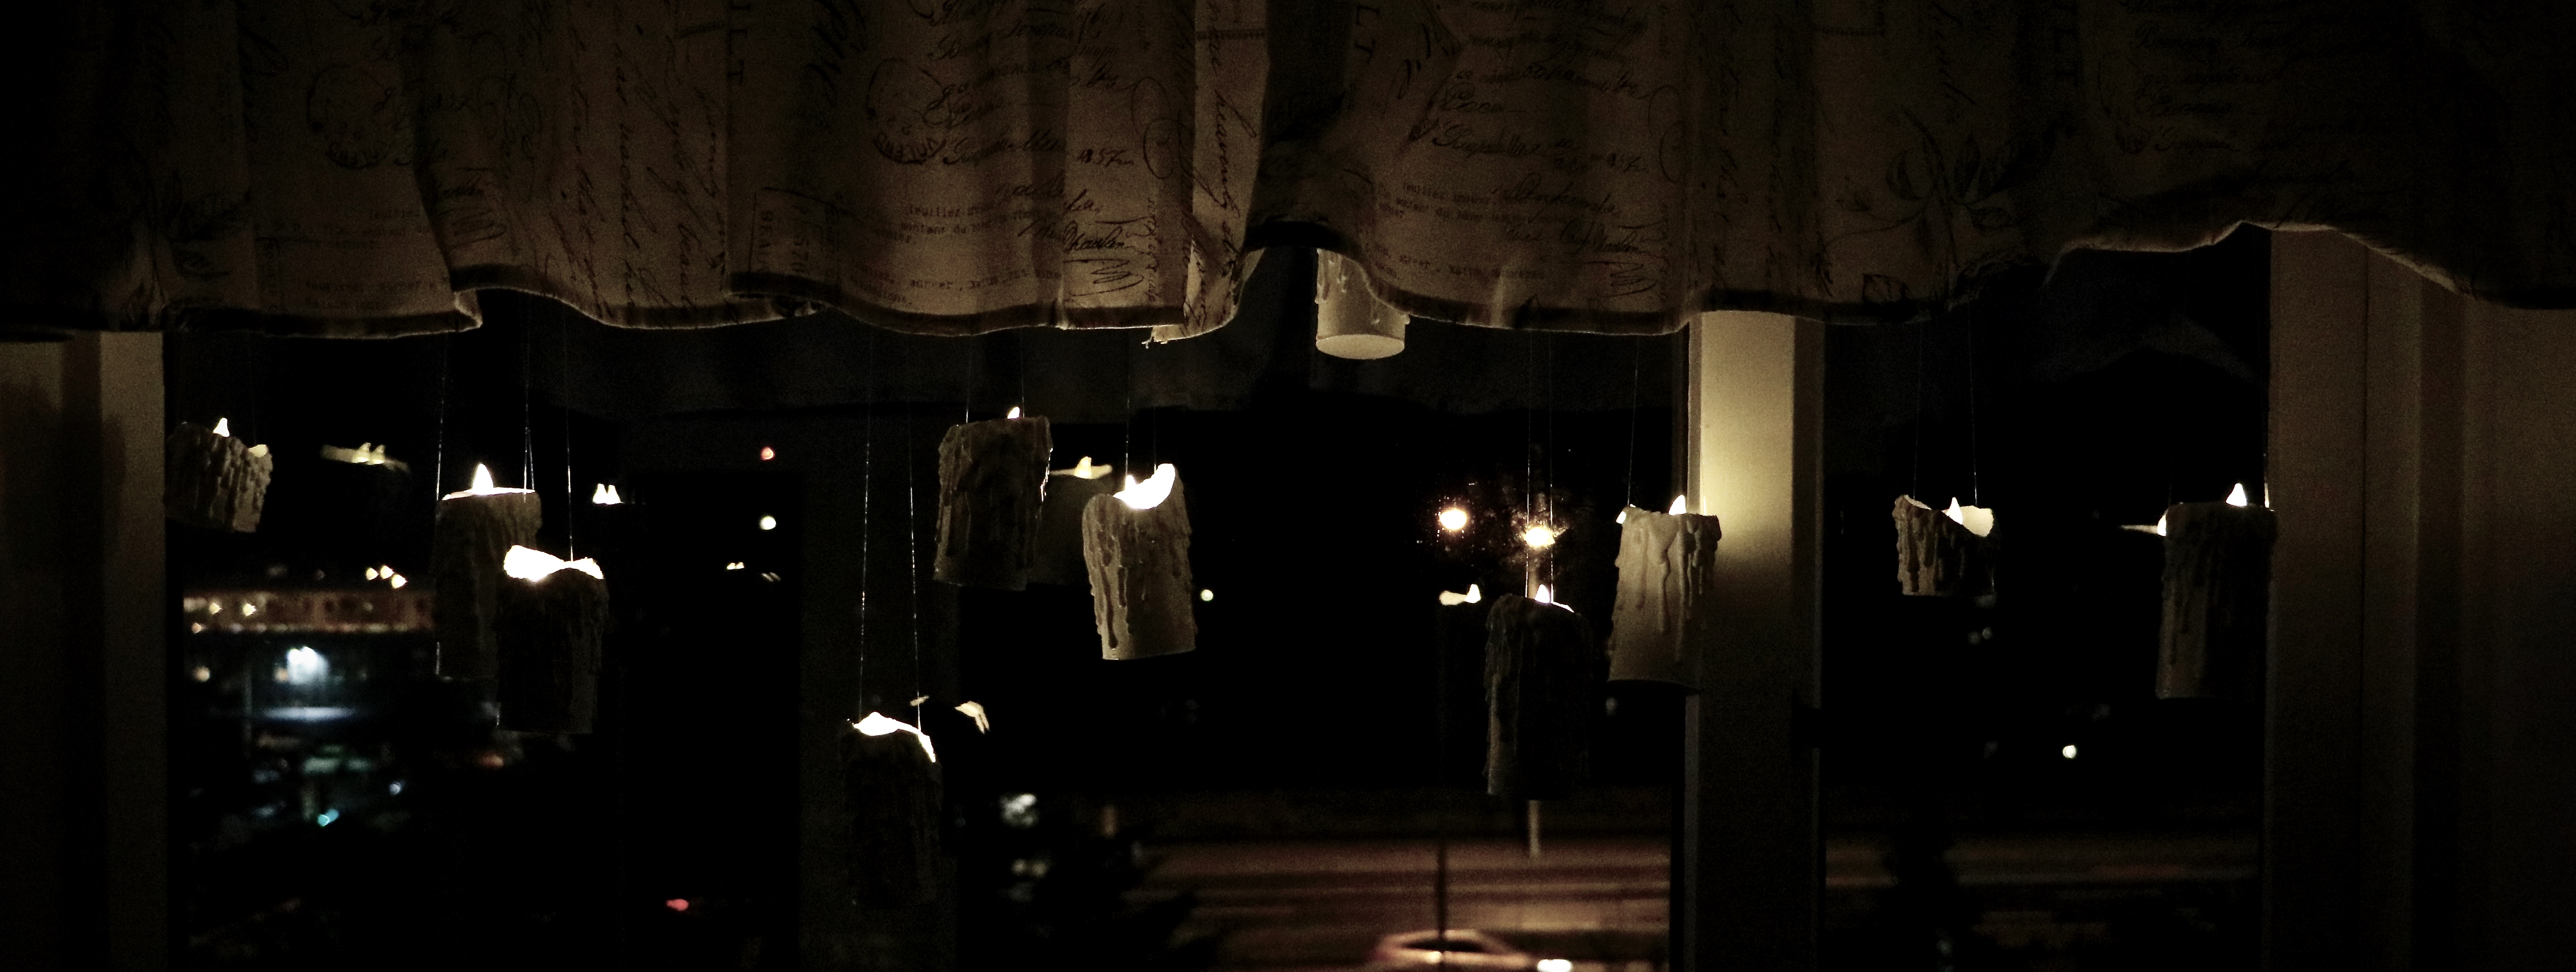
5.Harry Potter Floating Candles.
This is a pretty simple DIY but it does need some time to save up for the supplies you need, unless your uncle works at a toilet paper factory and can get you the toilet paper tubes quickly. What you need is toilet paper tubes, a Glue gun and glue, acrylic paint, a cardboard box and fishing line. Start by cutting your tubes “skewed” so they look like they have been burning for a while, then take your glue gun and put glue on the tube so it looks like wax leaking from the top. once you are happy with the look you wait until the glue is dry. Once it is dry you want to paint the candle in whatever colour you want, I wanted mine to be white so I painted 3-5 coats of white acrylic paint on. Now our candle needs to dry before we make a bottom for it. when the candle is dry you put hot glue on the tube and glue it to a thin piece of cardboard, I used a cereal box. then you trim the thin cardboard all the way to the tube so it looks neat. don’t forget to paint the inside and bottom of the candle. When the whole thing is dry, its good to fill the tube up with a little toilet paper or newspaper, that will help the LED candle to stay up. once you have the perfect hight you can pierce the tube on each side to make way for the fishing line, when you have threaded the fishing line you can put the LED candle in the tube, tie the fishing line together at the ends and glue the fishing line to the ceiling with a glue gun.
6. Ouija Board Doormat.
This was the hardest one to do, and I think it is mostly to do with the type of wood/fabric the doormat is made from, I got the cheapest doormat from Ikea, found a picture of a ouija board online that I liked and cut out stencils from a baking sheet. Once I got all my stencils ready I laid them flat on the doormat and mixed black acrylic paint with a little bit of water and painted the stencils on, I had to go over them again without the stencils, just to make it darker. And when the paint is dry you can display it in front of your door.